steveoz32
New member
A quick how to that might help someone....
This is for the nearside, I will add offside as soon as I get chance. I popped into the garage this evening and did a quick few bits on the nearside before having to go out and managed to do this in aprox 15 minutes, I would say that if you budget 20 minutes for the nearside that is plenty.
First, Jack the car up using the jacking point at the passenger side rear. I'm sure I don't need to tell anyone to support with axel stands as well.
Next remove the wheel.
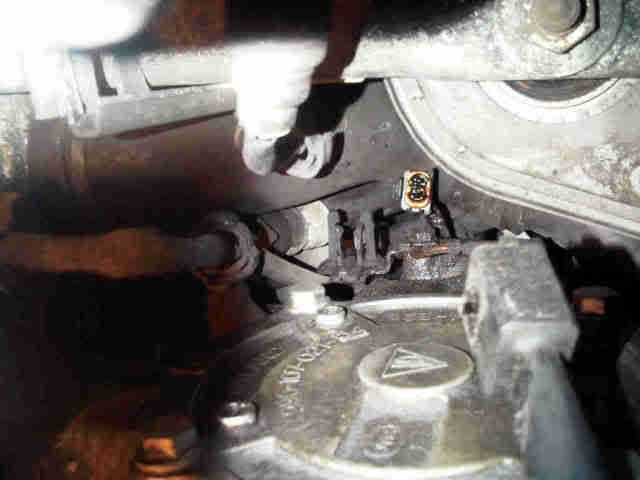
From here you can see the variocam housing:
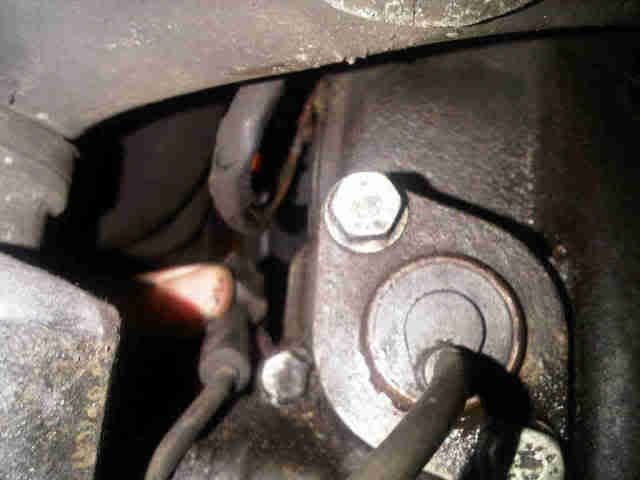
You'll notice the small block in the picture to the left of the variocam housing that I am holding, this is where the connector sits for the solenoid. I've already separated here, but all you need to do, is to pull the block towards the front of the car so it pops out of the plastic clip, and then press on the connector to release the clip for removing the solenoid end of the connector:
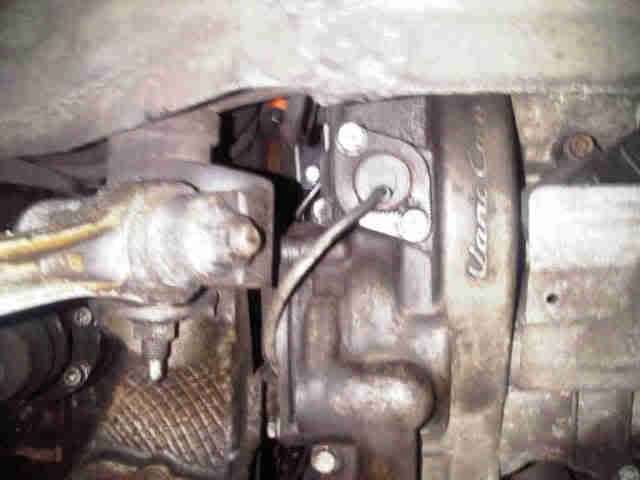
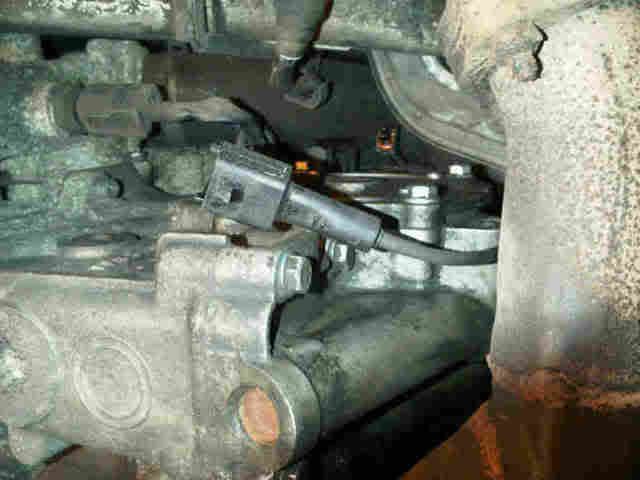
Pull the connector free:
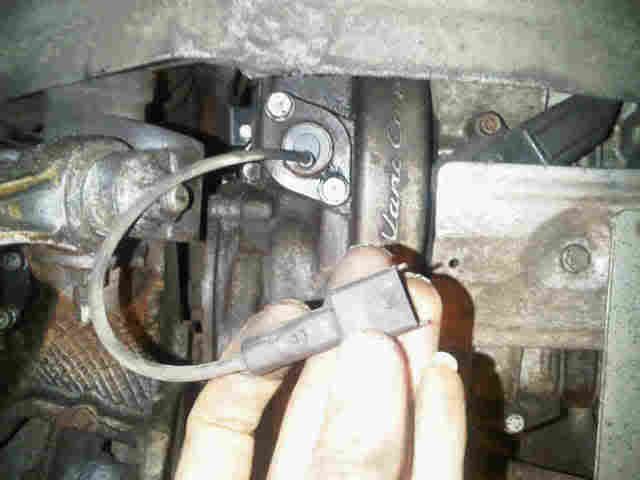
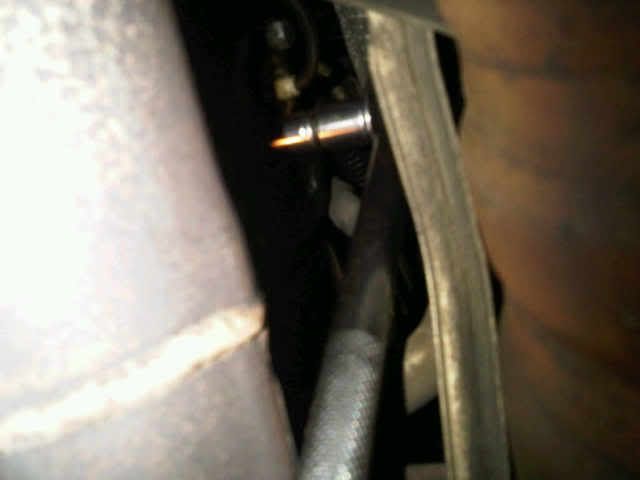
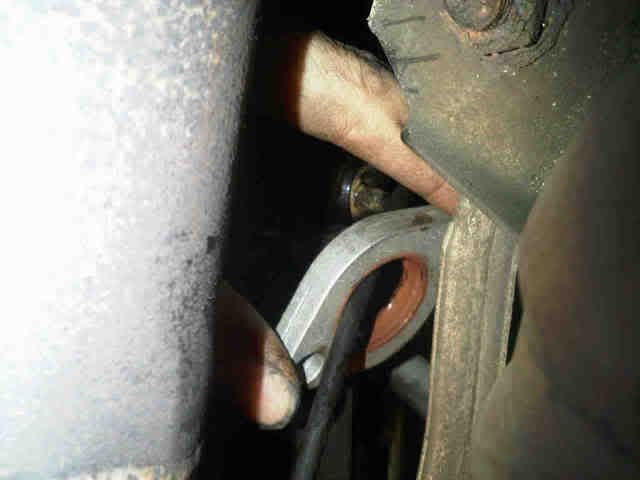
Next, using a 10mm socket, undo the two m10 bolts holding the flange over the solenoid, remove bolts and apply pressure with fingers to twist the flange to break the seal:
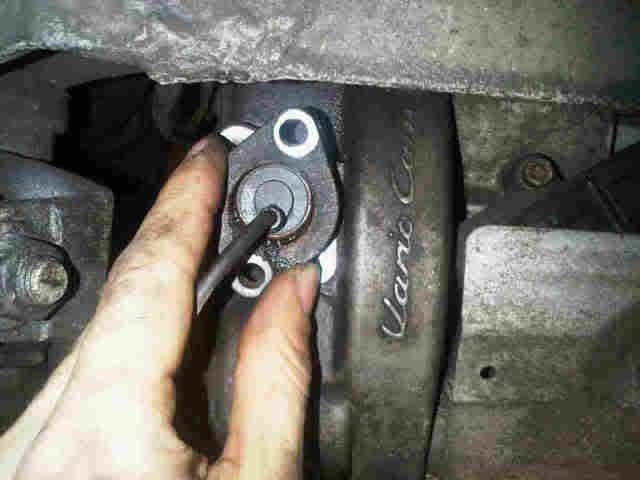
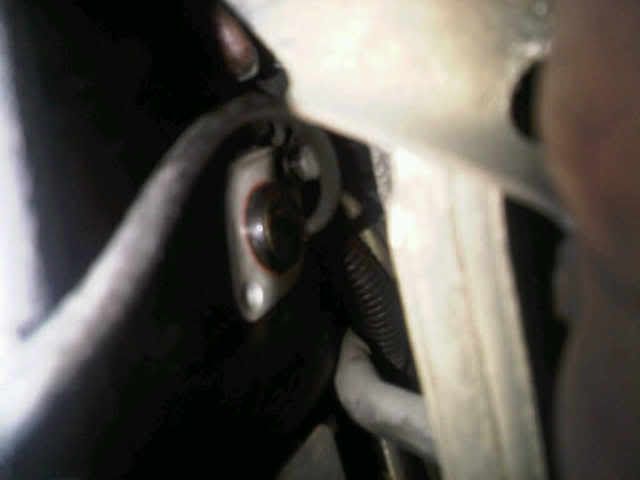
Remove flange carefully over the solenoid connector:
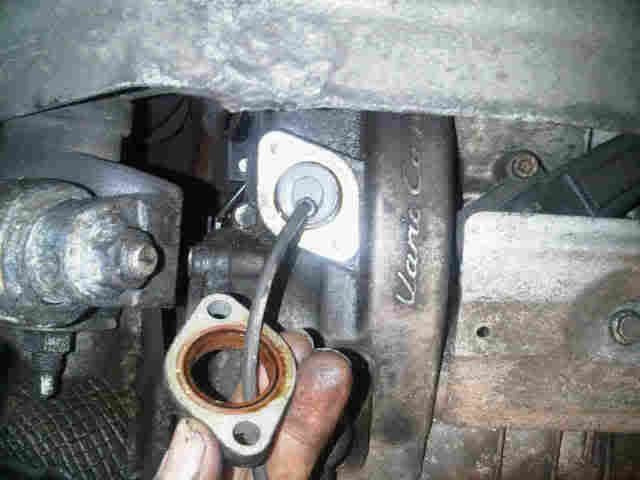
Check solenoid housing is lubricated and the solenoid shows no signs of moisture / water ingress. If the solenoid is damaged, replace the old seal and seek advice from an OPC, if the solenoid has fresh oil around it and is in good condition then continue. (The reason for this is that once the flange is pressed over the solenoid casing it will render the seal near useless if you remove it and you have effectively wasted a seal) - thanks to the techs at Dick Lovett for this pointer on what to look out for.
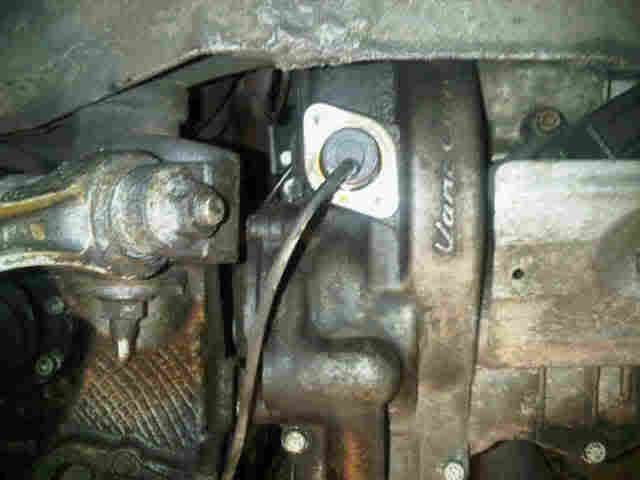
Old vs new, it's hard to tell from this picture, but the in built rubber seal on the old one is nearly no-existent compared to the new:
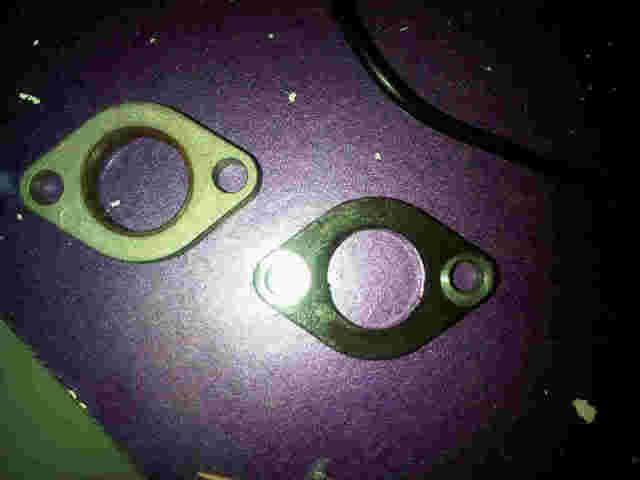
Apply a small amount of grease to the inside of the flange and slide new flange over connector and into place, a small amount of pressure will be required to bed the seal onto the solenoid housing (no sealing compound is required although shown on parts list).
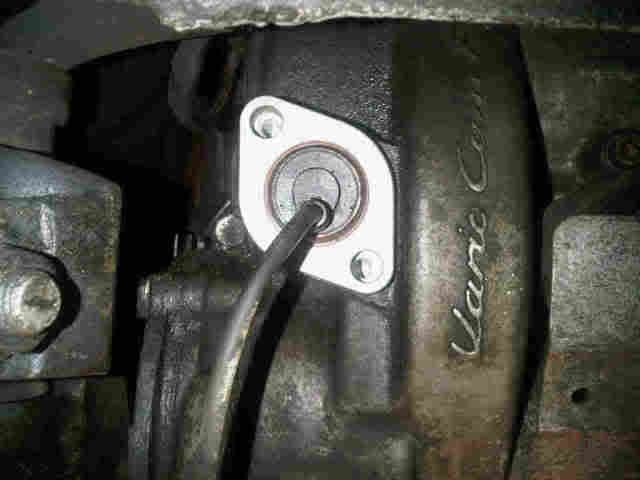
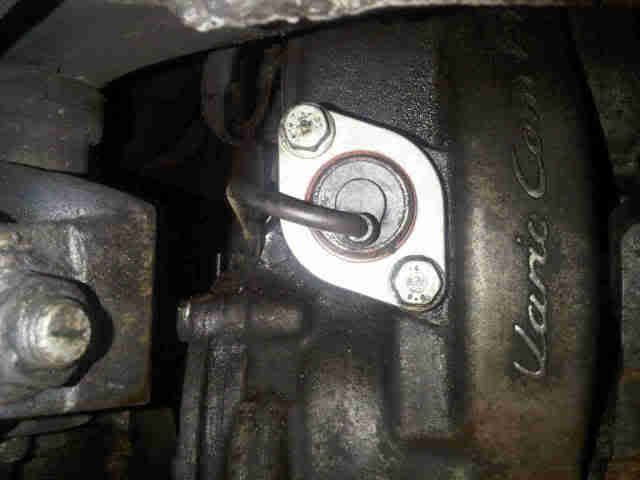
Grease threads and replace bolts, then re-route wire and reconnect:
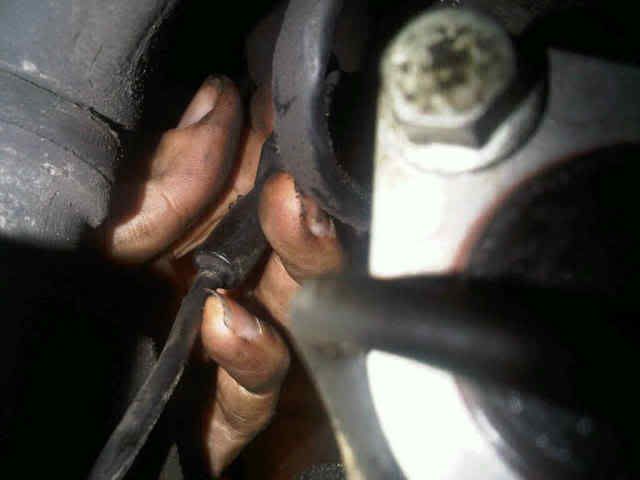
Push back onto retaining clip near the AOS bellow:
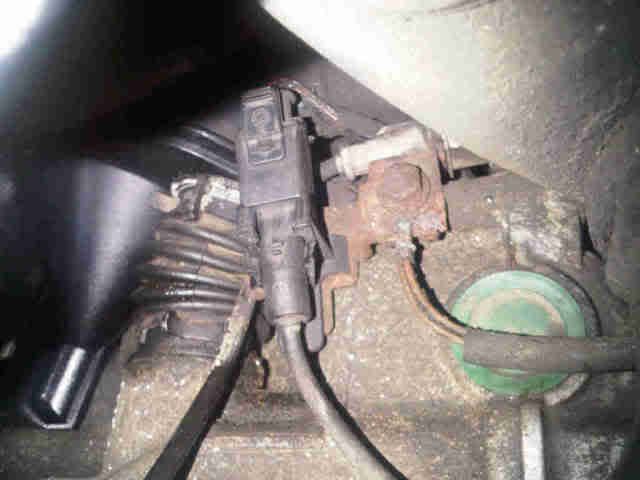
All done, nice new clean and well sealed variocam solenoid flange:
This really is a very quick and easy procedure, and for the sake of £12.00 per flange, it is well worth doing.
I hope this is of use to someone.
Thanks,
Steve
This is for the nearside, I will add offside as soon as I get chance. I popped into the garage this evening and did a quick few bits on the nearside before having to go out and managed to do this in aprox 15 minutes, I would say that if you budget 20 minutes for the nearside that is plenty.
First, Jack the car up using the jacking point at the passenger side rear. I'm sure I don't need to tell anyone to support with axel stands as well.
Next remove the wheel.
From here you can see the variocam housing:

You'll notice the small block in the picture to the left of the variocam housing that I am holding, this is where the connector sits for the solenoid. I've already separated here, but all you need to do, is to pull the block towards the front of the car so it pops out of the plastic clip, and then press on the connector to release the clip for removing the solenoid end of the connector:

Pull the connector free:

Next, using a 10mm socket, undo the two m10 bolts holding the flange over the solenoid, remove bolts and apply pressure with fingers to twist the flange to break the seal:

Remove flange carefully over the solenoid connector:

Check solenoid housing is lubricated and the solenoid shows no signs of moisture / water ingress. If the solenoid is damaged, replace the old seal and seek advice from an OPC, if the solenoid has fresh oil around it and is in good condition then continue. (The reason for this is that once the flange is pressed over the solenoid casing it will render the seal near useless if you remove it and you have effectively wasted a seal) - thanks to the techs at Dick Lovett for this pointer on what to look out for.

Old vs new, it's hard to tell from this picture, but the in built rubber seal on the old one is nearly no-existent compared to the new:

Apply a small amount of grease to the inside of the flange and slide new flange over connector and into place, a small amount of pressure will be required to bed the seal onto the solenoid housing (no sealing compound is required although shown on parts list).

Grease threads and replace bolts, then re-route wire and reconnect:

Push back onto retaining clip near the AOS bellow:

All done, nice new clean and well sealed variocam solenoid flange:

This really is a very quick and easy procedure, and for the sake of £12.00 per flange, it is well worth doing.
I hope this is of use to someone.
Thanks,
Steve


