
garyalanlane
New member
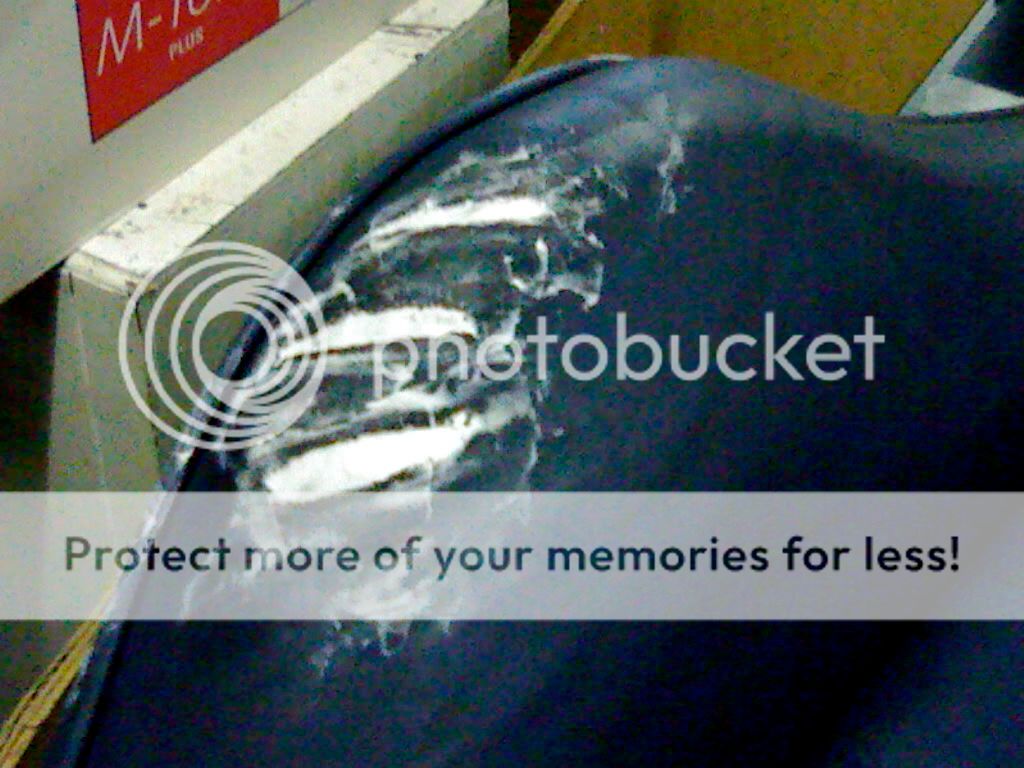
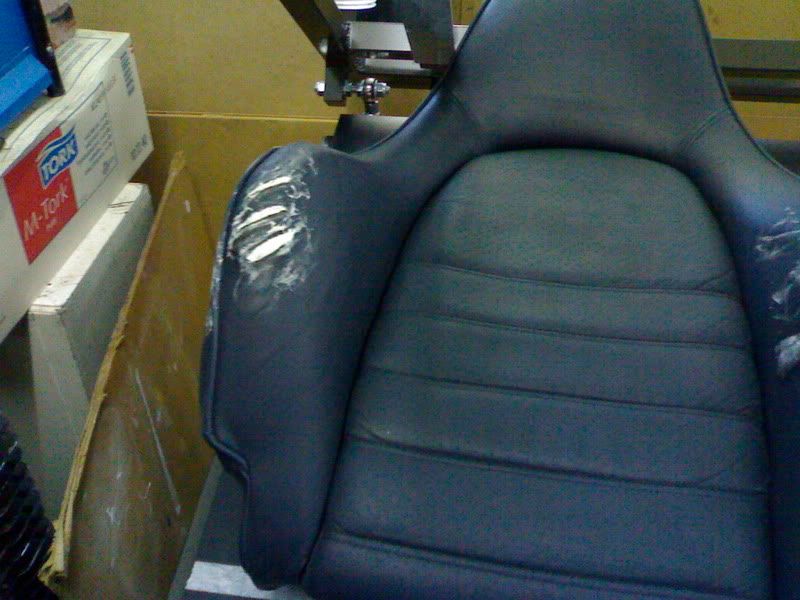
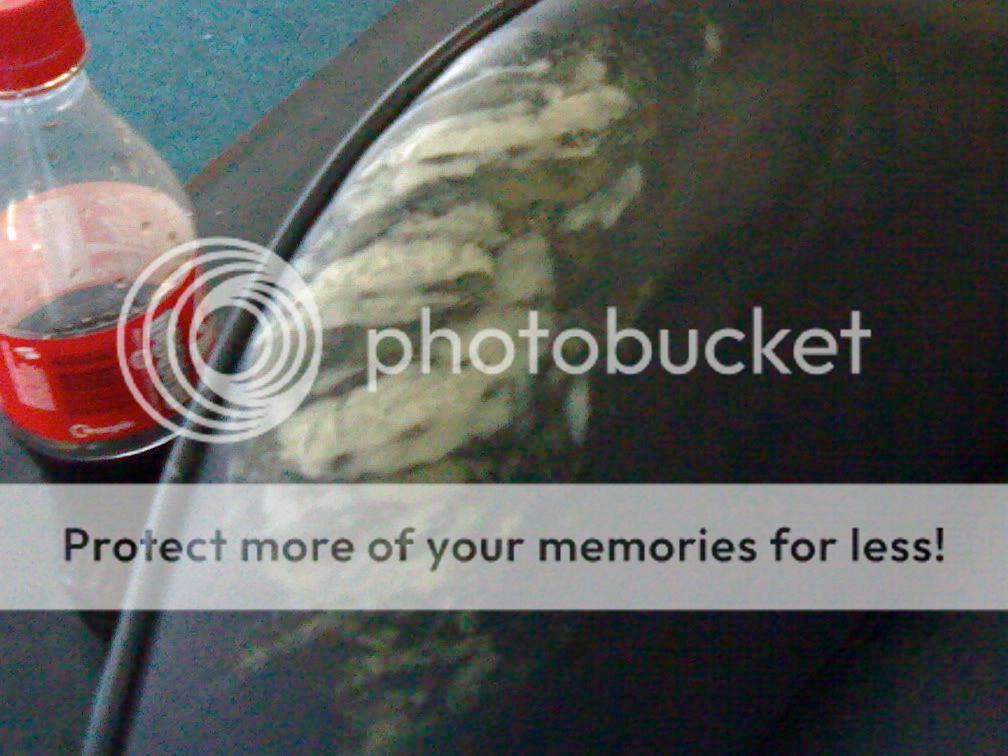
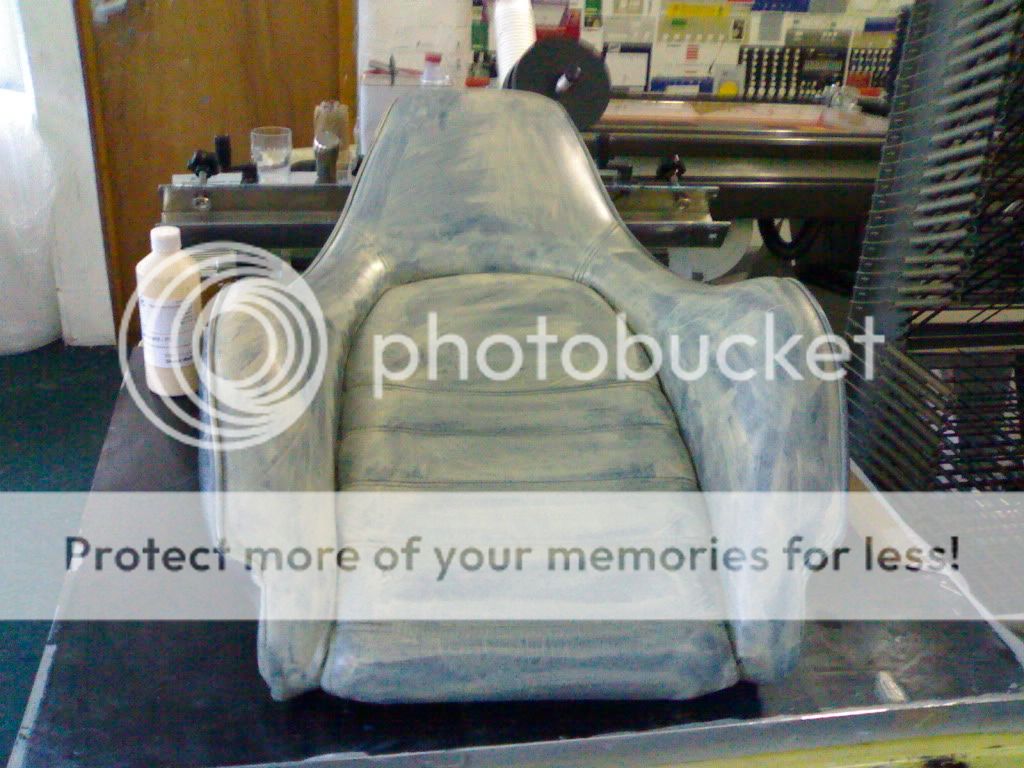
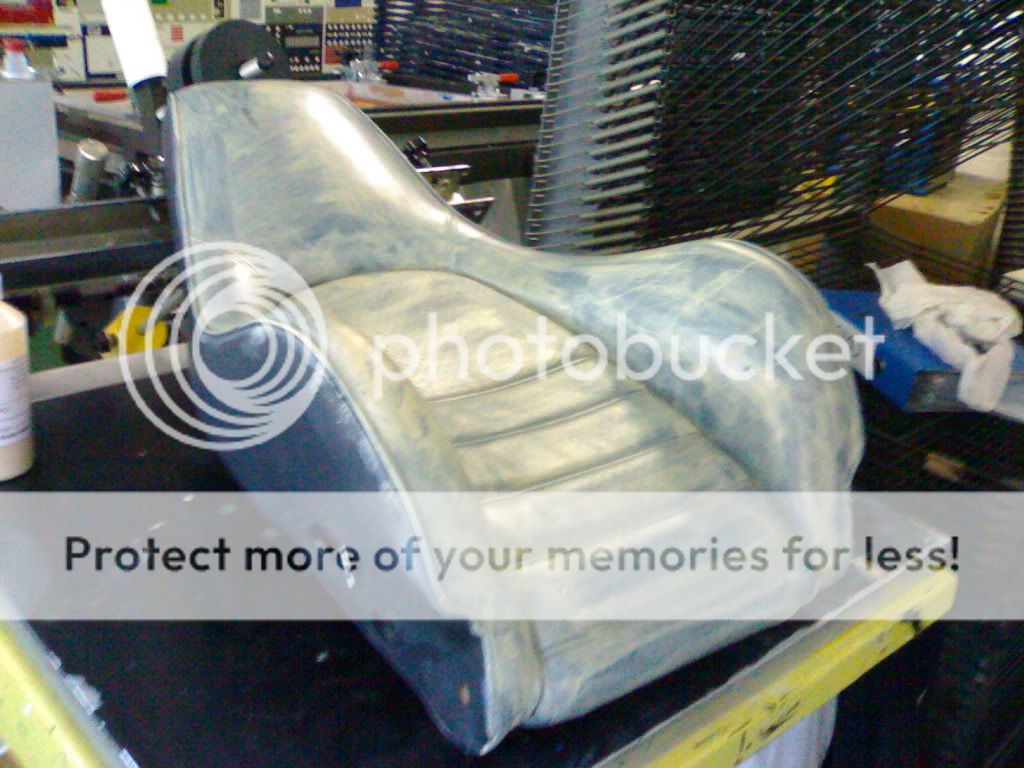
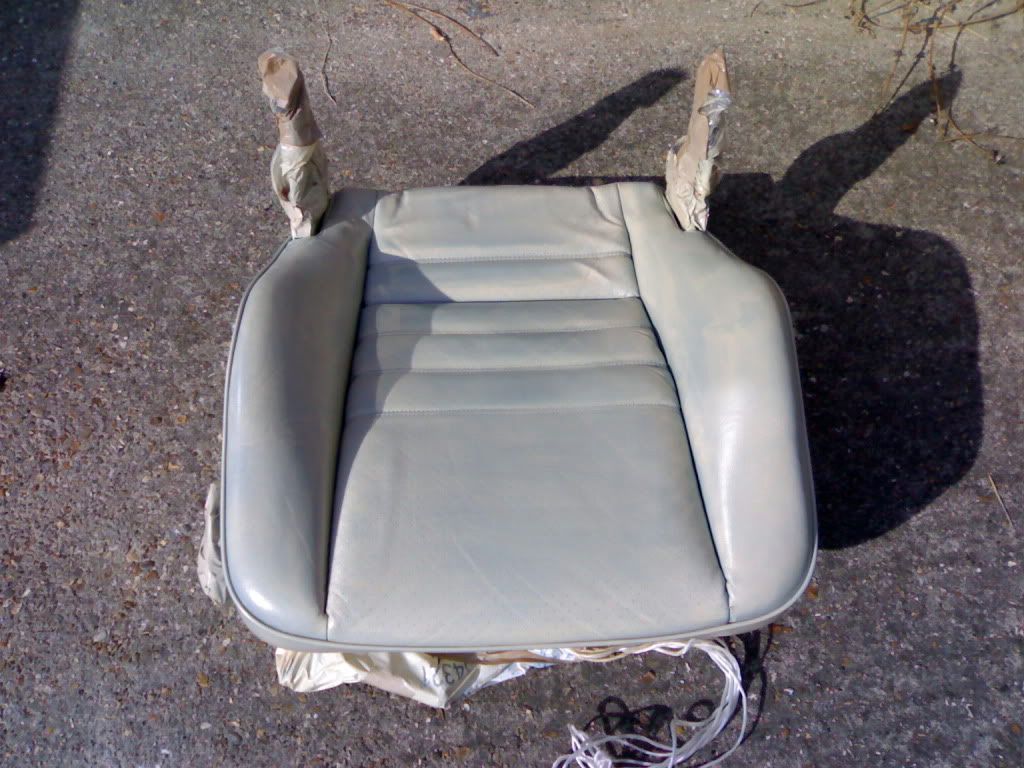
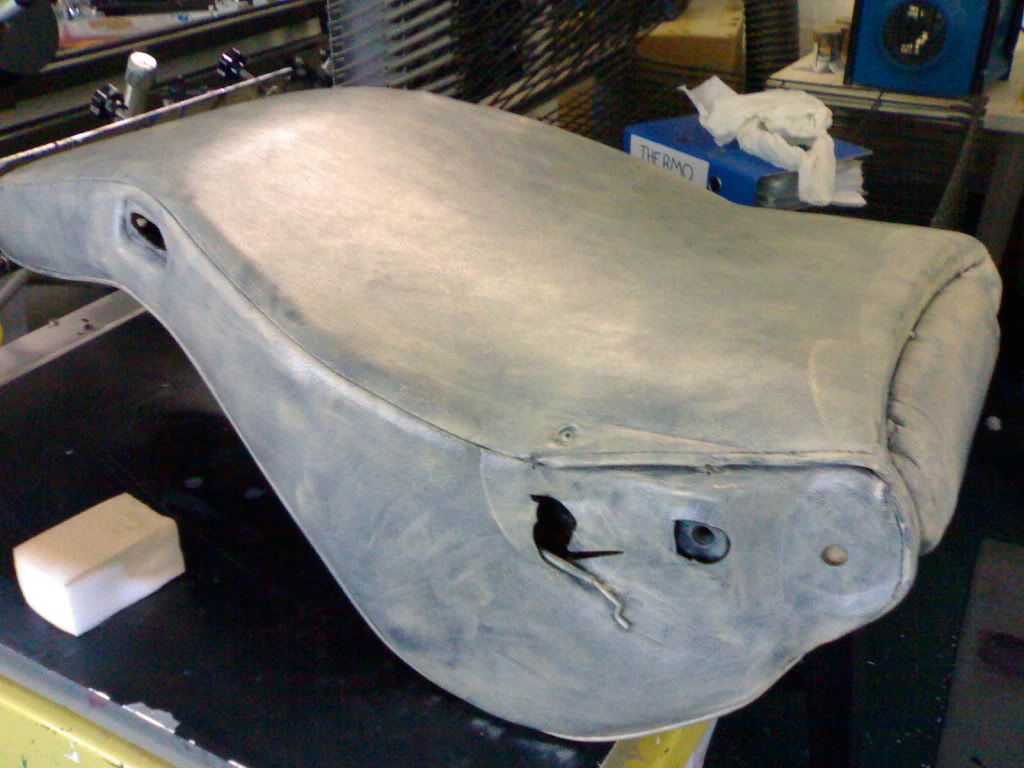
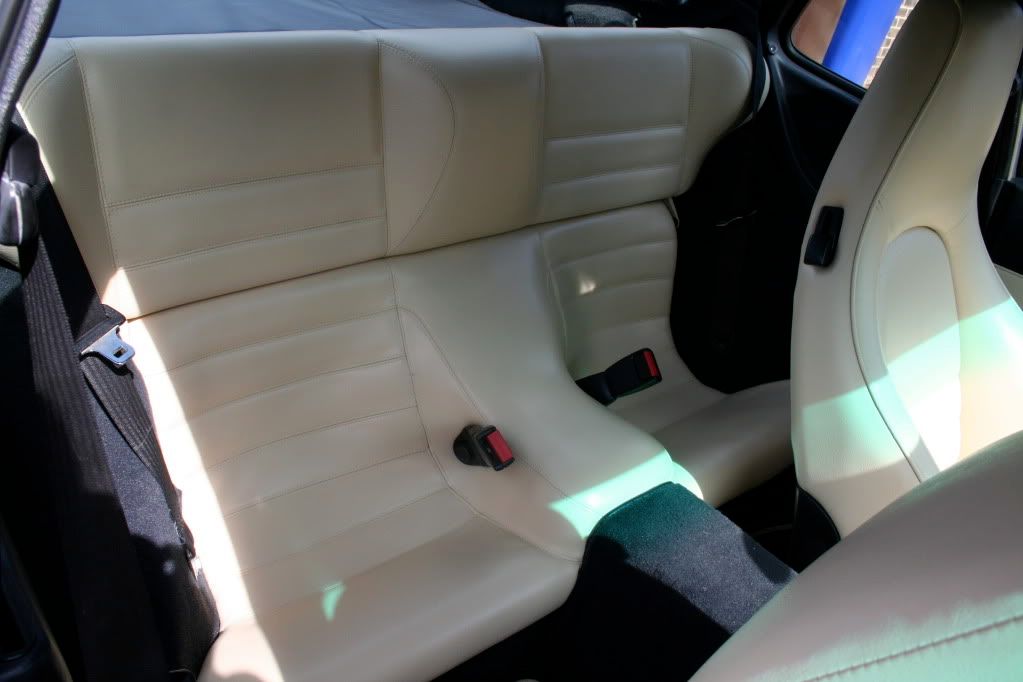
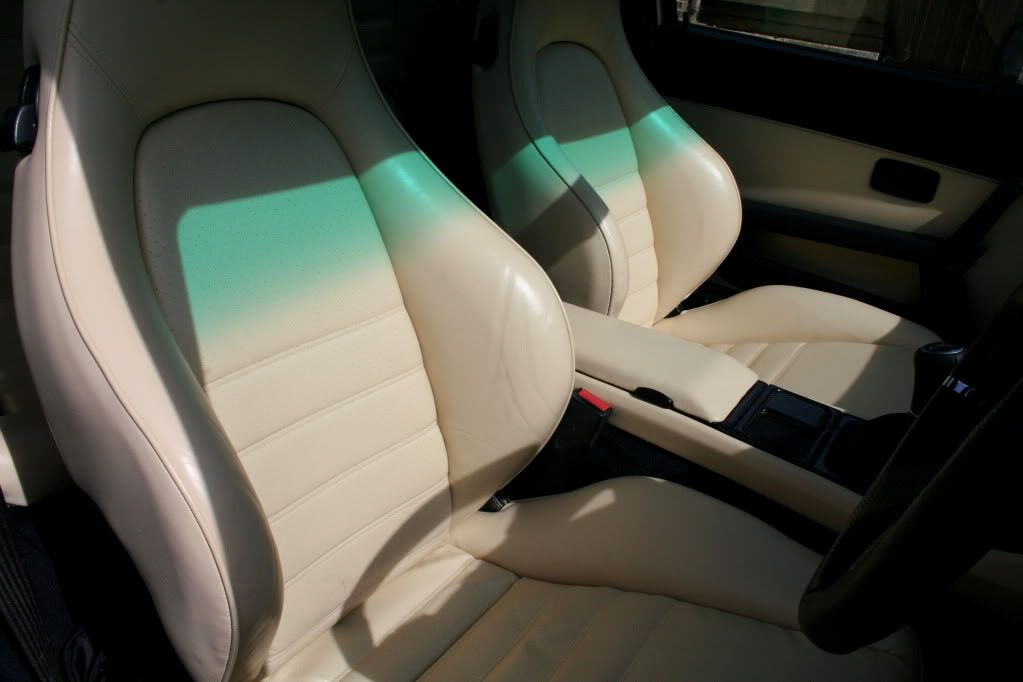
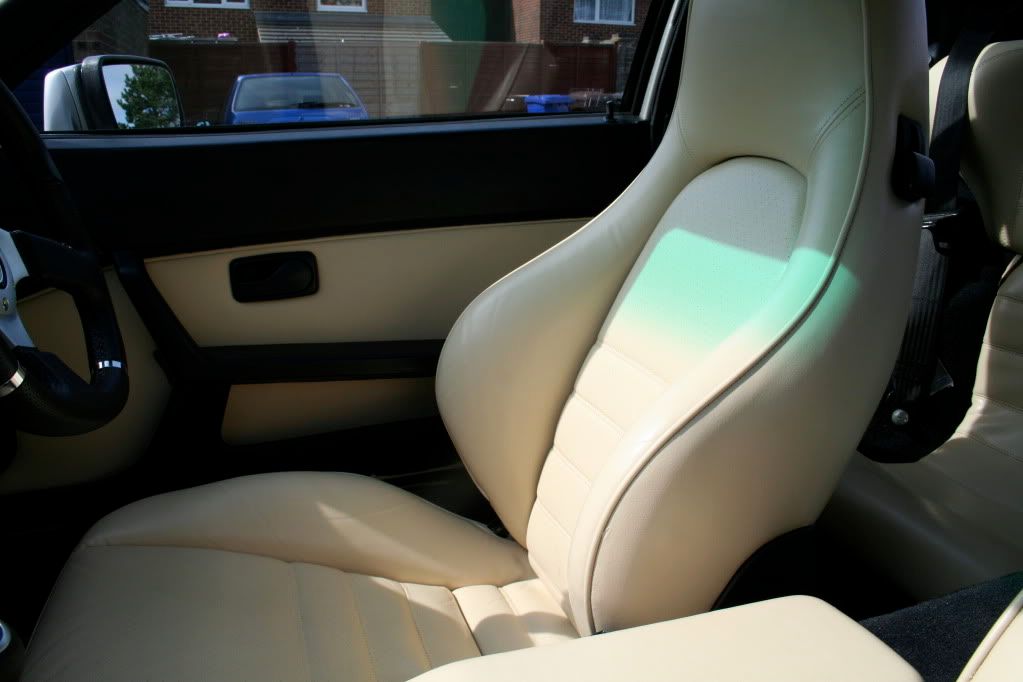
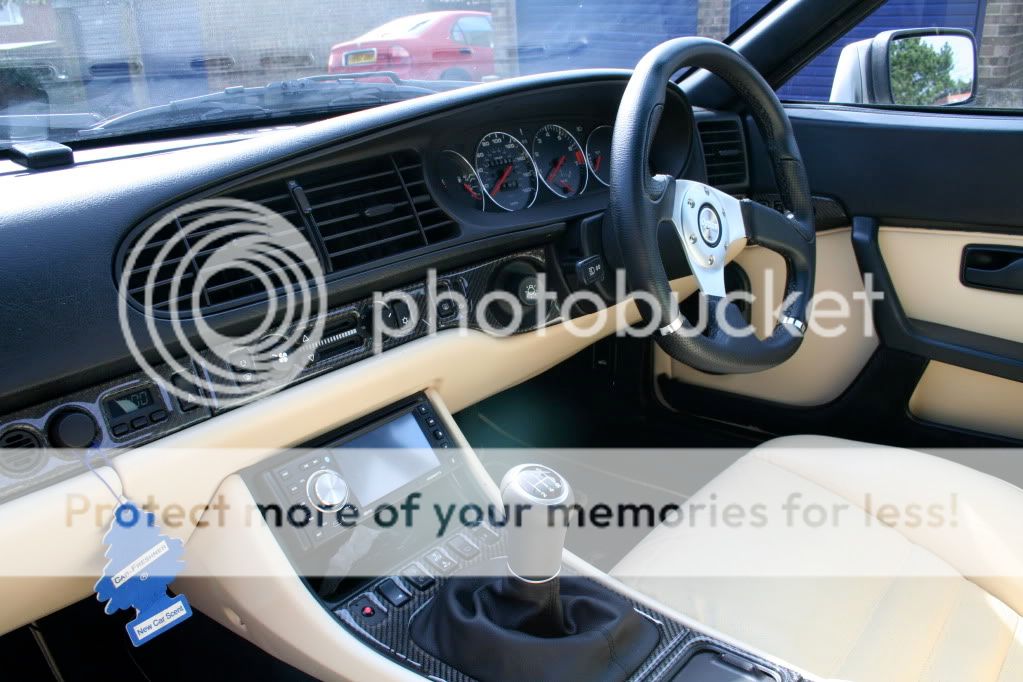
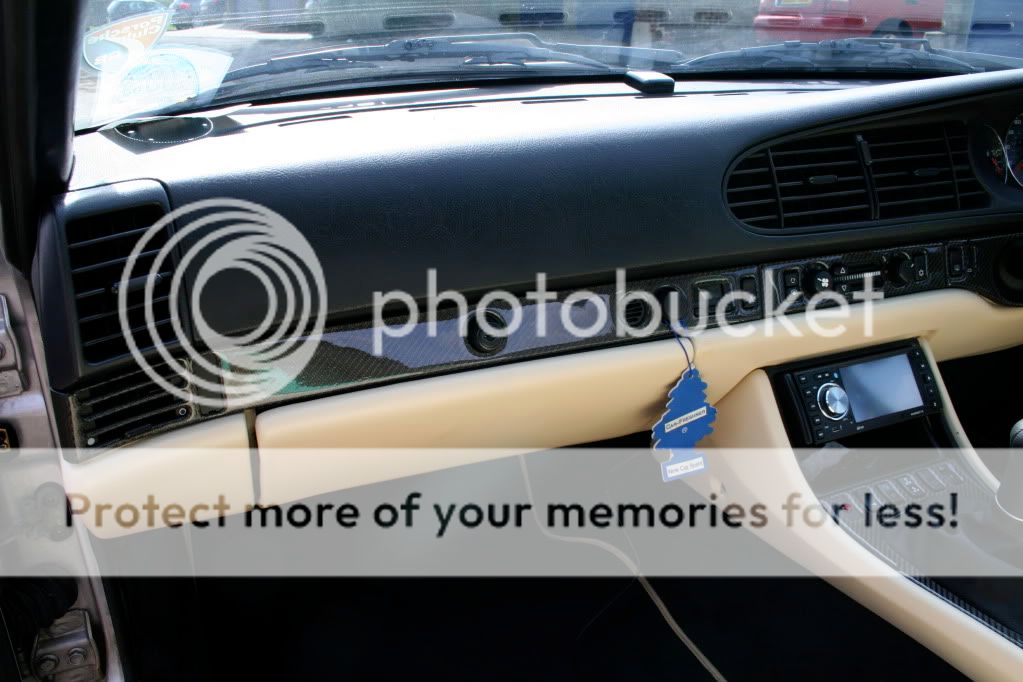
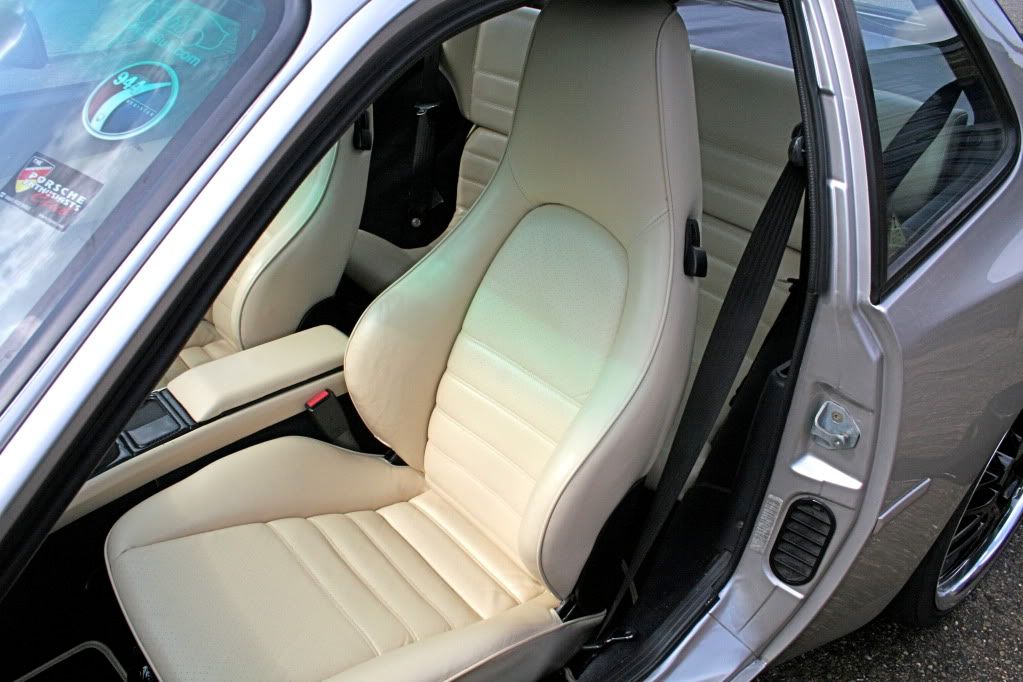
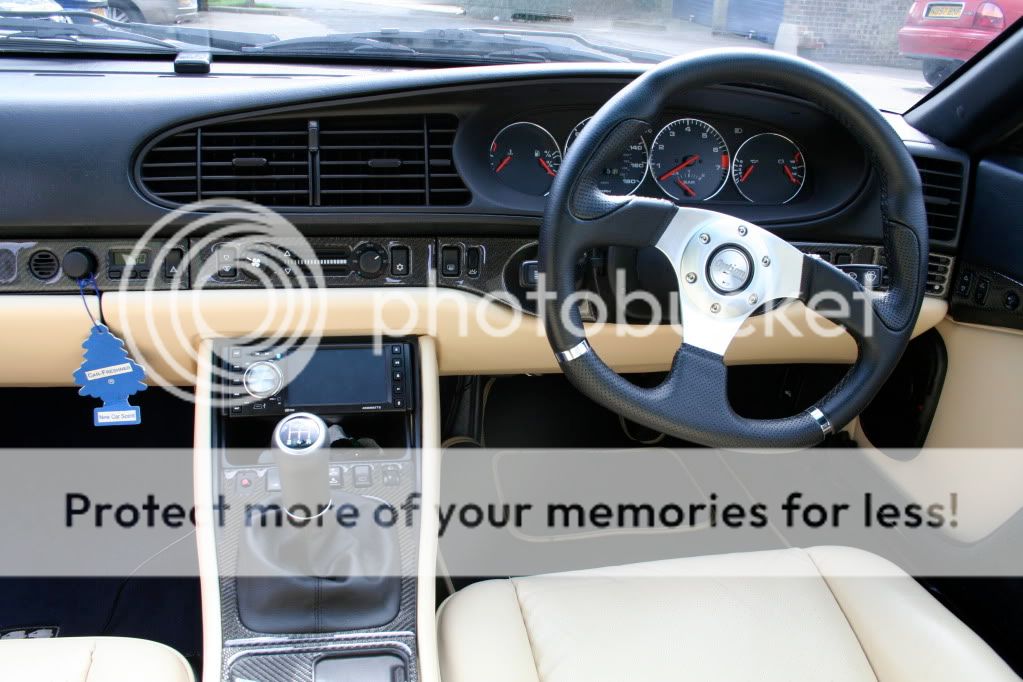
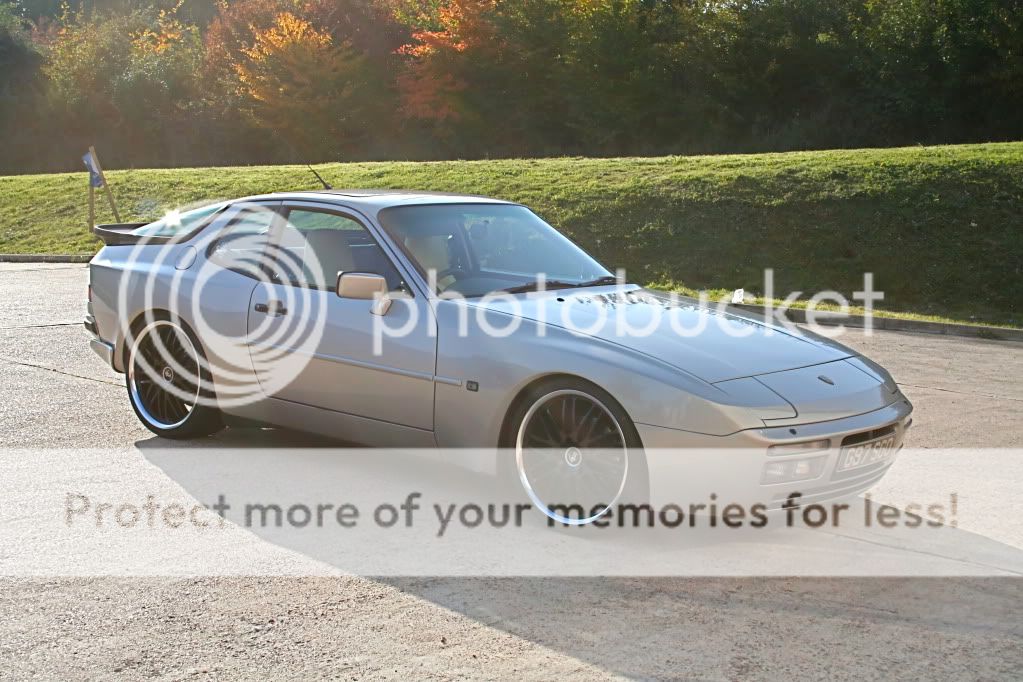
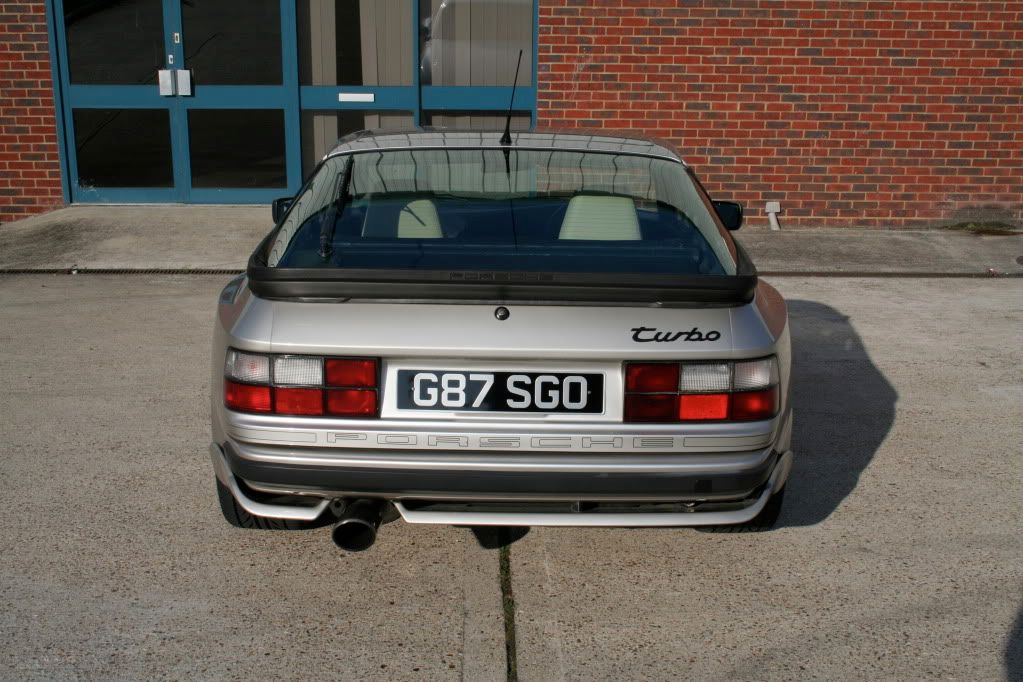
Finally thought I'd post a few pictures and details of the leather repair and re-die from my interior. When i purchased the car it had a rather worn looking dark blue interior. The driver seat bolster had three nasty looking rips. I thought about going for a complete re-trim but the costs were horrendous. I then looked into the leather repair and re-die kits you can get on the internet. After looking at various you tube video links on the procedure I thought I'd give it a go. After taking the seats out first you rub them down with a solution that takes of the top protection layer and some of the old die. This gives the new die some thing to key on to. This was a very messy job. Then you have a special compound to repair the rips. First you lay some hessian behind the rips and glue the edges down. Next you slowly fill the rip in with the compound which is a kind of very wet putty. You slowly build it up layer by layer until it sits proud of the suffice. Next you sand it down until it's level with the suffice trying not to sand too much of the surrounding leather away. This is a very slow process and it took me many times to get to a reasonable state that I was happy with. When I was finally done with all the filling and sanding it was time for the re-die. I decided to go all out and completely change the color from dark blue to light beige . I had the firm custom match me a color of my choice. First you dab the die which is more like a very very thin paint all over with the provided sponge and leave to dry. Then you slowly build up layer after layer by spraying on the die with the hobby air gun provided. This turned out to be very slow and nearly useless. I'm lucky enough to be in possession of a compressor and spray gun so i used this instead. All though this gets the job done quicker it is much more thirsty on die. I used 5 liters to do the full interior all though i did do the dash, door cards and center console as well.. The hardest part was between the back and bolsters and seat back and cushions. I had to press down with my knee to open the gaps between cushions and bolsters and spray a little at a time, drying with a hair dryer before releasing my knee so the two parts did not touch and stick together. What a pain in the A****. I lost count of how many coats of die I sprayed but it was at least six. Finally I sprayed on a protective sealant which gives it a gloss, matt or semi matt finish. I then did the lower door cards, lower dash which I replaced because the old one was cracked and the center console. I finally replaced the whole interior back in the car while adding a new illuminated gear lever, blue illuminated leds in the instrument cluster and air con controls, some aluminum instrument bezels, a carbon fiber dash kit and a new steering wheel. The whole job took two very long days to complete I know some of you may think its too bling for their liking but I just wanted to show what could be done with £150 worth of leather repair kit as apposed to a £2000 re-trim.


 ]
]
