HI There!
I thought I'd post up after a recent email from Paul - he told me he has posted up his car on here and thought I would like to add some more information for the readers on all the process steps involved in the detail.
My business partner currently owns a lovely Midnight blue turbo 4 and I am still on the prowl for the right 964.
Paul originally contacted me via PCGB after seeing a few of the others member's cars having the offyourmarks detailing treatment. We had a long chat to discuss his requirements and we booked in for two months later due to workload. I must admit, right from the start Paul came across as an extremely passionate 964 owner who absolutely loved his car. I was looking forward to getting started on it and hopefully making Paul even more content with his 911.
So when the day arrived, Paul and his wife arrived at 0800 hrs to drop off the car for the 2-day program. We discussed the process once again, and Paul added he would like a few small parking dents removed that had been bugging him for a while - no problem.
So Paul and his wife drove away in the courtesy car and I was ready to make a start on the work.
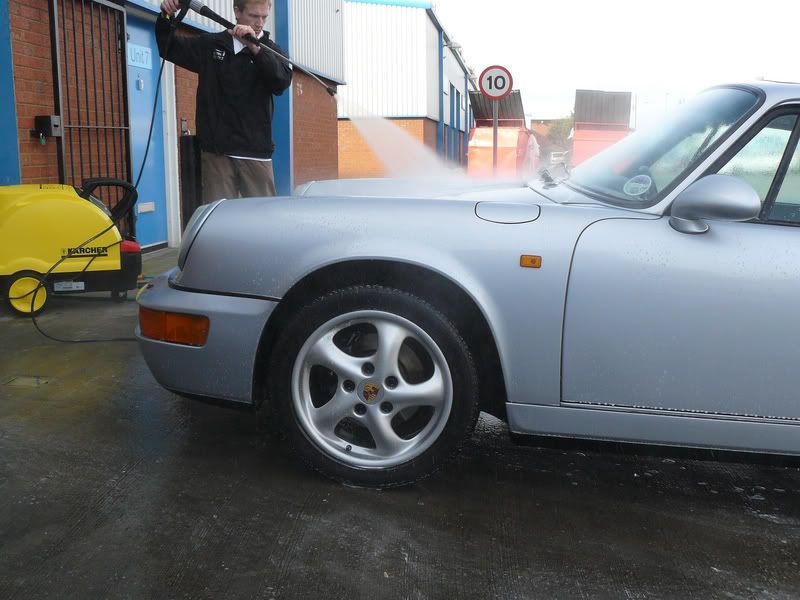
The first step in any of our procedures is to wash the car. The 964 was first pre washed using a warm mix of citrus de-greaser to break down any road film and other waxes.
By removing these in a pre wash also reduces the chances of inflicting further damage when washing.
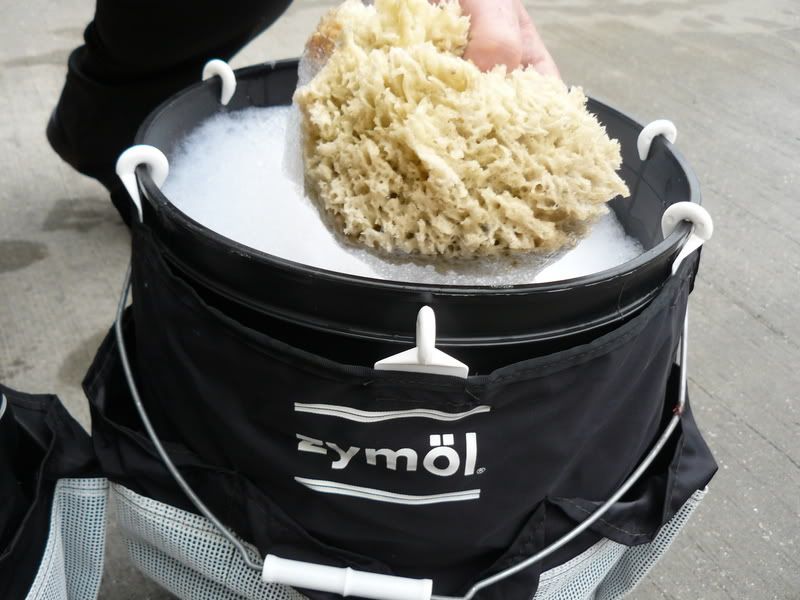
Following the pre-rinse the car was washed using a two bucket technique, both shod with grit guards and the use of a natural sea sponge
Following the washing stage, the car was again rinsed and then left ready for the cleaning stage.
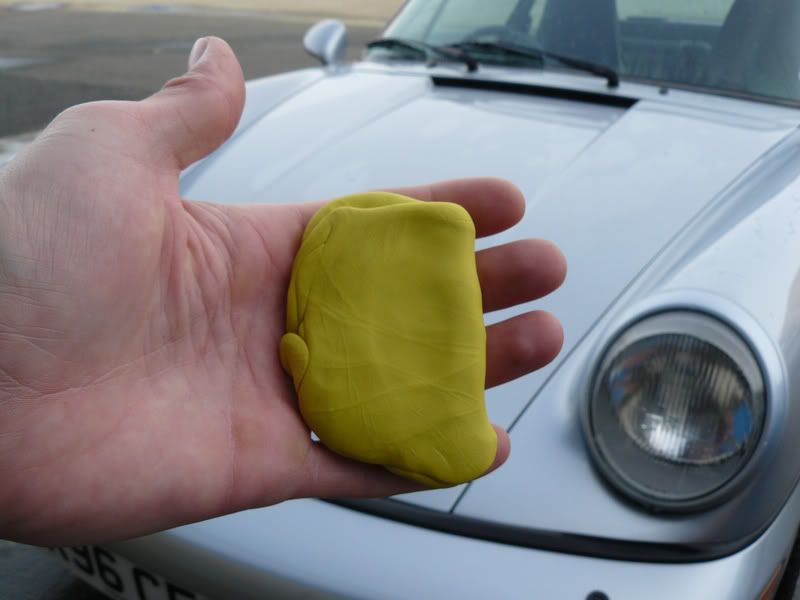
Now this stage is to remove any contaminants that you can't always see; minute particles of brake dust, tar, pollen or any grit. For this I used Lehm clay by zymol.
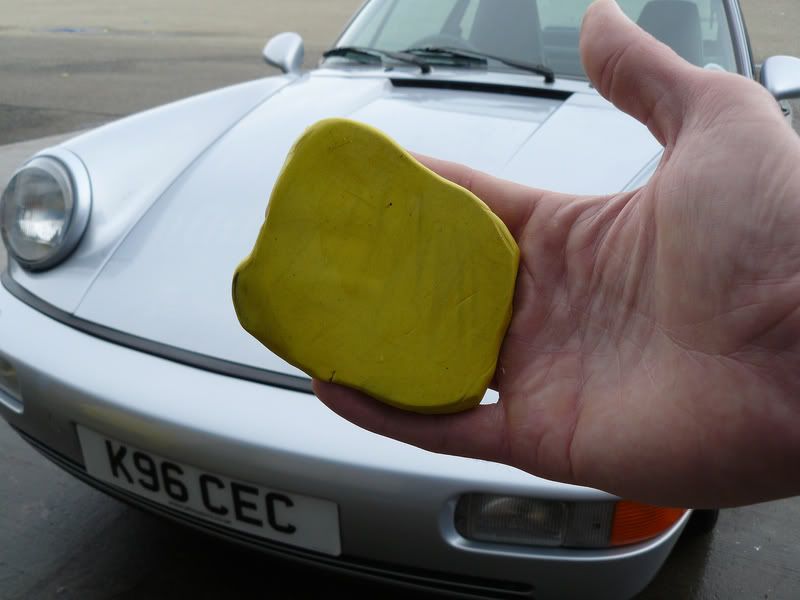
I had the clay near the heater, to gently warm it through to provide a soft pliable composition. The pic below shows a clean kneaded section ready for the process.
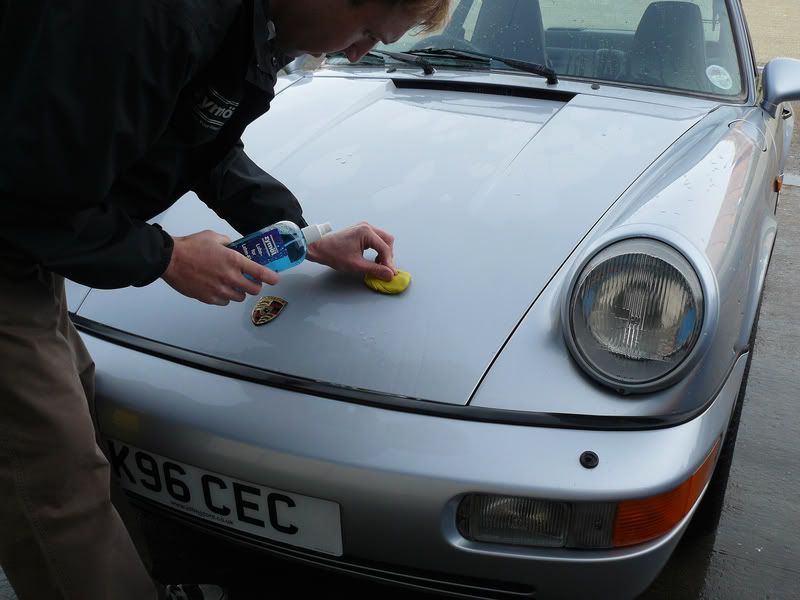
Then the car (still wet) was further lubricated with zymol clay lube and the clay gently rubbed over the paint, picking out the embedded particles and locking them away within its soft composition.
The pic below shows the contamination removed from a small section of the bonnet..
Following the cleaning stage the car was washed again. Wheels were recently cleaned and sealed by Paul, so I used Zymol wheel gel to remove any new dust from his trip down, agitated lightly with a soft horsehair brush.
So then the car was driven inside the detailing centre and positioned in the bay ready for the next step. I firstly removed any trim and obstructions and packed neatly away.
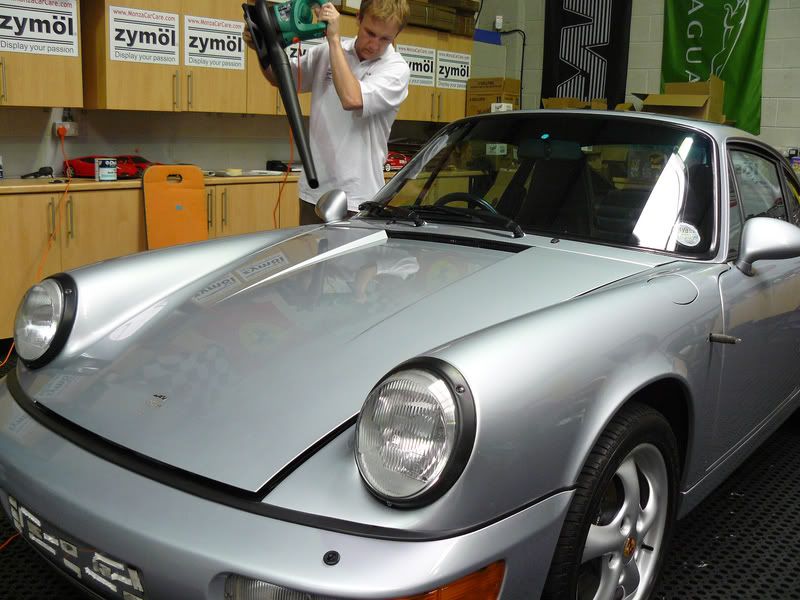
I dried the car via a touch less method - I simply used a leaf blower to air dry the car.
Following the drying stage the next step was the inspection to see the full extent of the defects that spoil the clarity of the paintwork.
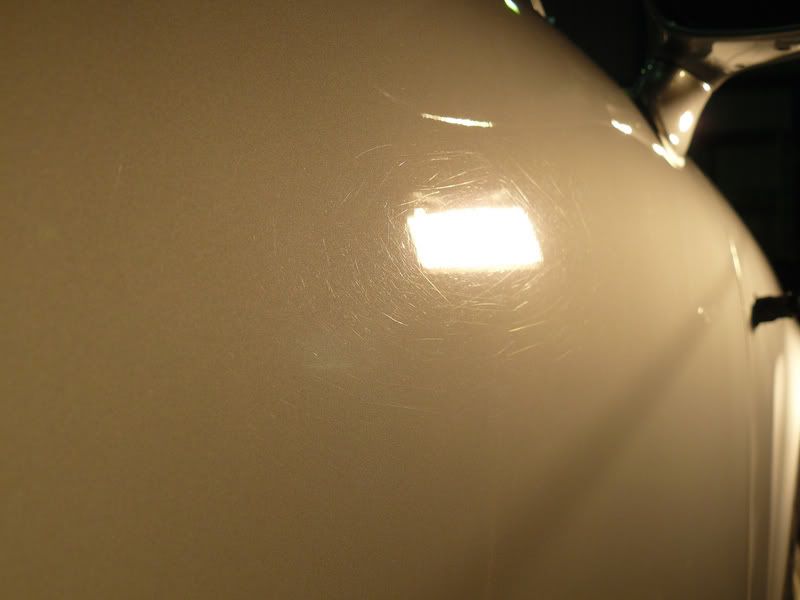
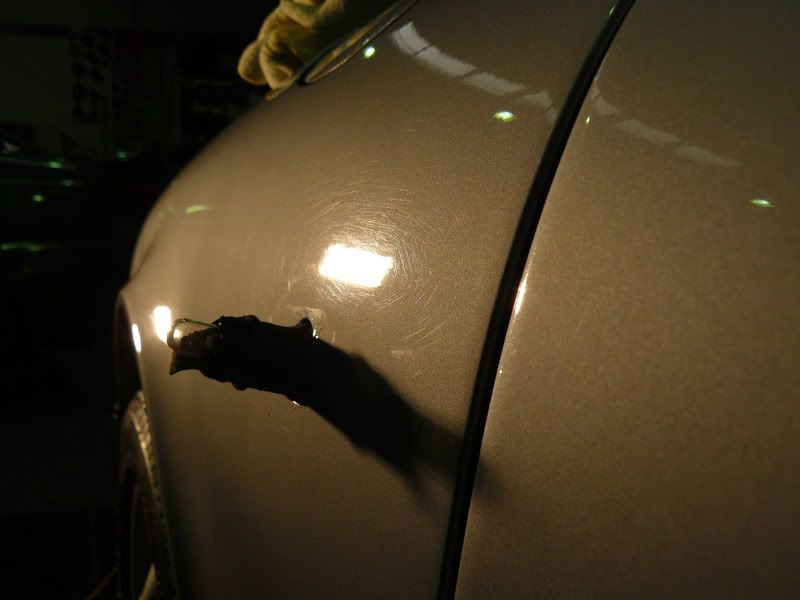
This is a typical example of the swirling on the paintwork
I then measured the thickness of the paint work to highlight repairs, damages and just how much thickness I had to play with prior to the corrective polishing stages.
The gauge is one of 2 I carry and it gives me a reading in microns (1000th of mm)
Paul's paint was in good order. I collated the readings in my laptop to build a picture of the paint on the car in my mind and also to aid me in determining the best format for the correction stage.
The majority of the marring was deep circular scratches that were different from the regular types of light swirling.
So, on to the Paint correction stages "" Corrective polishing is a multi stage process and probably the most difficulat and time consuming part of the detail. Done properly and thoroughly this stage can last from 6 "" 20+ hours! Alone. I found as time has gone on, to do this properly it is very rarely contained within 1 day, except in some rare cases with light swirling. Done properly Paint correction can yield amazing results. Done by the inexperienced then at best it will look better, at worst the paint can be ruined. There are many ways you can represent succesful paint correction with pictures and cute lighting, but believe me it needs to look right as possible to the naked eye in direct sunlight and to do this takes time.
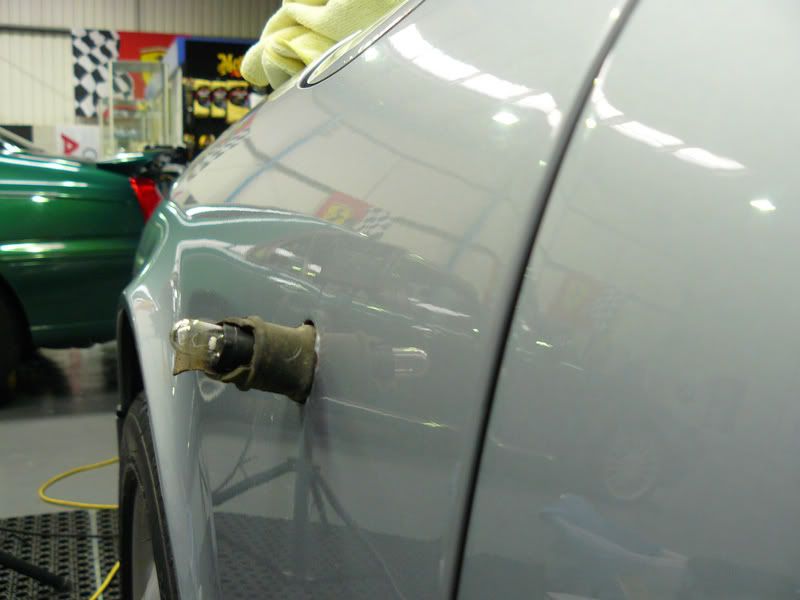
so heres some pics of panels with the swirling - O/S door
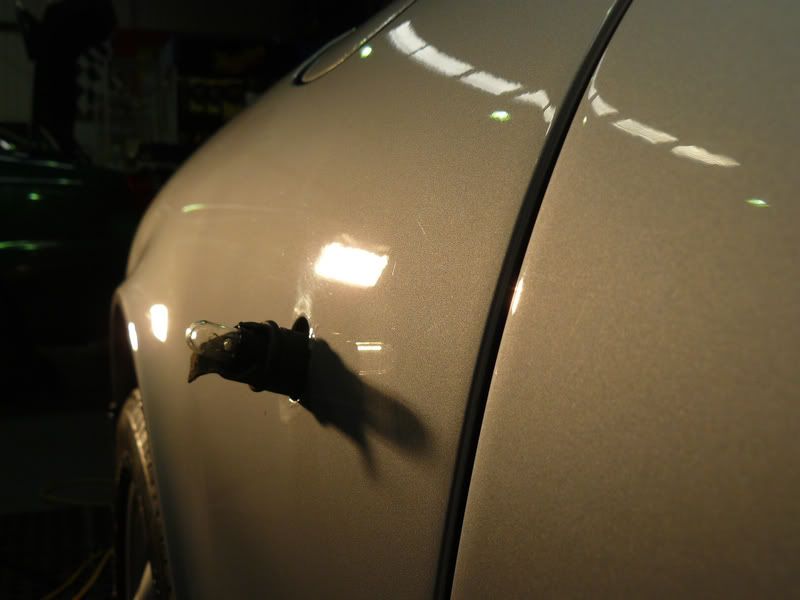
and after paint correction
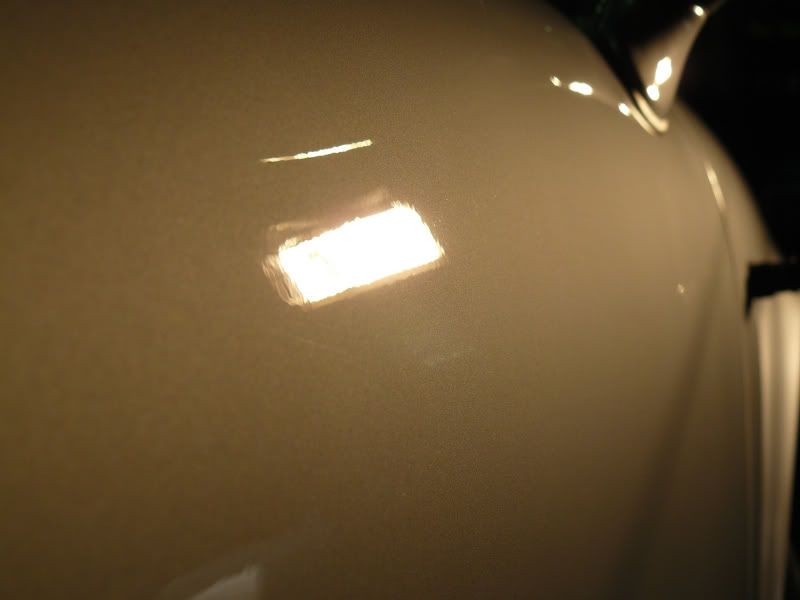
This pics shows the front N/S wing under normal lighting - looks fine right?
but under harsh light, not too good
all the swirling and scratching detracts from the clarity. heres the wing afterwards, just a couple of deeper scratcheds to be addressed later on
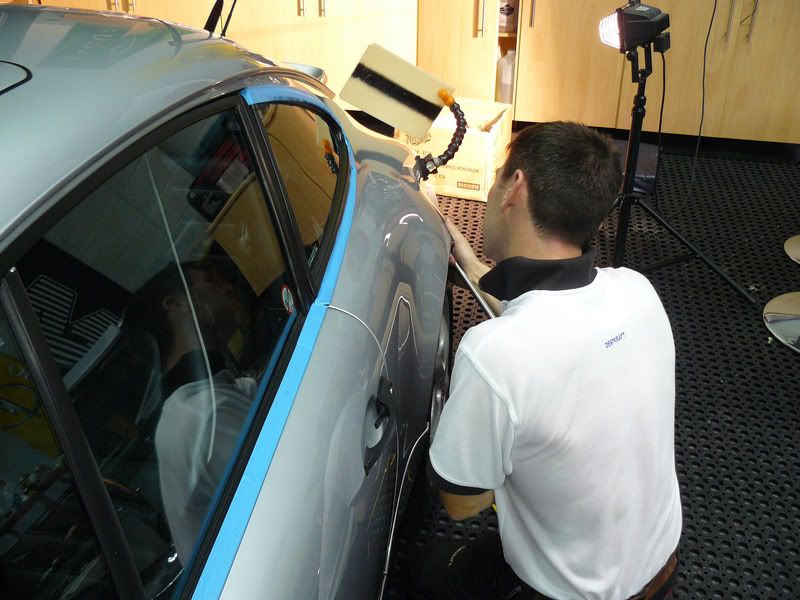
During this first stage of paint correction, our dent guy addressed the problems. heres mark working on the rear N/S wing
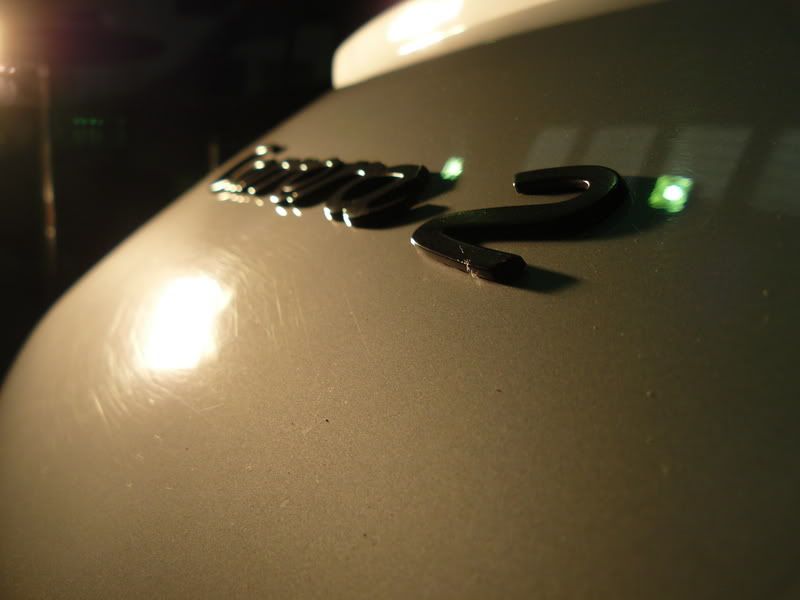
heres the rear engine panel
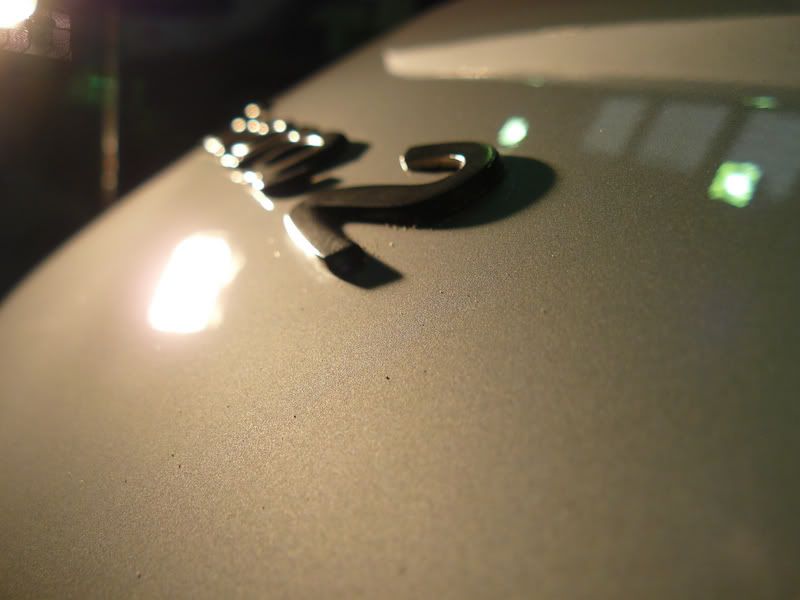
and after
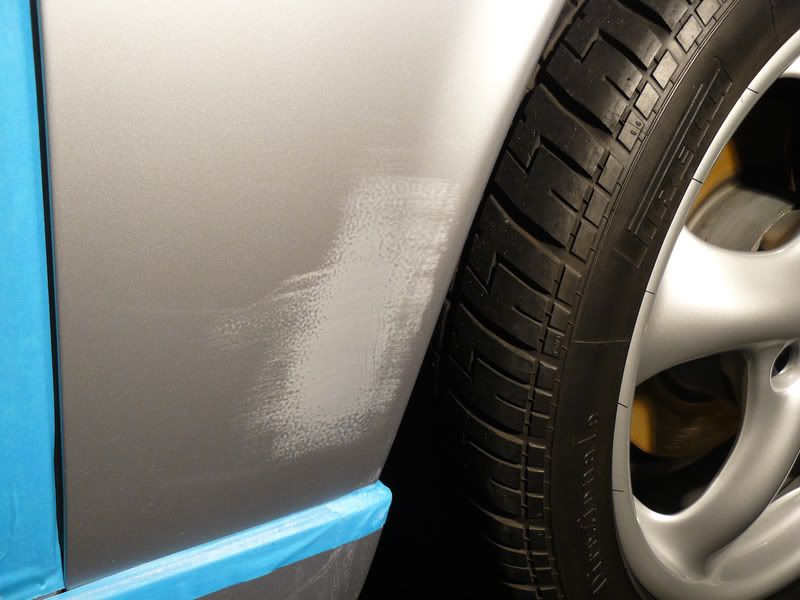
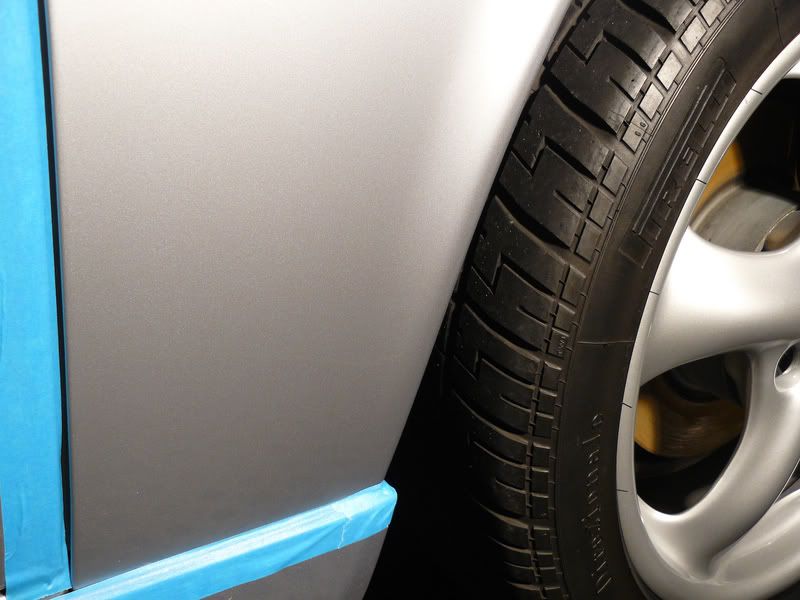
after the deeper swirls were removed and the dents gone, the next step was to address the deep scratches. This needed a more aggressive step. Here i used pre-soaked wet and dry 2500 and 3000 grit paper to remove the bulk of the defects.
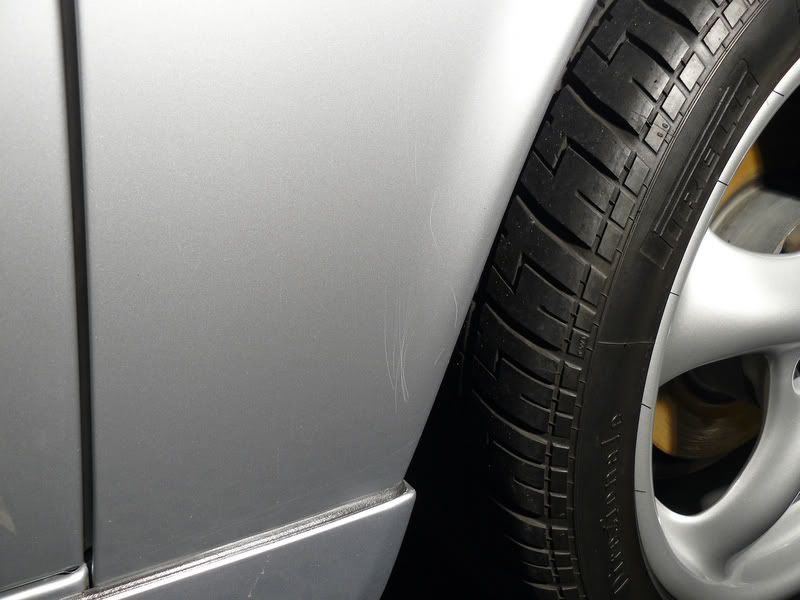
This step below shows it well. First the scratch at the bottom of the wing
and then after a light wet sanding stage
and then after polishing out
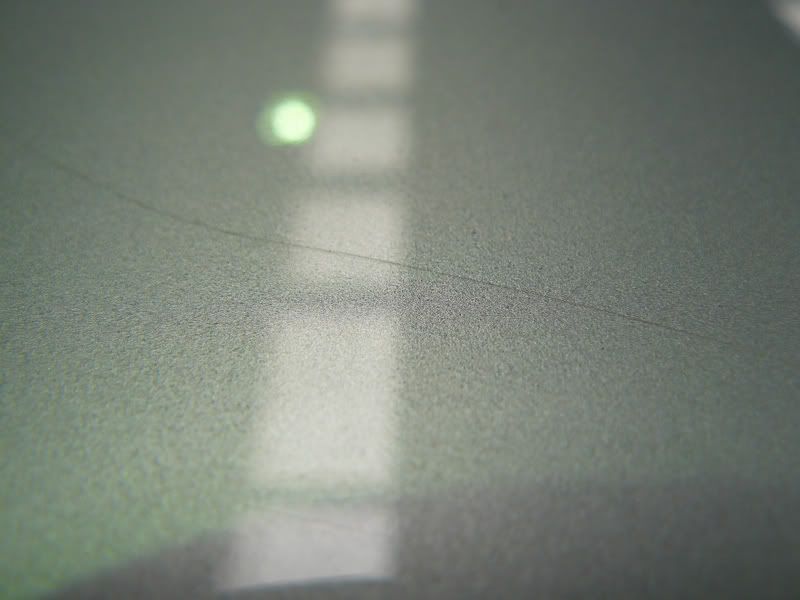
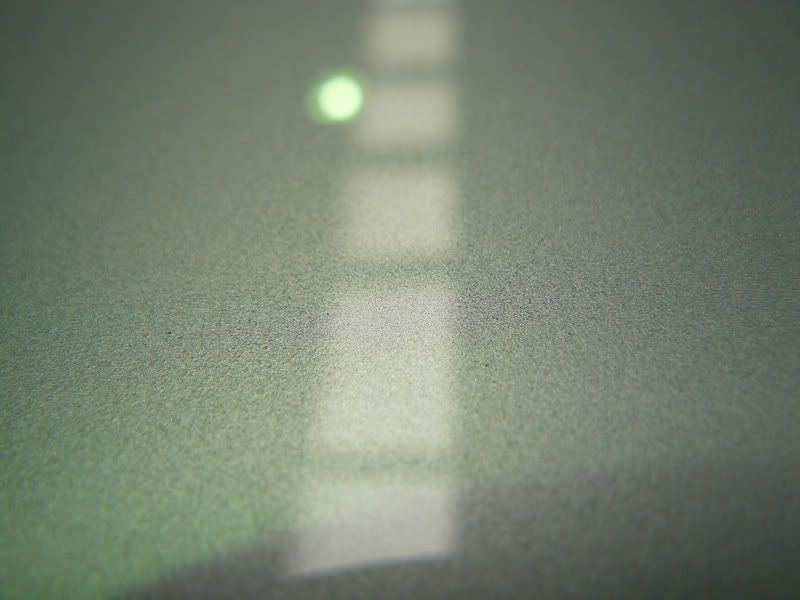
various defects were removed in this manner, including this on the sunroof section
and after - gone!
so with the dents removed, 98% of the swirls and defects ( some too deep to remove safely)it was time for the finishing correction to reove any dulling imparted when following a more aggressive polishing stage
After this the car was taken outside and washed again, brought back and dried.
Then the paint was prepared using Zymol HD cleanse. This product is used to reove and polish oil and residue from within the paint and prepare the paint for acceptance of the wax.
Paul Chose our most expensive wax - Zymol Royale (currently retailing at £7,188.00 for 44 oz) as the protection offered adn depth of gloss is second to none. By having this product on he was assured of an incredibly tough durability through the coming months. The big deal is that 73% of the total volume of the product is pure #1 brazillian white carnauba wax. You may see carnauba waxes costing a fraction of the price; but containing only a fraction of the Carnauba. It is applied via bare hands and requires the heat to soften it before i massaged it into the paintwork.
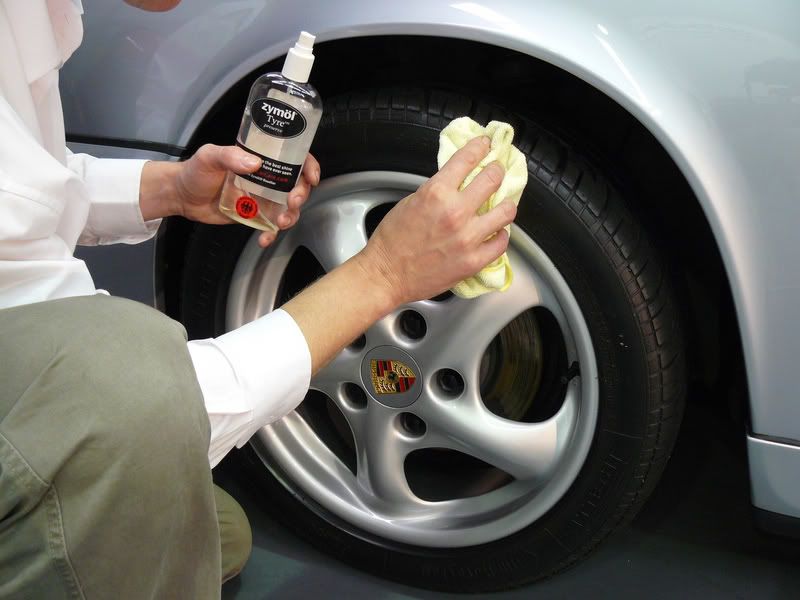
After the initial buffing i proceded to clean and dress the wheels and tyres. I appied royale to the alloys too and finished the tyres with Zymol 'tyre'
Its worth also noting that window rubbers were coated with Zymol Royale as its purity affords protection and feeding of even rubber with no white residue.
After the dressing the car was buffed again, lightly spritzed with Zymol Field Glaze to reove and 'sweat' from the initial coat of Royale.
All glass cleaned and polished using Zymol 'glas'
Paul opted to tackle the interior in his own time, so it was simply vacuumed clean.
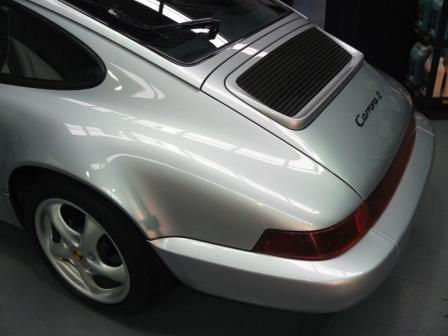
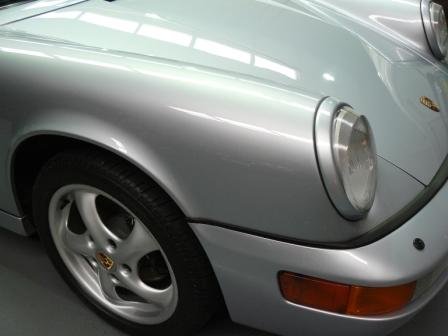
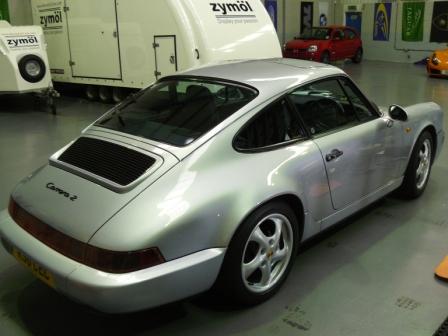
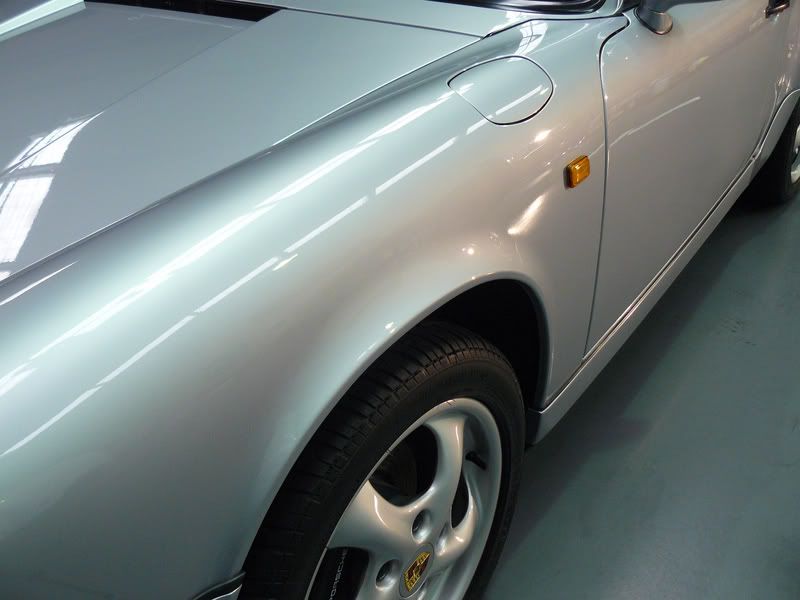
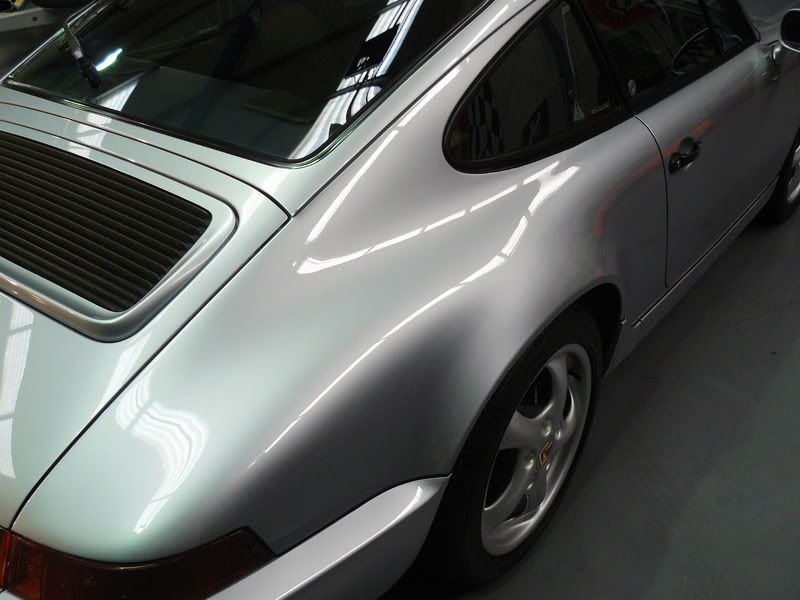
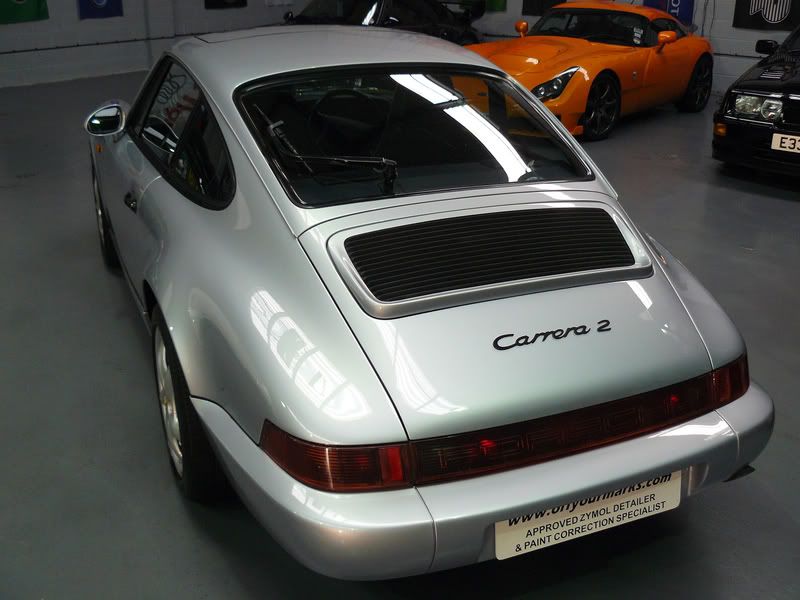
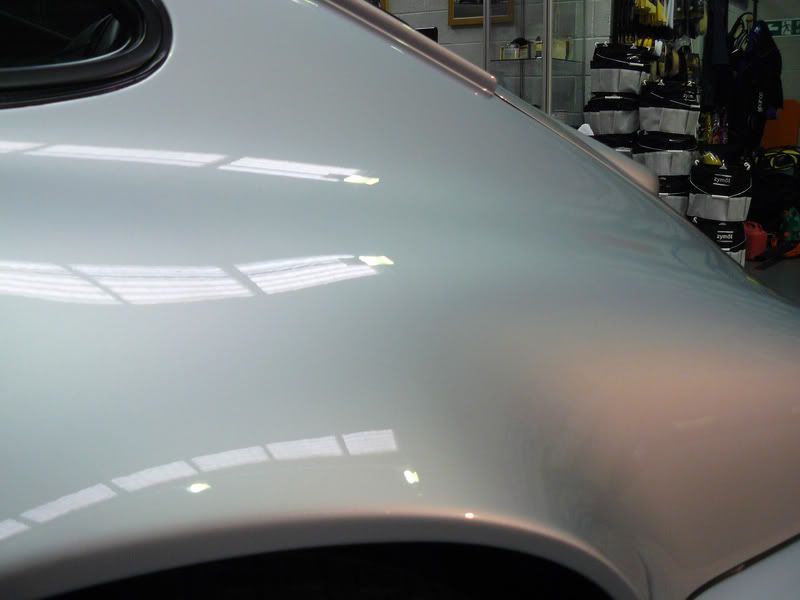
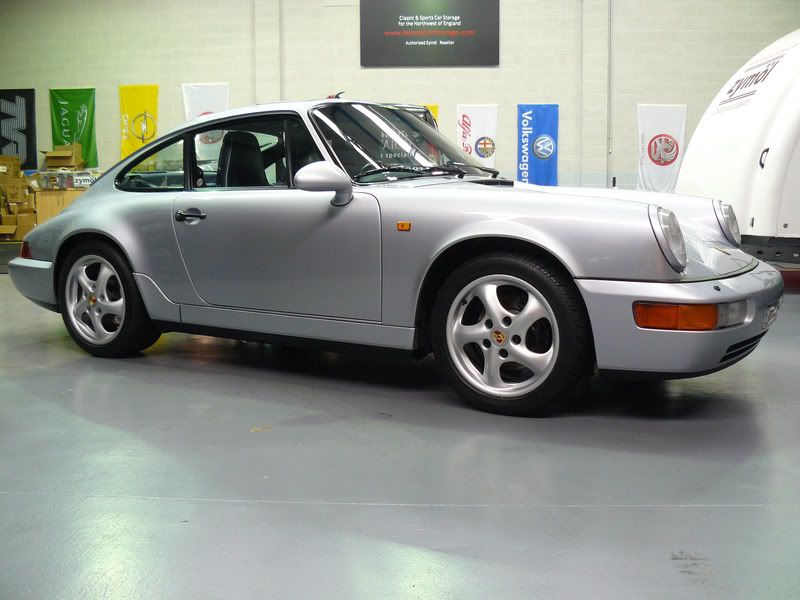
So heres a few finished shots following the work.
so, thanks to paul for allowing me to work on his car! very enjoyable and great bloke to work for. I think he may be back soo though - we have just invested in a 4 tonne ramp so we can detail the unterside of cars too!
Kind Regards
Matt
 ] Praise where praise is due and I can only concure with what has all ready been said on the NE & NW forum and hence my reason for posting up here, so that those of you looking to loose those unsightly swirls, scratches can also benefit from his skill, patience and dedication like I have done. Matt's workmanship is first class, A1, top notch,...... what you see is what you get, the pictures speak for themselves. I hope you like them! Thanks to Matt.