Lee -mine are 6000K units, running 35W, with 23,000 volt ignition (scarey sounding eh [&:][&:])
I posted my install on other forums, but copied the bulk of it here - bit long, but hopefully it gives an idea ...
A bit of background to start:-
There are many options open to owners, perhaps more so for the 986 and 996 brigade, when it comes to upgrading headlamps or headlamp bulbs in particular.
The easiest and cheapest entails just swapping your standard headlight bulbs, for something newer and of higher technology. Philips, Osram , Silverstar all offer replacement bulbs of the same wattage claiming higher light output, all down to the mixture of gases used around the bulb filament.
For those running cars over three years old these would be a worthwhile upgrade on their own, as bulb performance is known to drop off over extended periods. Cost round £18-£25 a pair.
For those with deeper pockets then the ultimate halogen bulb renewal comes with PIAA extreme white or platinum white bulbs. Costing £65-£85 a pair they are not cheap, but do give a useful increase in light.
I will not talk about higher wattage bulbs "" yes they work and no they're not legal. As to what they do for your wiring harness, ECUs and other delicate electronics I cannot say.
Beyond straight bulb replacement the next level is a Xenon / High Intensity Discharge (HID) upgrade (installation described here) where you basically swap the standard bulb for a Xenon unit and then add additional wiring to ignite the new "˜bulb'. Various systems are available, look at www.h-i-d.co.uk for instance, or www.xenonvalot.com . These systems are now designed so that the xenon "˜bulb' has the same base profile as the halogen bulb "" previously they were not an exact swap. With these systems you do not get headlamp levelling, or headlight washers, both of which are a requirement for the UK MOT test.
Alternatively you could try replacing the whole headlamp unit for a Porsche litronic one, although I'm informed the wiring / car electronics are configured differently and cannot simply be reprogrammed.
What do I need to know about xenons?
Do not be drawn by all the marketing hype that the higher the Kelvin (K) value the brighter the light. The K value is purely a temperature value (at whicjh the gas ignites) and is really only an indication of the colour of the light. 4100 or 4300K is somewhere near a white light, 5000-6000 gives a slight blueish tinge, 8000-9000K gives a definite blue to purple hue.
The light output (lumens or candela) of the bulb is slightly affected by the K value. 5000K is about the brightest, and as the K value rises then light output falls away, but not significantly.
You also need to know the bulb type you currently have. For 986/996 this is H7, for 993 H1 (?). Older vehicles may use H4. H4 is a combined dipped and main beam bulb, and is therefore more complex to replace (you have to replace both dip and main beam rather than just dipped)
The first xenons fitted at the factory used xenon for the dipped beam only and standard halogen bulbs for main beam. More recently bi-xenons have appeared which utilise a moving reflector within the lens and employ the xenon unit for both dipped and main beam operations.
The following instructions deal with a H7 dipped beam replacement only. For main beam you will need to buy two kits.
Replacing Halogen Bulb with Xenon / HID replacements
The following is a series of steps which I used to replace the standard H7 bulbs in a 2004 Boxster, with a 6000K xenon upgrade kit. To the best of my knowledge and ability I believe these to be correct. However , you follow these instructions at your own risk. Always refer to the installation instructions supplied with your xenon upgrade kit.
Total installation time < 3 hours
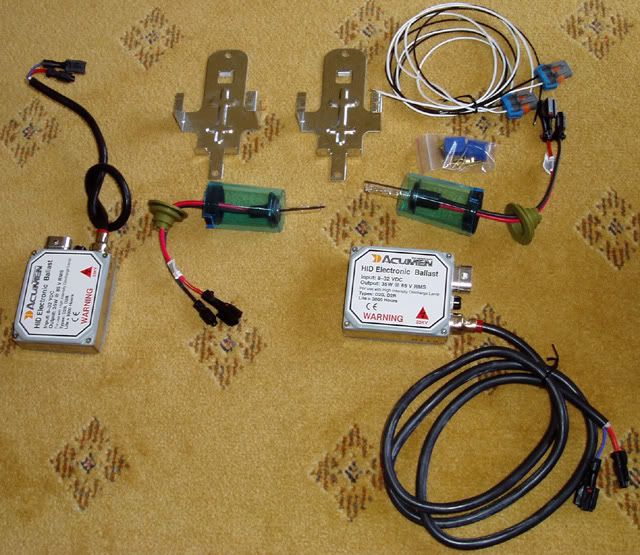
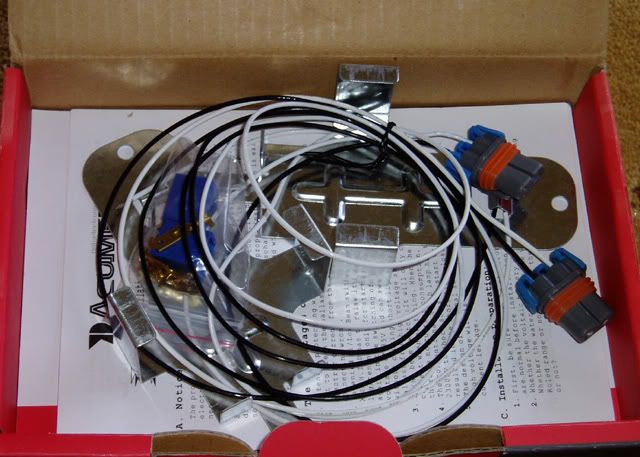
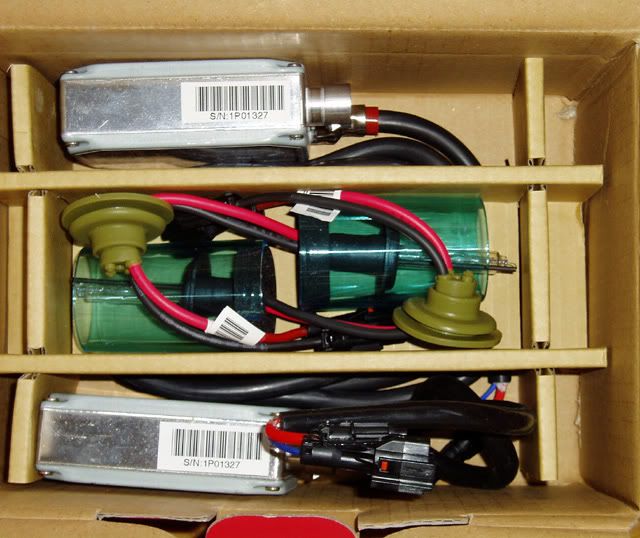
The complete kit contents are shown in the picture below:-
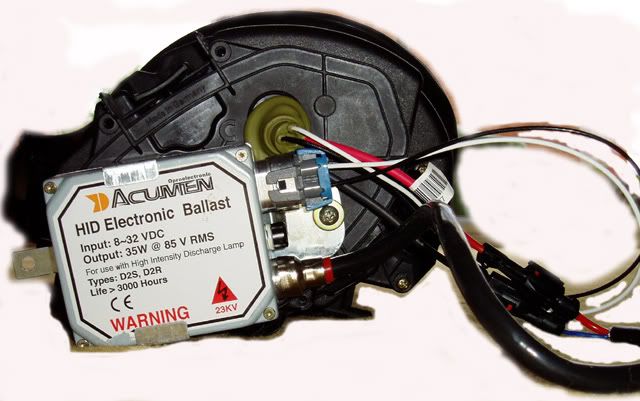
the kit comprises an additional wiring harness, the xenon 'bulb' units themselves and the igniter boxes, required to generate the 23000 volts to ignite the bulb initially. In the following photographs the xenon bulb units are protected in a green plastic see through sleeve, which is removed prior to installation!
Step 1:- Open front luggage compartment and remove the spare wheel and the carpet trim which is held in place by two push in plastic studs below the bonnet release lever, one stud on the passenger side, and two larger plastic clips which you unscrew about 8 turns. The front carpet section will then lift away from the rubber bonnet seal.
Step 2:- Remove the black rubber cover which is now visible inside the boot area, level with the middle of the headlamp assembly, which covers the release lever socker for the headlamp assembly
Step 3:- Remove complete headlight unit using the supplied socket lever from the toolkit. This is detailed in the vehicle handbook. It's a bit frightening when you hear the loud crack as the light unit is released. Rotate the release lever back to the midway and manoeuvre the headlight unit from the wing area.
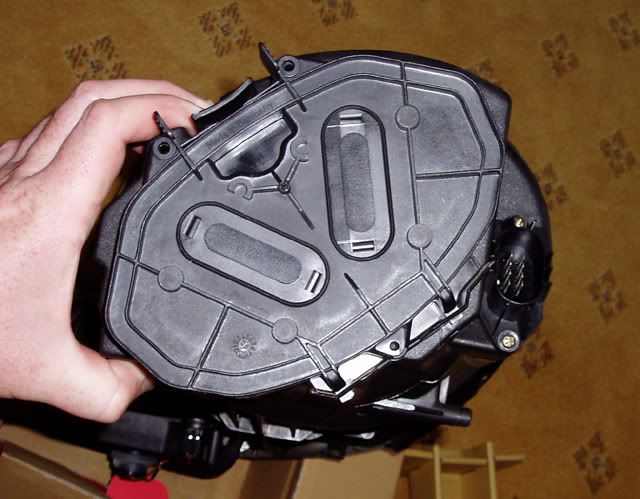
Step 4:- Look at the bulb cover at the rear of the light unit and assess the best place to position the igniter box and/or its bracket, and also where you will drill the hole to bring the new wiring through to the igniter. See picture below.
On some other models (eg 993) there may already be a vent in this cover which can simply be enlarged to accomodate the wiring plugs.
You will need to drill a hole approx 15mm diameter in order to thread the cables through and possibly some other smaller holes to position the igniter box bracket
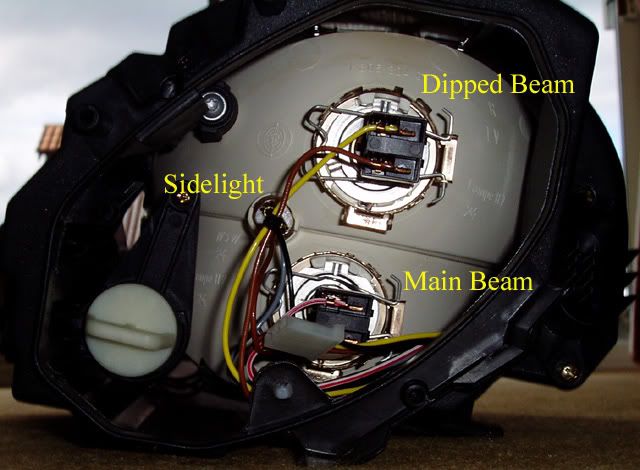
Step 5:- Remove the standard halogen bulb and replace with the new Xenon "˜bulb' unit. Ensure that you do not touch the glass area of either with fingers or contaminate the glass with grease or such like. Bulb layout is shown below.
Step 6:- Follow the guidelines and drawings in your installations instructions. At this stage you will probably be threading the cables through the rear cover, fitting the wiring grommet and mounting the igniter box brackets.
TIP "" make sure you thread all the wires through the grommet before adding any additional electrical connectors such as male spades.
The new wiring takes its feed from the old headlamp bulb electrical connector "" you may have to use electrical tape to cover these connections afterwards, since not all the supplied plugs are fully compatible with the original Porsche plugs. These thinner cables should then run to the igniter box, and a heavy duty cable then return to the new "˜bulb'
Step 7:- Once all wiring is complete replace the rear cover on the headlight unit and position the igniter box securely. See Picture below.
The whole unit is now ready to be replaced in the front wing
Step 8:- Reinstallation "" follow the instruction in the vehicle handbook "" the lever/socket must be in the mid position to allow the headlight to slide back into the wing aperture. Ensure that none of the new wiring interferes with the headlight electrical connector block and that the igniter boxes do not foul anything that may be behind the headlamp. Position the headlamp and then secure by moving the lever to lock the unit in place.
Step 9 :- test the headlamp unit. IF nothing happens then the most likely cause is that the two thin wires which take the feed from the original headlamp bulb connector plug are the wrong way round !!
If my xenon bulb installation paperwork is to be believed then the brown wires on the Porsche wiring are ground/negative, the yellow the positive.
Step 10:- Repeat with the other headlamp unit
Step 11:- Reinstall rubber headlamp release covers, carpet and plastic clips (3 small, 2 large)
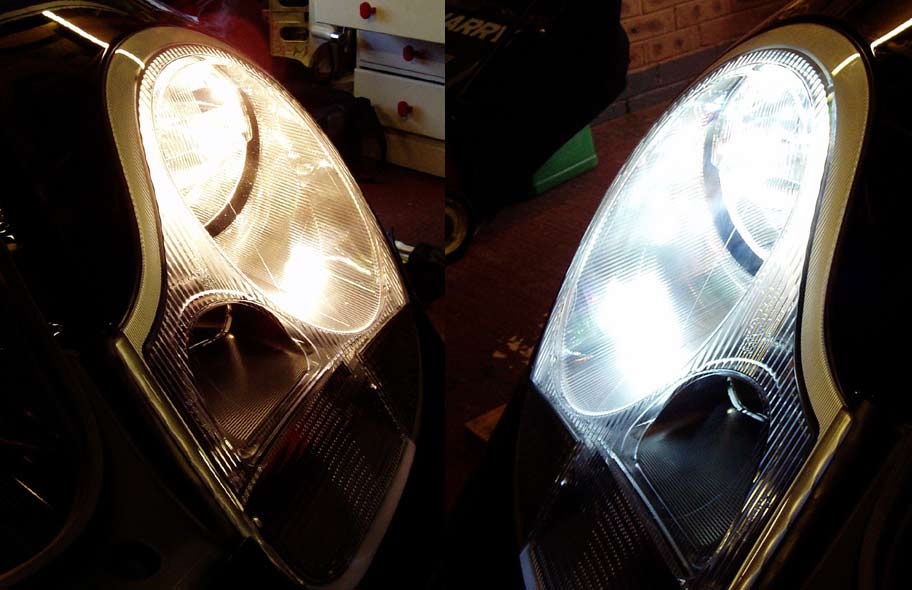
Step 12:- stand back and admire your handiwork - see pics below for before and after shots.
Before:
After:-


