
944 and 968 dashboards crack after years of sun and UV exposure. Mine has a couple of cracks but nothing too major - however I'd had my eye on the leather dash covers on eBay for a while. I couldn't find much online feedback about them (only a thread on 911UK from a local 964-er) so just had to go for it!
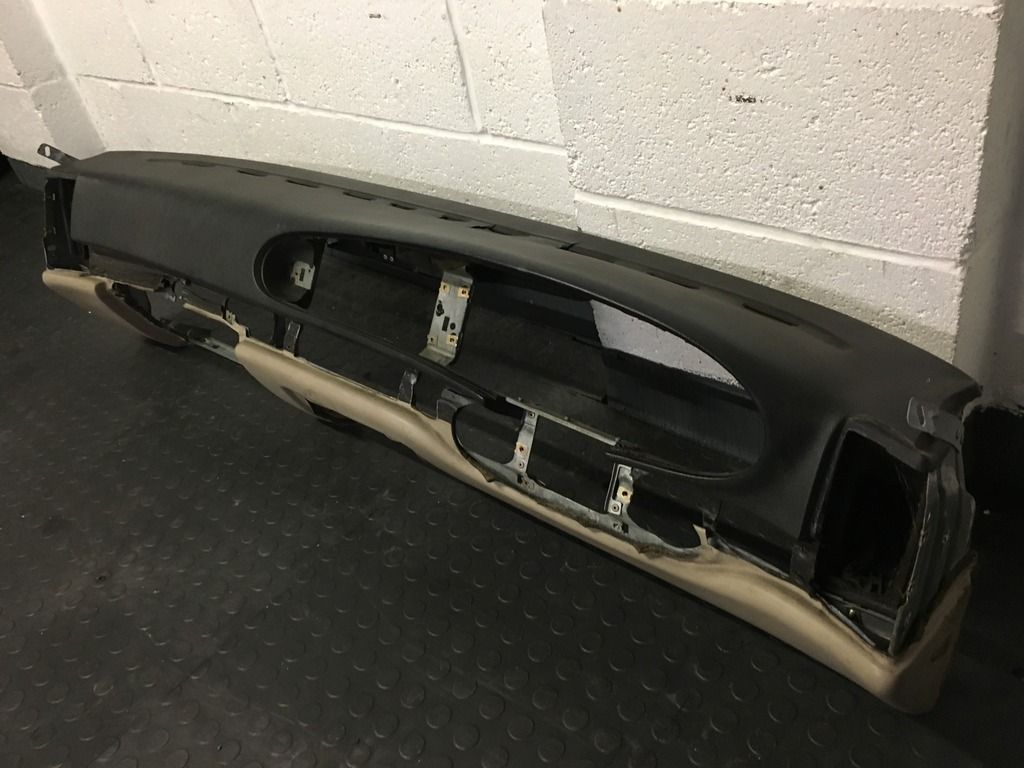
First thing's first - I've had the dash out before, it's a slow and steady job with lots of hidden screws and trim tabs, it'd be much easier to do the dash swap in a one-er so I got hold of a replacement dash for the princely sum of £45 delivered :thumb:
It's black over linen rather than black over black but that doesn't matter as its all getting covered up!
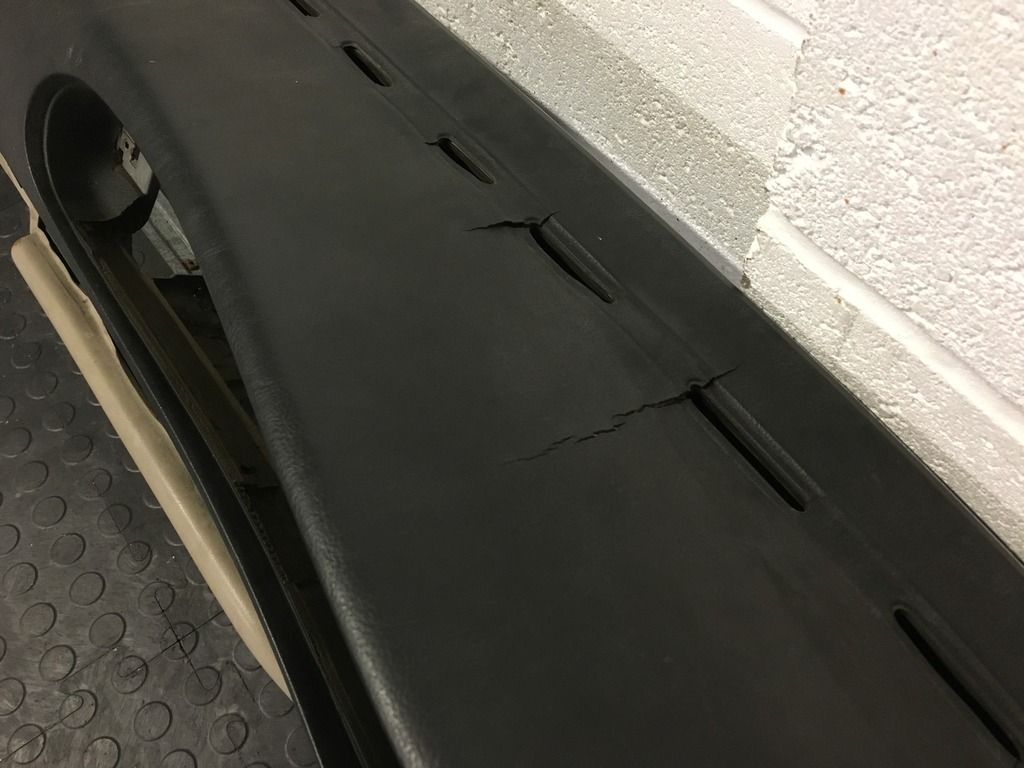
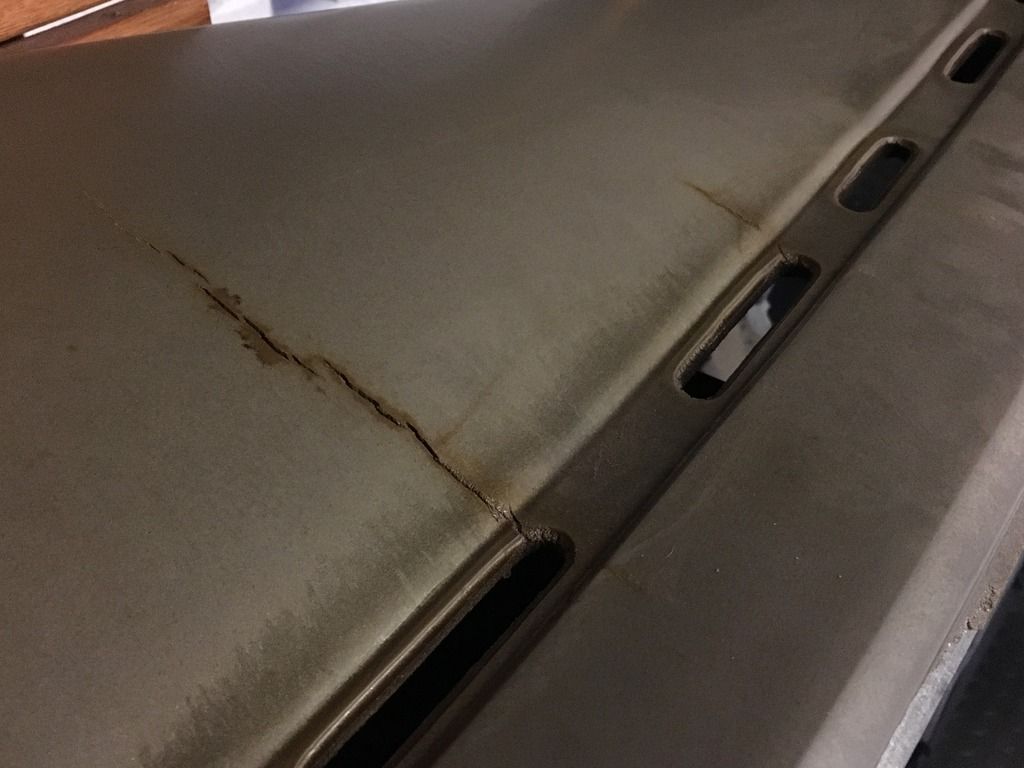
The usual cracks:
It's the vinyl covering that cracks and the pulls apart the dense foam underneath, however after 20+ years the vinyl peels off quite easily:
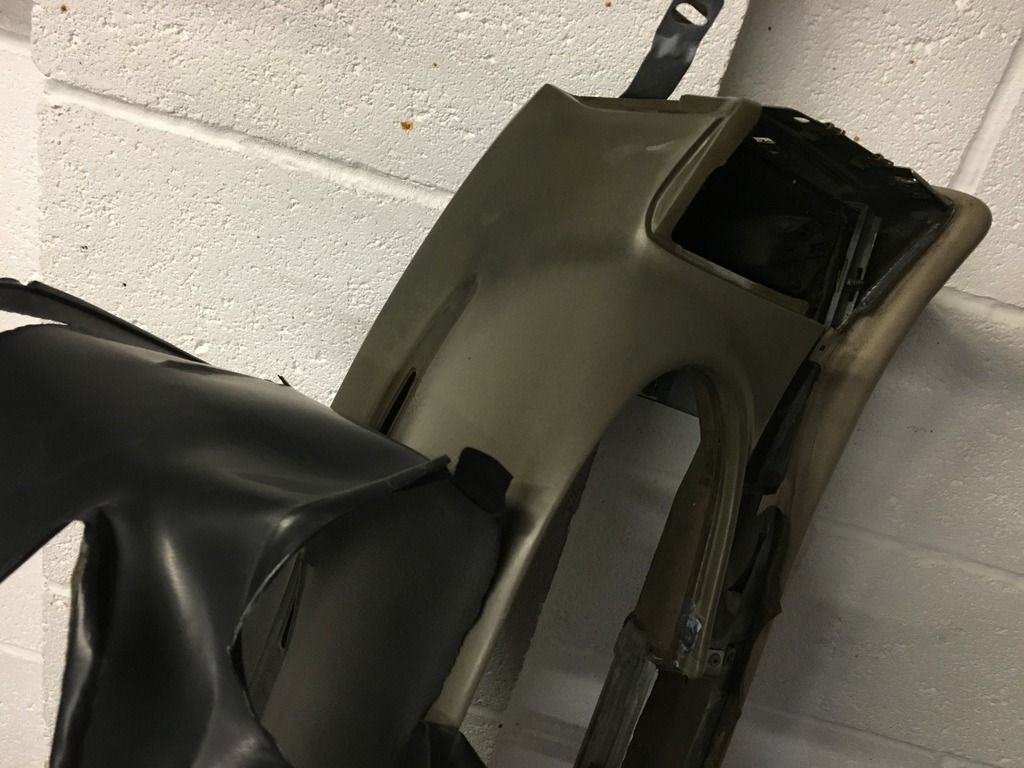
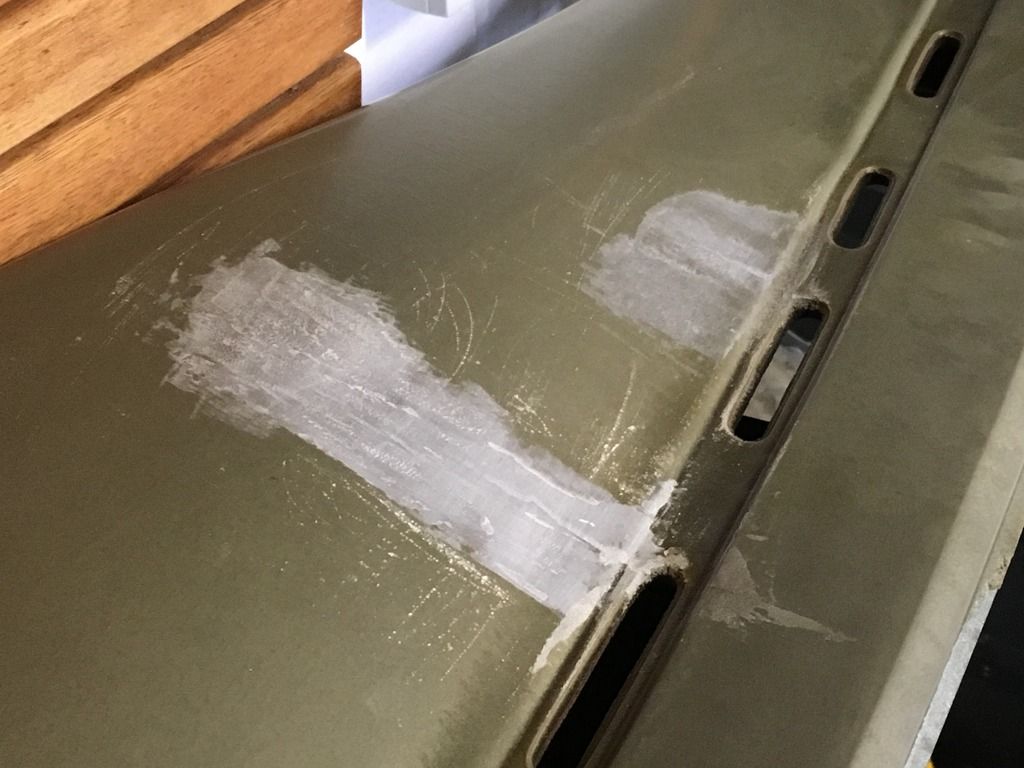
Leaving the foam underneath:
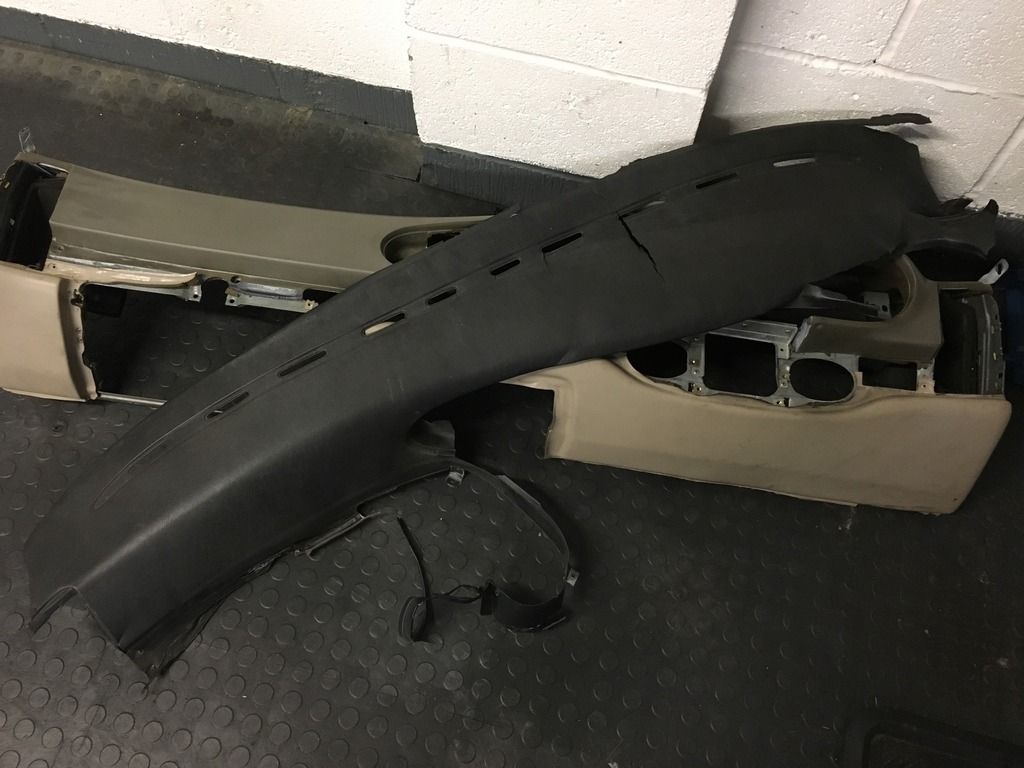
The leather will cover this no problem but just to be sure I used some flexible filler in the cracks and sanded it back:
The kit as it arrived:

The important bit was to work out which parts needed fixing in place first as there's always a bit of stretching and twisting needed with something like this.
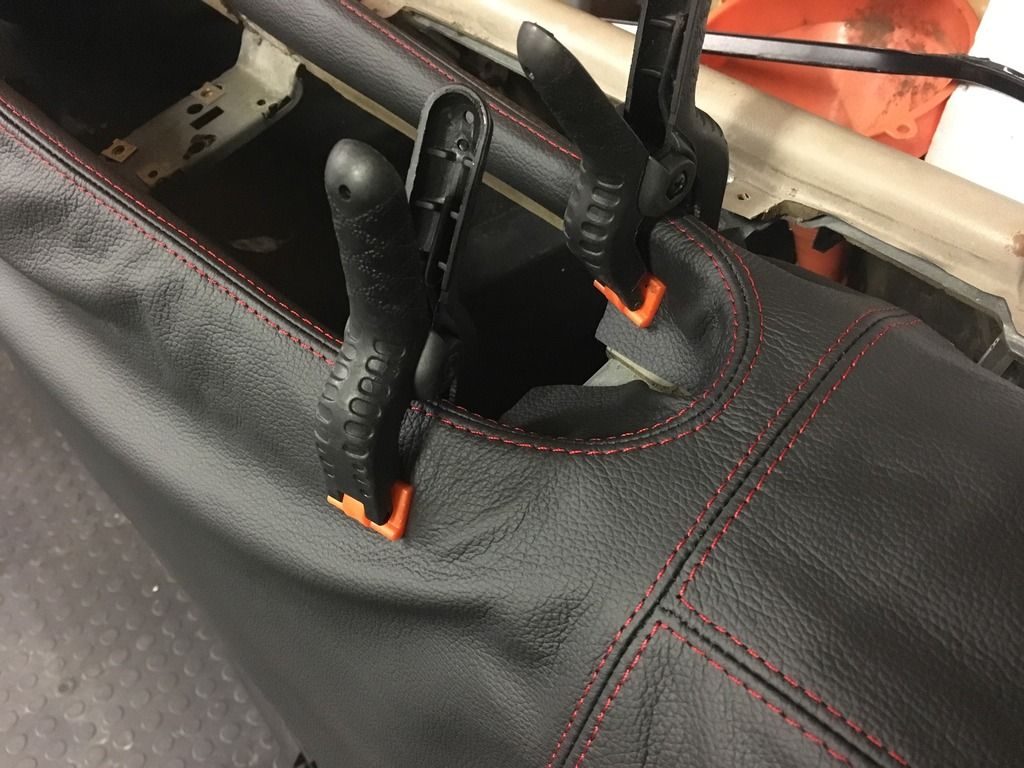
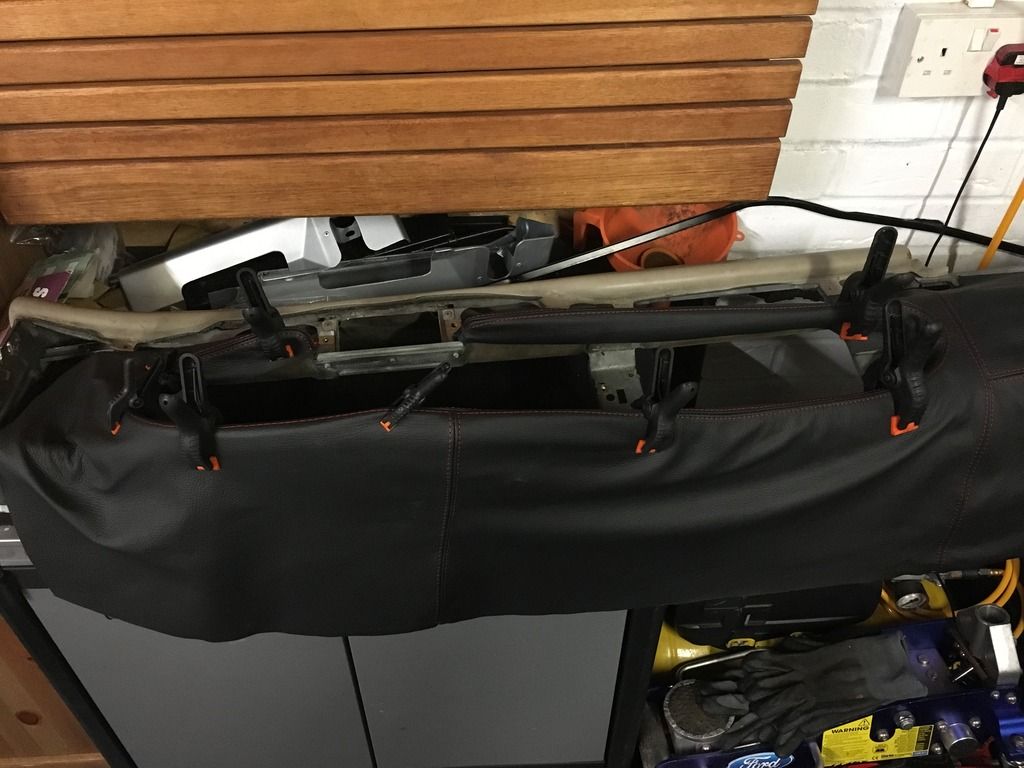
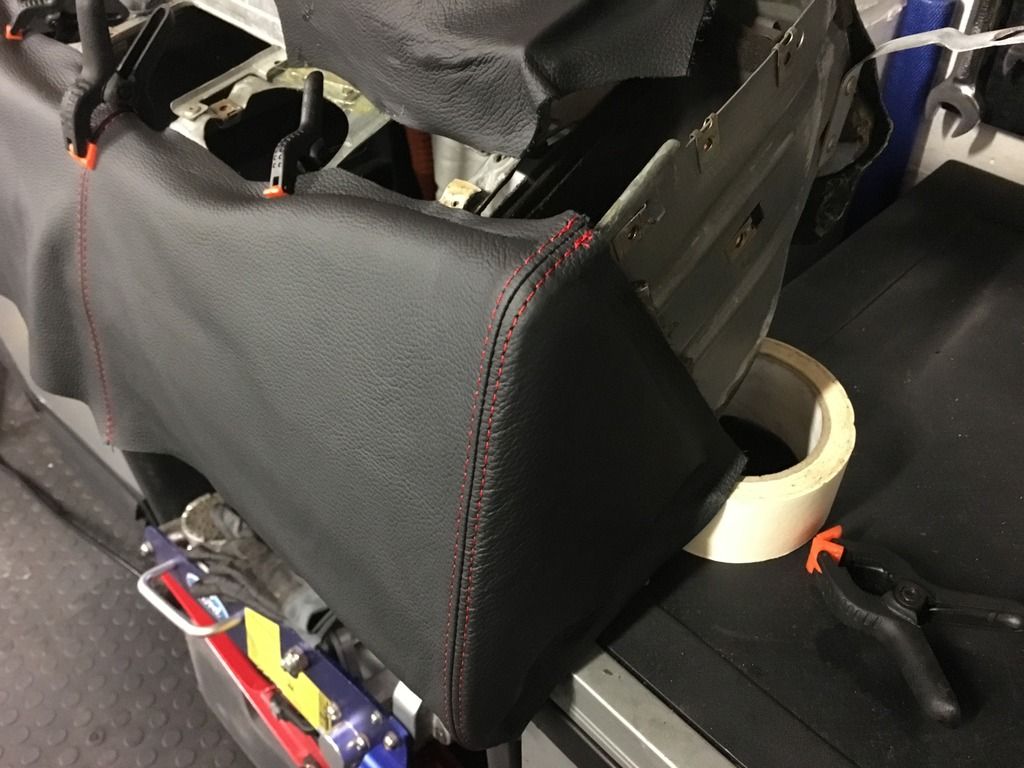
This was my start point as I worked out that if I started at an end I could end up with not enough material to pull into the edge of the instrument binnacle properly. So I pulled it all taut and into shape before clipping it in position:
Brushed on the high temperature fabric adhesive for the first panel area:
Then pulled into position and smoothed down:
Didn't take long to do the rest:
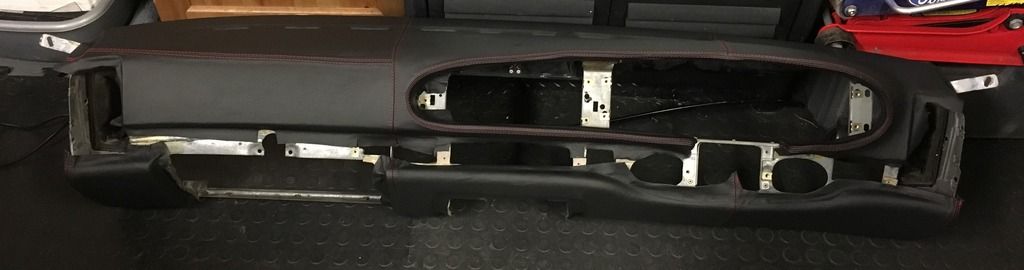
With that done, the bottom of the dash was next. I haven't trimmed any of the leather around any of the edges and openings yet - I'll wait until it's completely dry before doing that. Just in case anyone was worried they could see creases or rough edges :hand:
First corner in place and now the rest is straightforward:
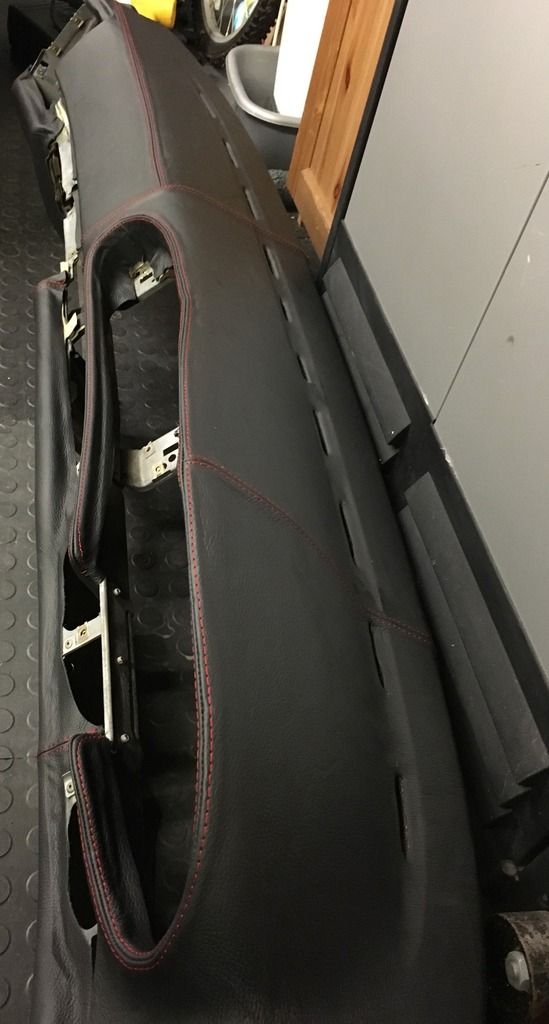
And the finished article, I've done the glovebox cover as well but it's not pictured:
Last job was to get the heat gun out and cut the defroster vent holes:
Now to find a quiet day to swap it over!!!
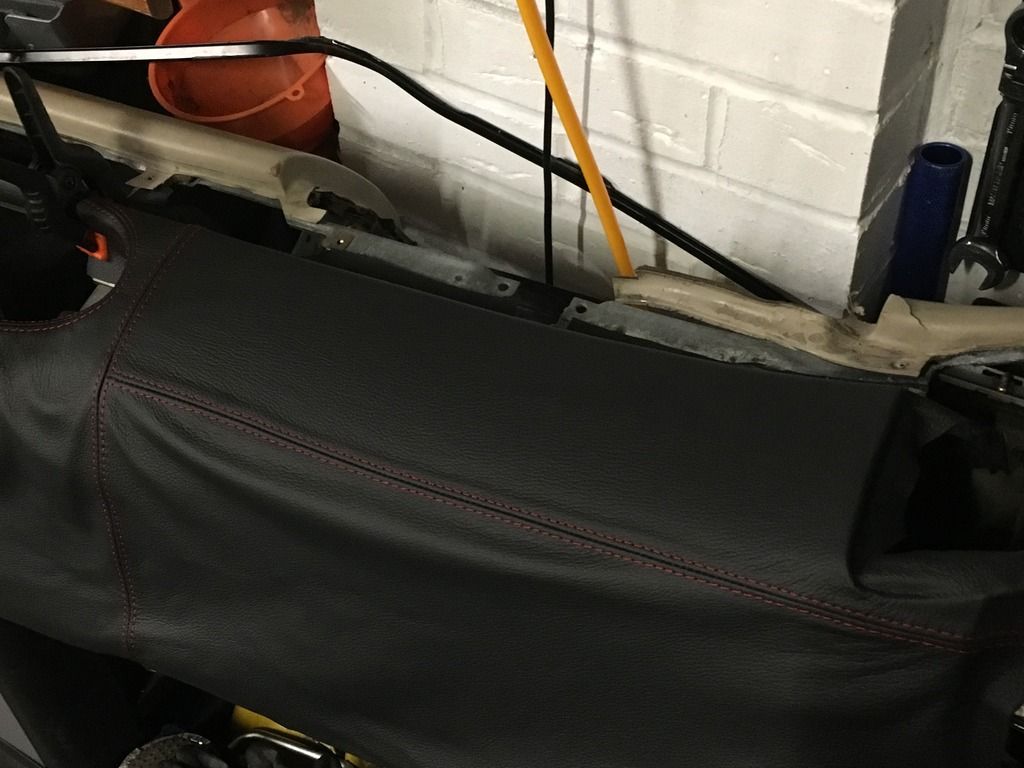
First thing's first - I've had the dash out before, it's a slow and steady job with lots of hidden screws and trim tabs, it'd be much easier to do the dash swap in a one-er so I got hold of a replacement dash for the princely sum of £45 delivered :thumb:
It's black over linen rather than black over black but that doesn't matter as its all getting covered up!

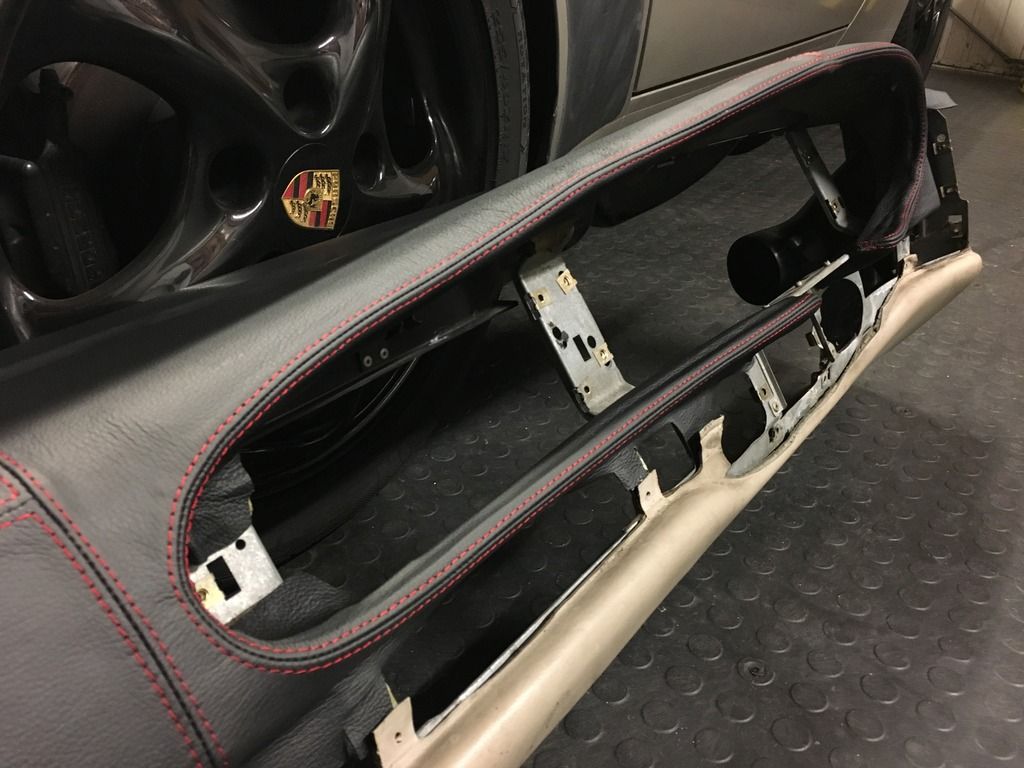
The usual cracks:

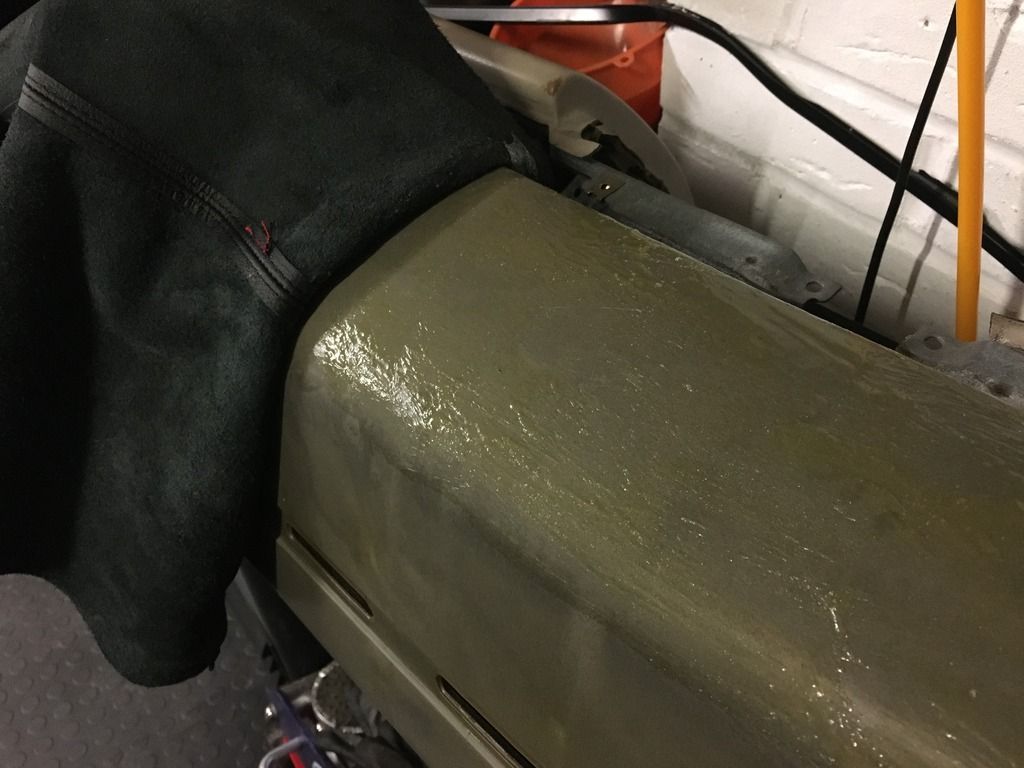
It's the vinyl covering that cracks and the pulls apart the dense foam underneath, however after 20+ years the vinyl peels off quite easily:

Leaving the foam underneath:


The leather will cover this no problem but just to be sure I used some flexible filler in the cracks and sanded it back:

The kit as it arrived:

The important bit was to work out which parts needed fixing in place first as there's always a bit of stretching and twisting needed with something like this.
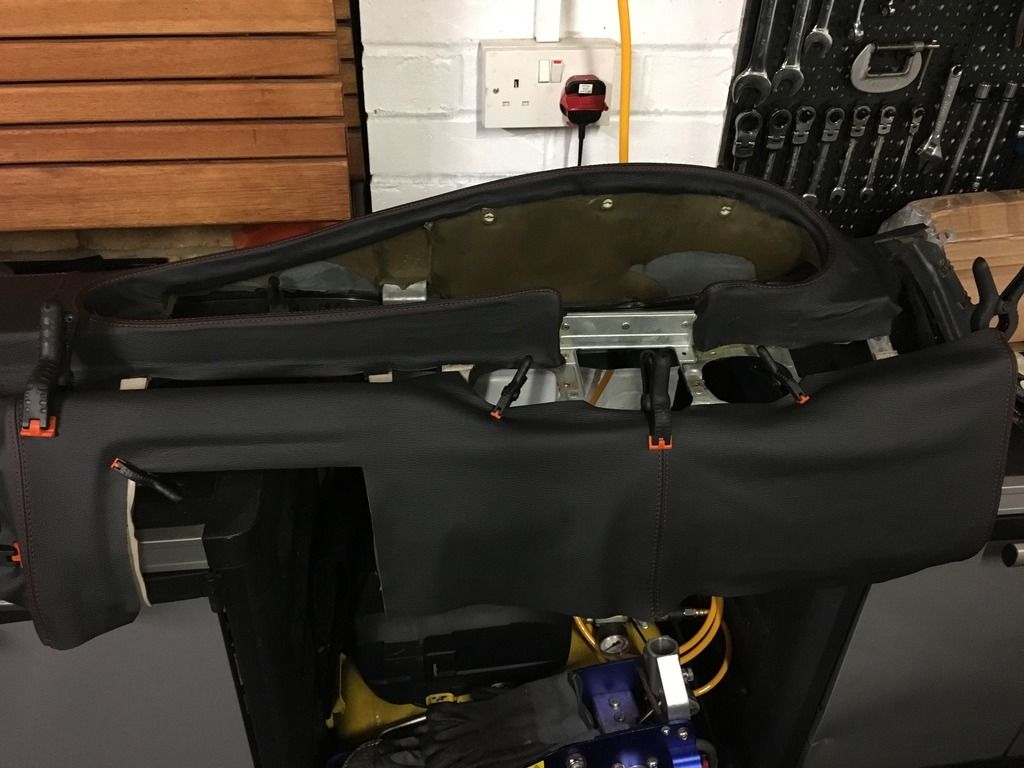
This was my start point as I worked out that if I started at an end I could end up with not enough material to pull into the edge of the instrument binnacle properly. So I pulled it all taut and into shape before clipping it in position:


Brushed on the high temperature fabric adhesive for the first panel area:

Then pulled into position and smoothed down:

Didn't take long to do the rest:

With that done, the bottom of the dash was next. I haven't trimmed any of the leather around any of the edges and openings yet - I'll wait until it's completely dry before doing that. Just in case anyone was worried they could see creases or rough edges :hand:

First corner in place and now the rest is straightforward:

And the finished article, I've done the glovebox cover as well but it's not pictured:

Last job was to get the heat gun out and cut the defroster vent holes:

Now to find a quiet day to swap it over!!!

")


