Menu toggle

Toms S2 restoration thread

Well I'm hoping to finish off the hidden work and have it all painted and sealed this week but then I have to move on to the really tricky outside panels where I have to deal with curves! And when all that is done, i get the pleasure of repeating the process on the NS which is just as bad. Probably worse actually because someone has been there before me so I will have to upick the stitches of someone elses work before starting my own. So it will be several months before I'm trailering mine down to the spray booth!
 
I'm bloomin' glad I can do this myself and that I don't have to pay for it because there are a serious number of hours going into this!

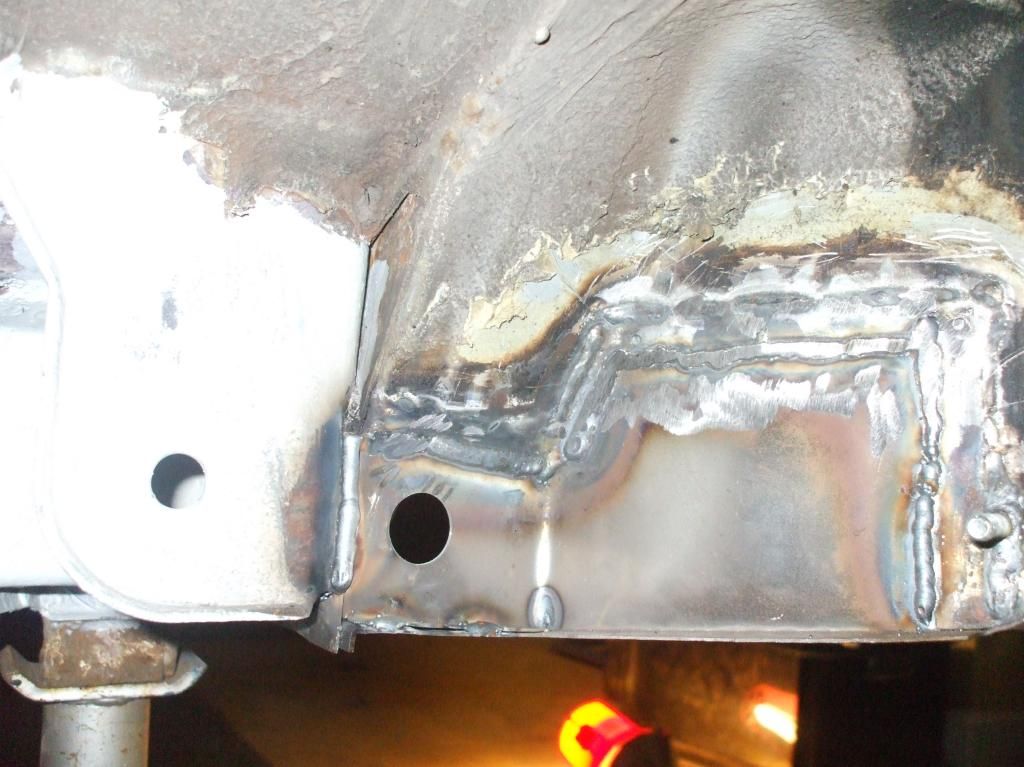
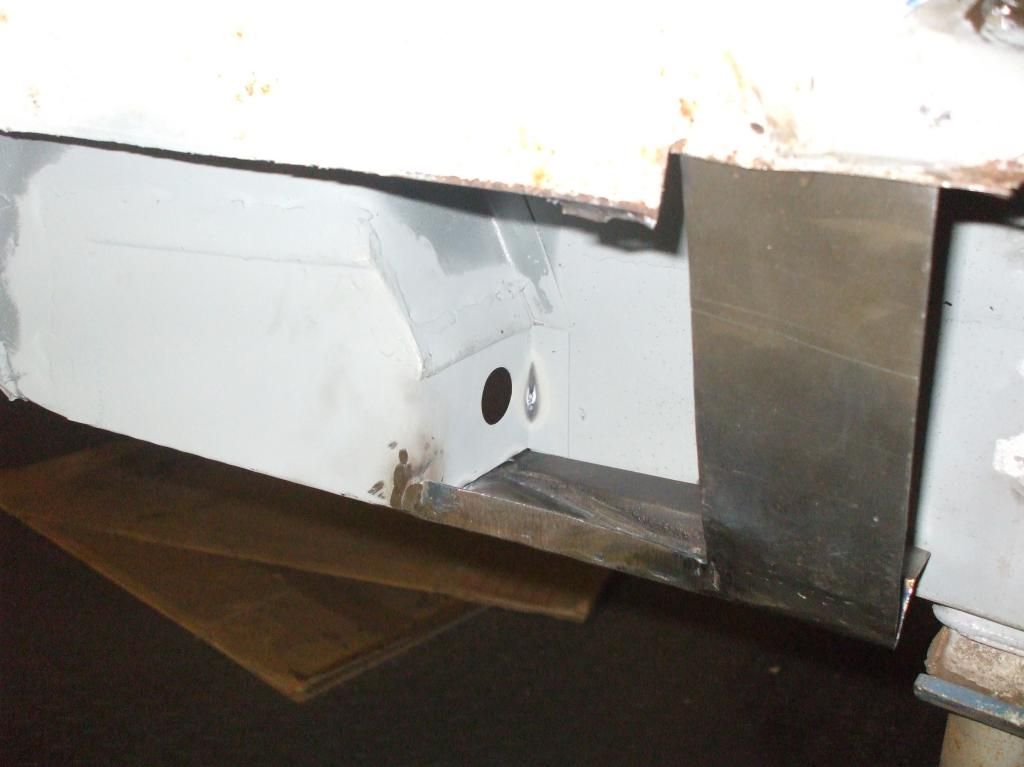
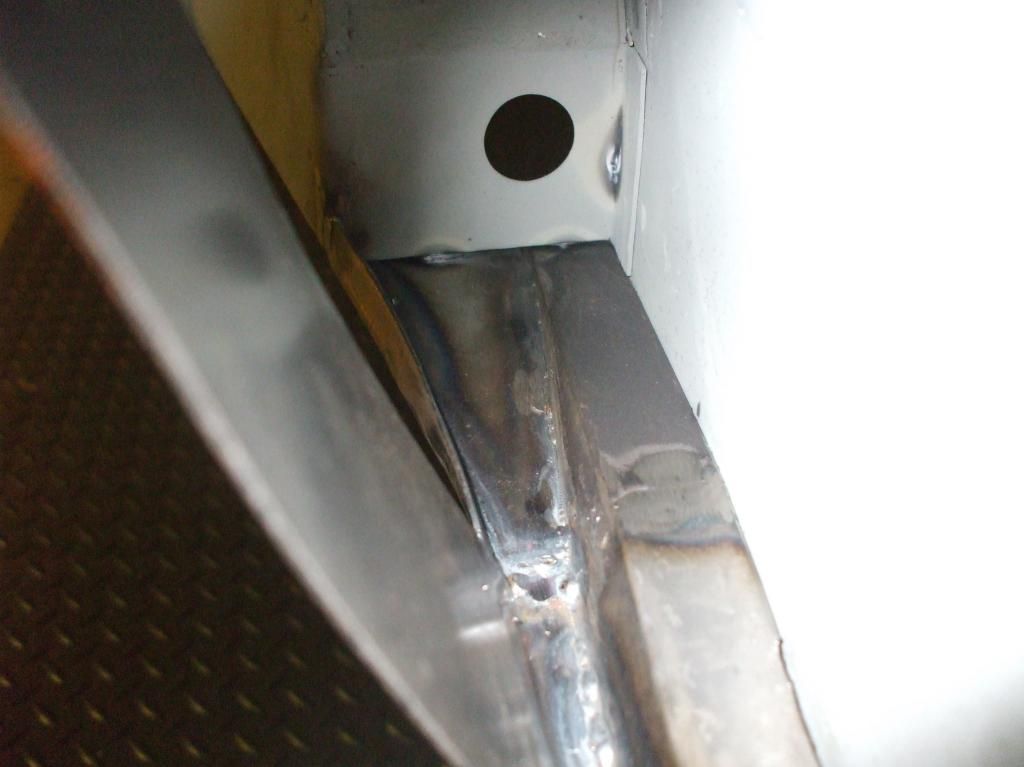
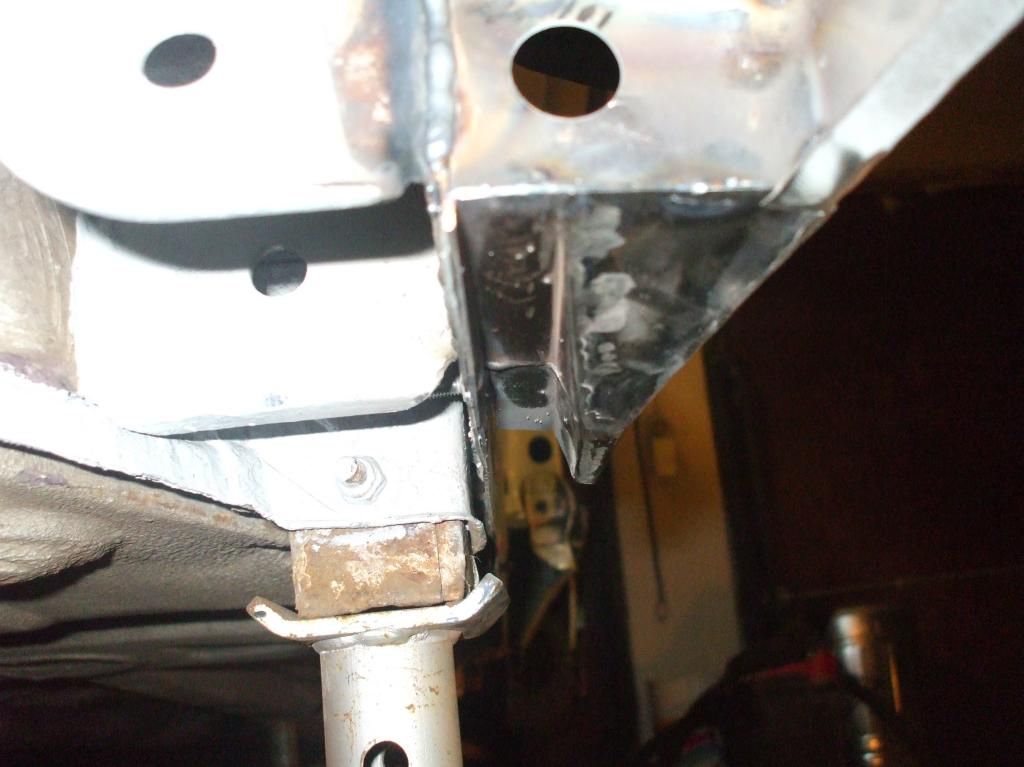
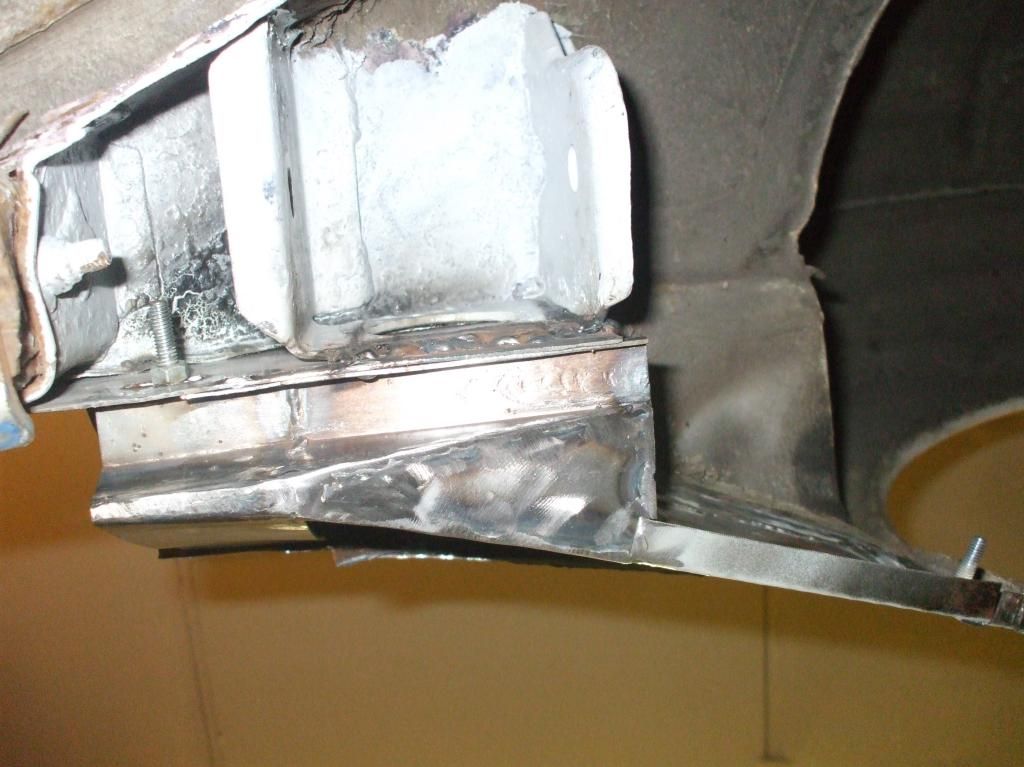
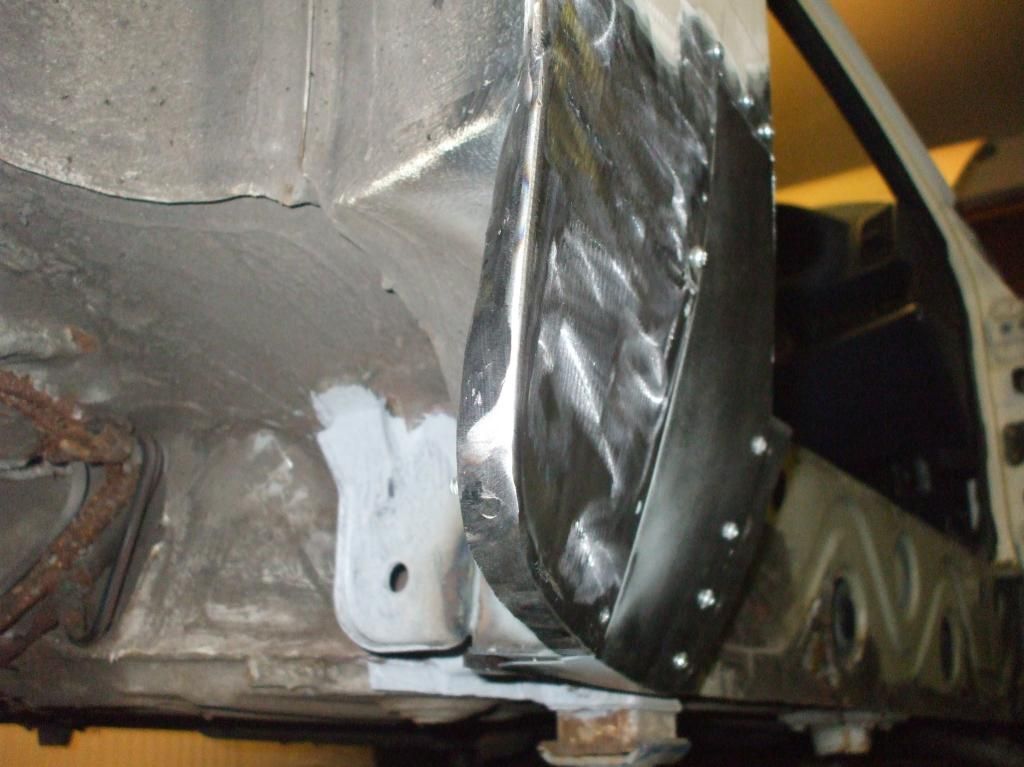
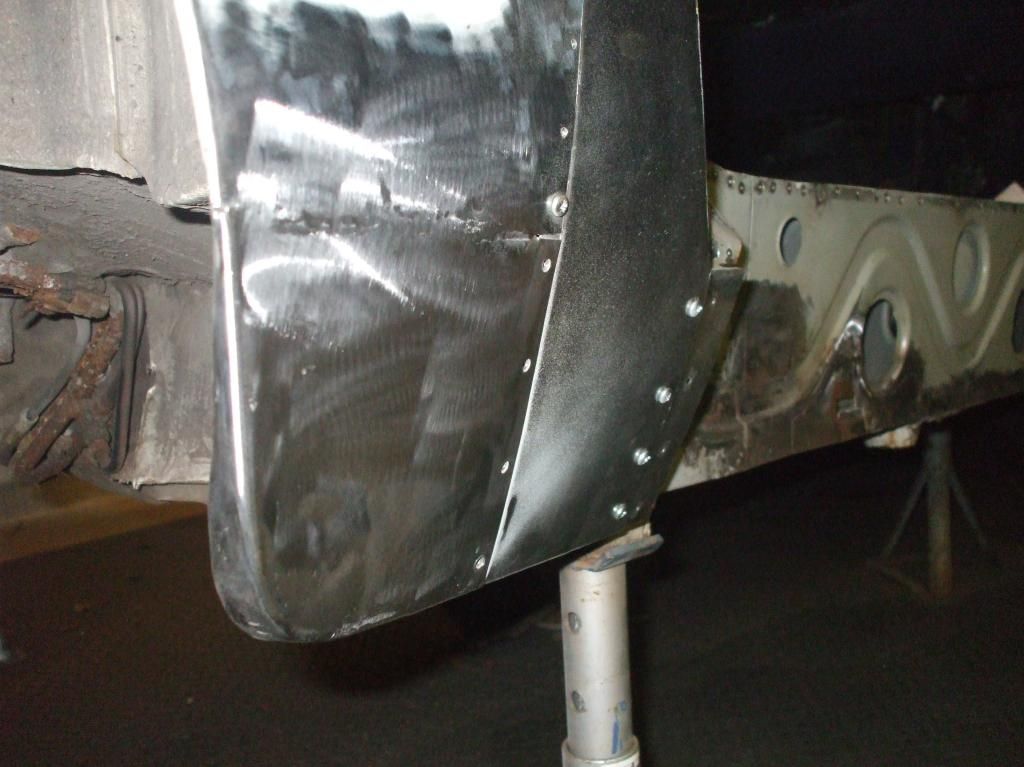
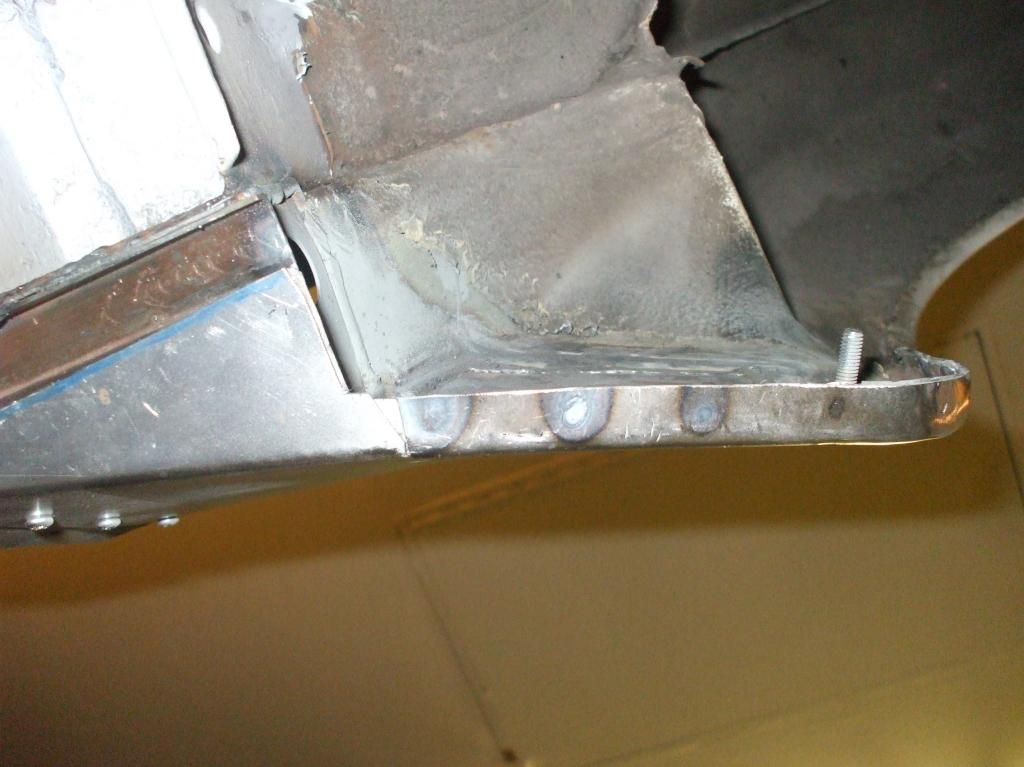
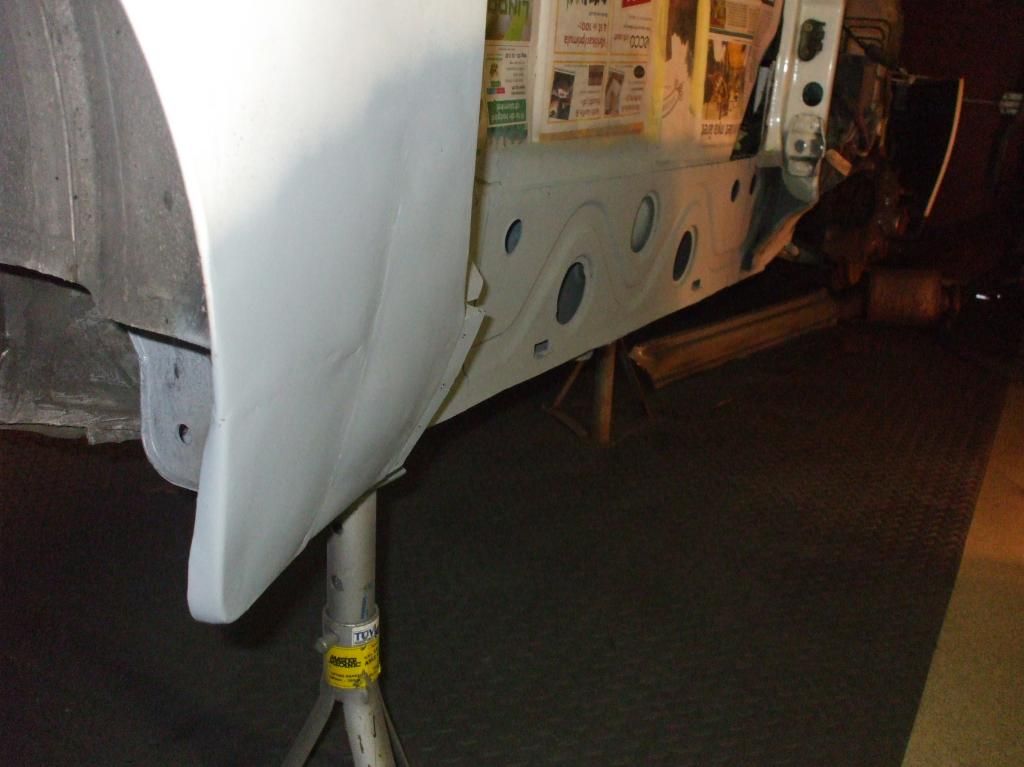
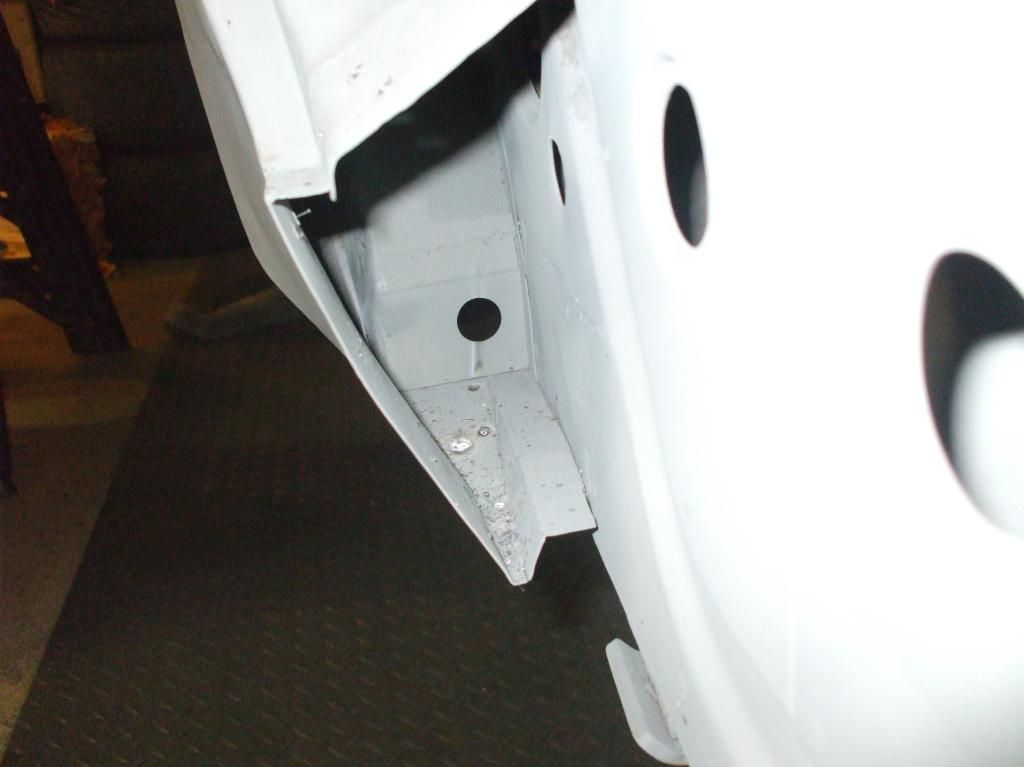
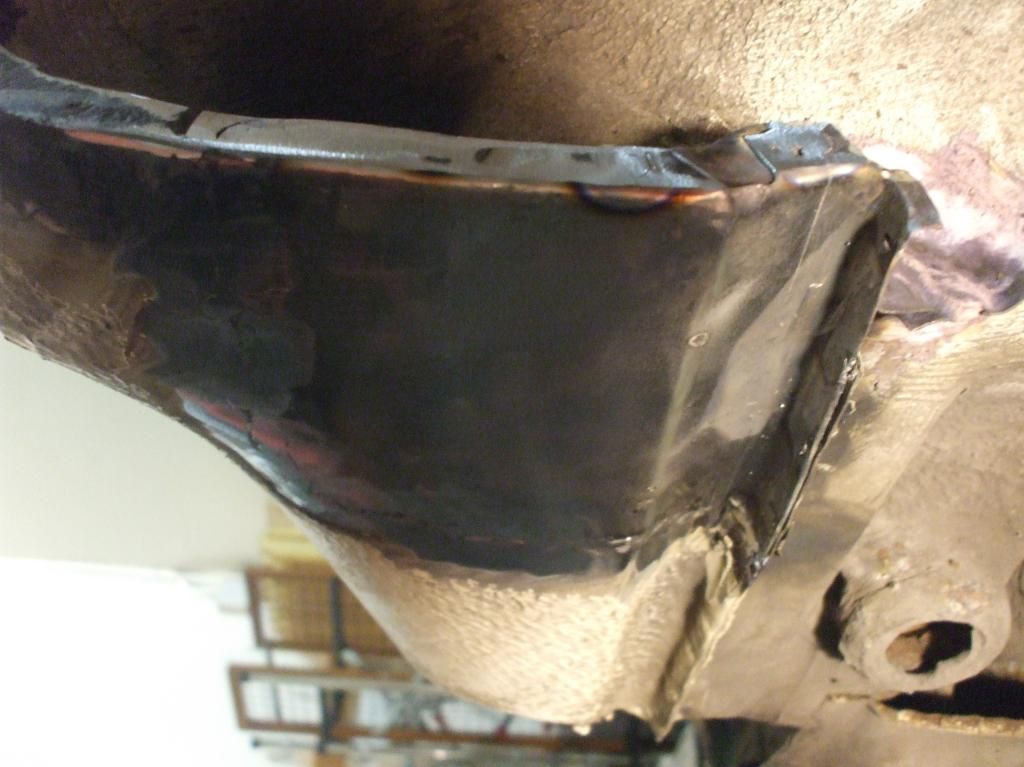
Managed to finish off the fabrication and welding of all the internal metal on the OS of the car. Pretty pleased with my re-creation of the missing corner.

210314008.jpg

210314014.jpg

210314013.jpg

210314006.jpg

210314010.jpg


Will finish off the rust protection and get it painted then move onto the outer panels next week.
 
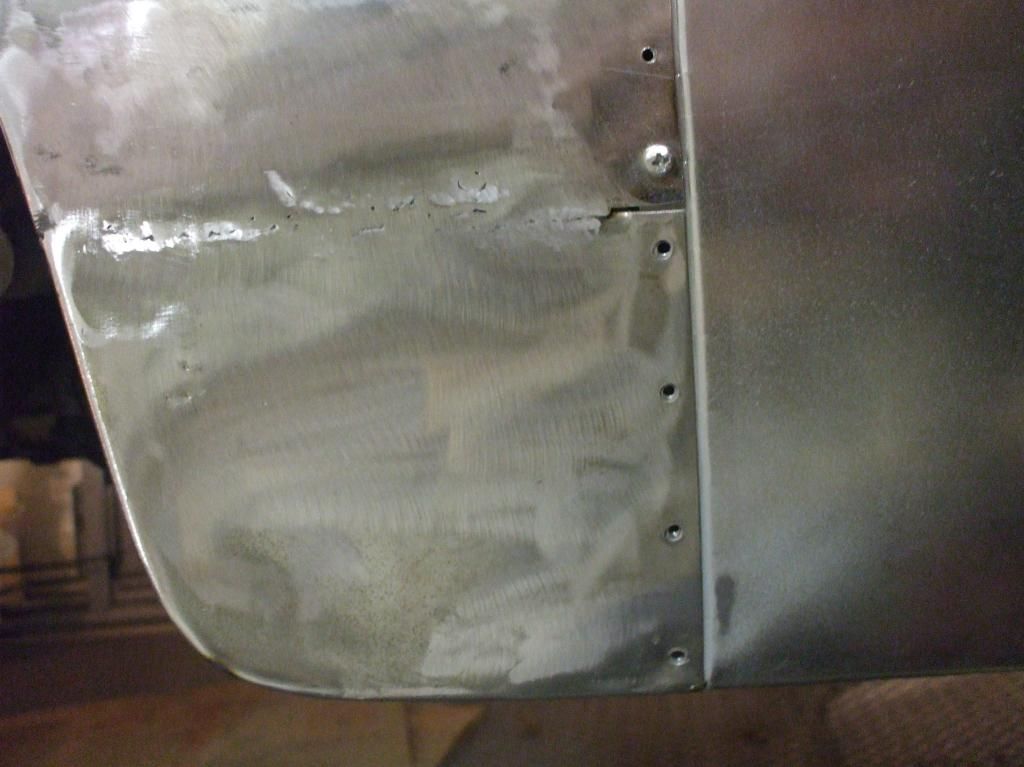
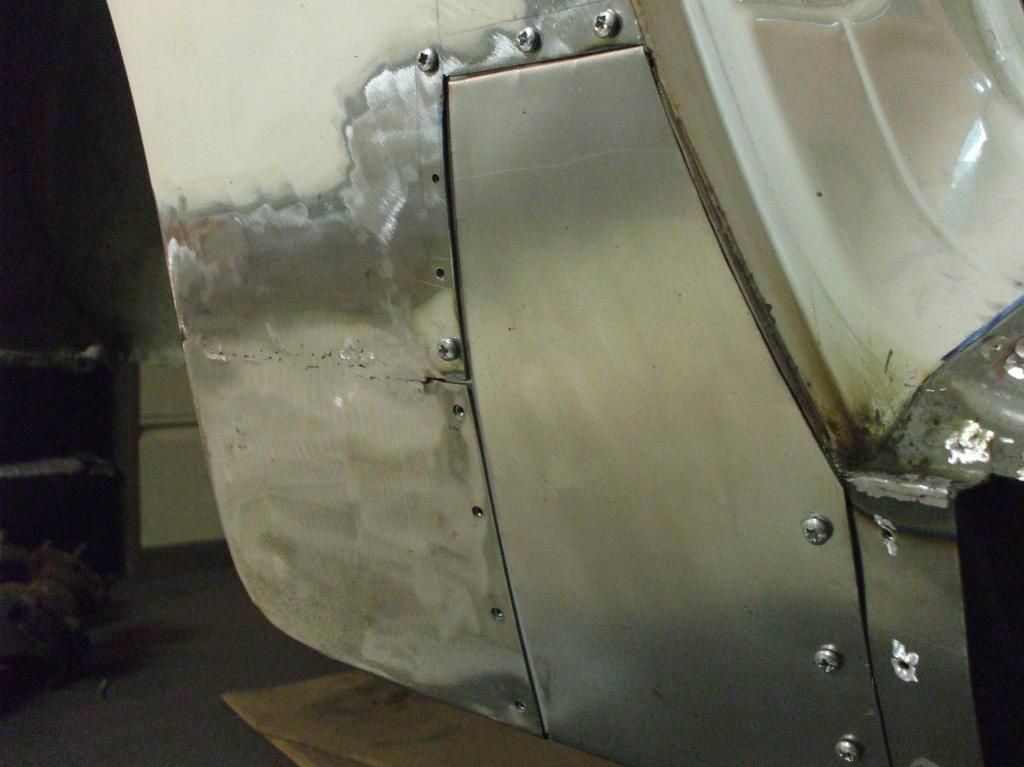
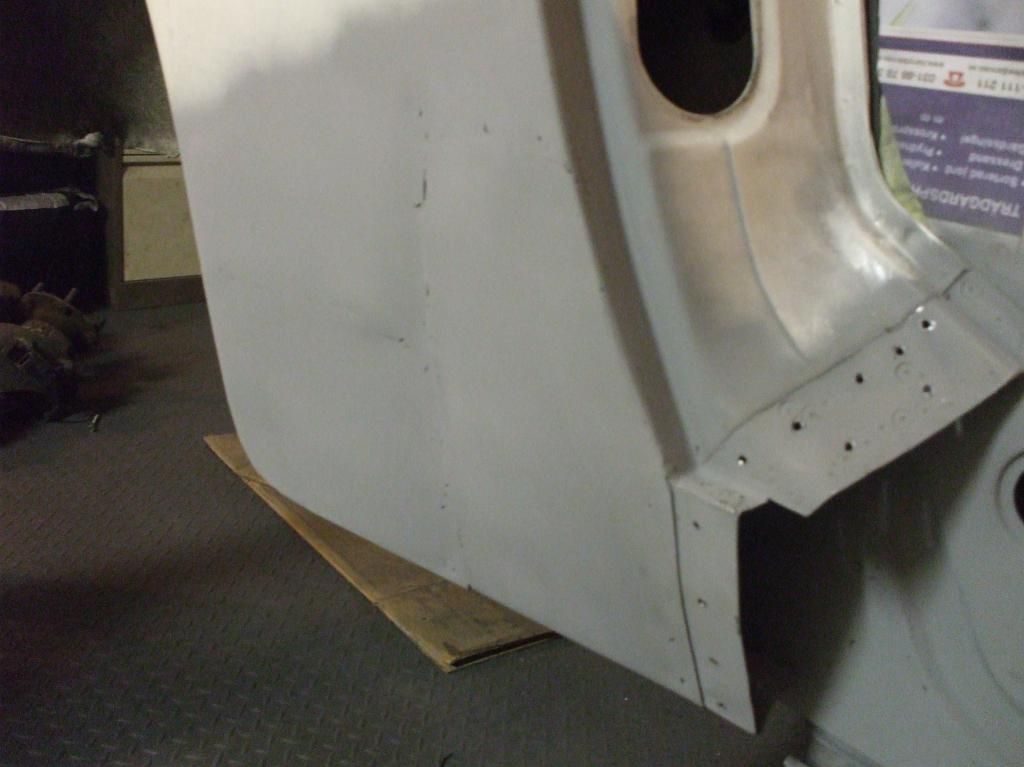
Lots of metal bashing needed this week to create two repair sections for the rear quarter panel. Got a bit carried away and forgot to take many photos along the way so here's a quick skip to what it currently looks like:
280314010.jpg

280314011.jpg


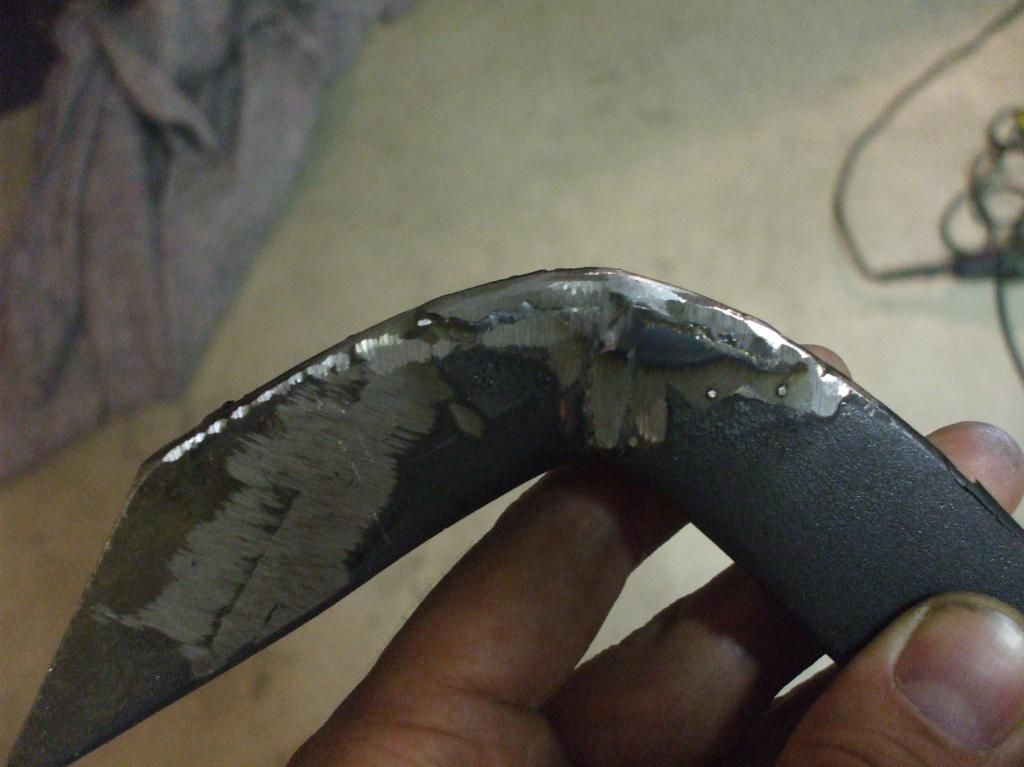
I don't have a shrinker/stretcher tool soI had to make a dolly to form the lip of the wheel arch around. An old TV stand was nearly the right curve but needed a bit of adjustment. Not especially pretty but it worked reasonably well.

280314004.jpg


And the end result worked out all right too!

280314015.jpg

280314003.jpg

280314013.jpg


Mrs M3 is in the US on a business trip next week so I should be able to get a few more hours in in the evenings once the kids are in bed.
 
Absolutely lovely work there. I am struggling with this very section at the moment! I'm currently in the US which has put a stop to work on mine, but I did manage to pick up some 'intergrip' butt welding clamps for $7.99 for 8 (compare with £17 for 5 in the UK!).
 
This weeks progress:
Got the second panel of the repair to the rear quarter welded in and gave everything a liberal coat of zinc primer. Bit annoyed at myself for not taking sufficient time between bursts of welding and the panels got a wee bit of distortion from the heat. Thankfully the distortion is concave so a little bit of filler will recover the correct shape.

040414005.jpg

040414009.jpg


The view down the B pillar vent hole will certainly be much improved from what it was.

040414007.jpg


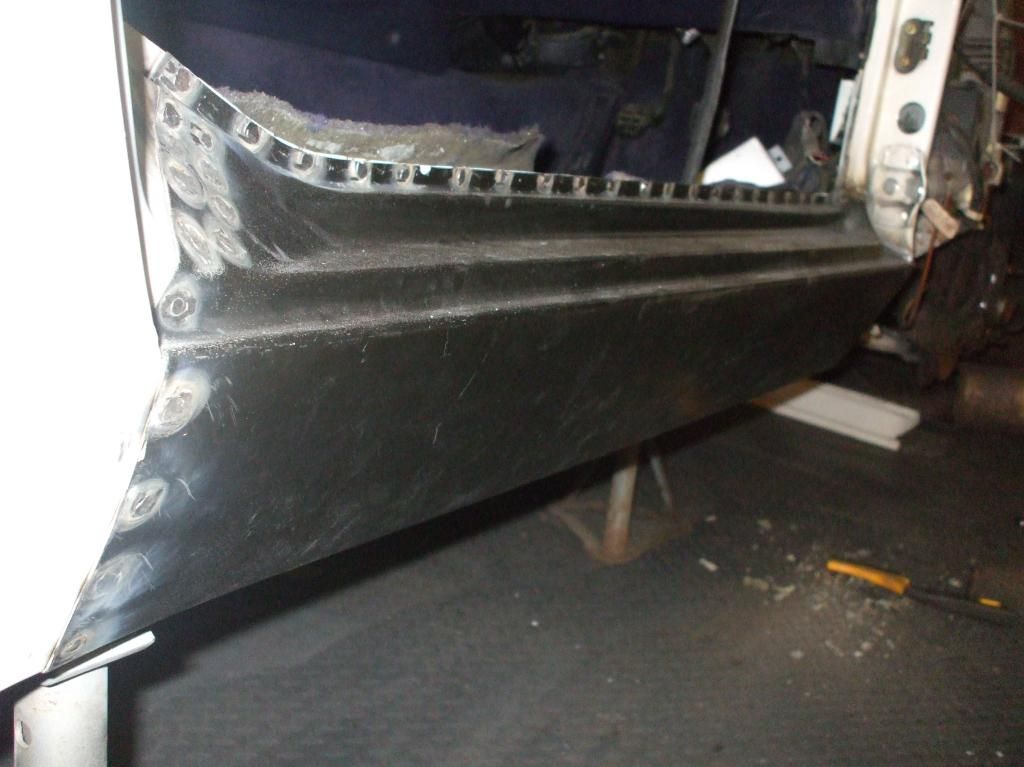
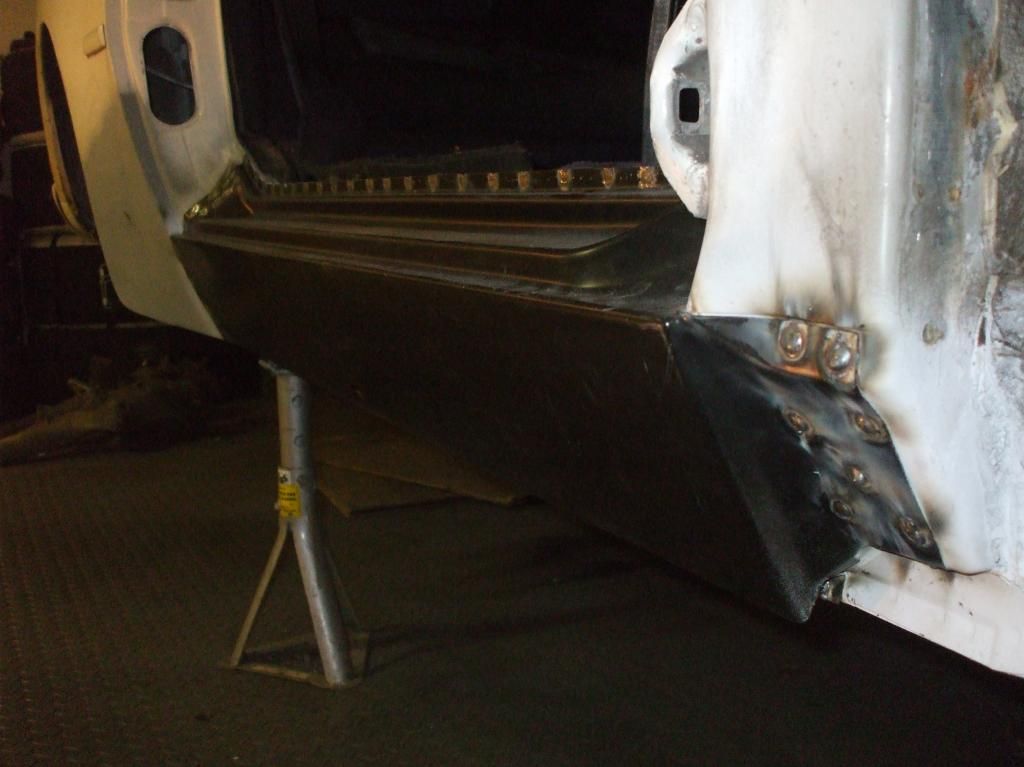
With those panels finished, I was finally able to weld the new Porsche sill into place:

040414002.jpg

040414004.jpg


I've been along the join between the sill panels and the floor both top and bottom and it's all solid. Need to put some fresh protection on the underside as quite a lot got burned off in the sill welding process. When that's done then I'm going to put the door back on and the seat back in and then switch to the other side. Annoyingly, I've realised that I can't get the passenger door off as it is parked too close to the garage wall. And with the rear beam off at the moment, I can't move it! So my plan is to do as much of the work on the NS as possible with the door on and then when I get it to the stage of being ready to fit the new sill, I will re-install the rear suspension and turn the whole thing around so I can get the ***** door off!
 
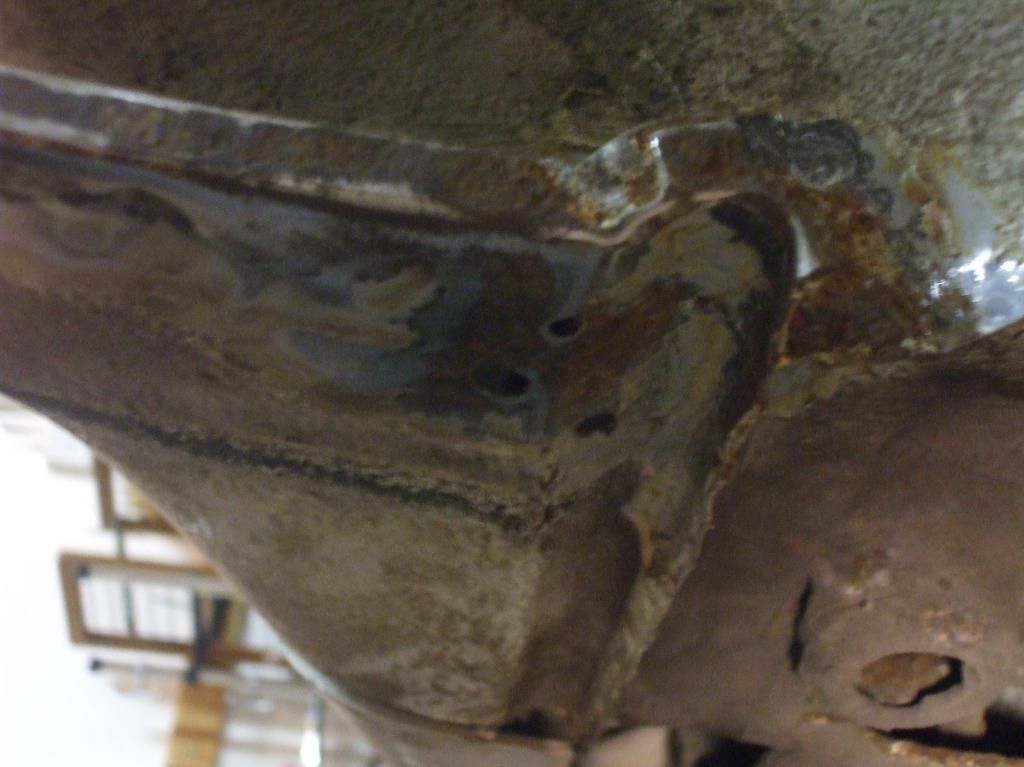
So I tidied up all the plug welds on the sill panel and gave it a good coating of zinc primer. I then went along the floor panel with the wire cup brush to get it all nice and clean ready for priming. I want to re-fit the black plastic sill trims but most of the welded on bolts had snapped during removal so I drilled all those out and installed rivnuts in their place. With all that done, I thought "I'll just tickle up that spot of surface rust on the lip of the rear wheel arch then I can prime the whole length of the drivers side in one go". As I should know by now, a quick tickle with the wire cup brush soon revealed a couple of holes:

110414009.jpg


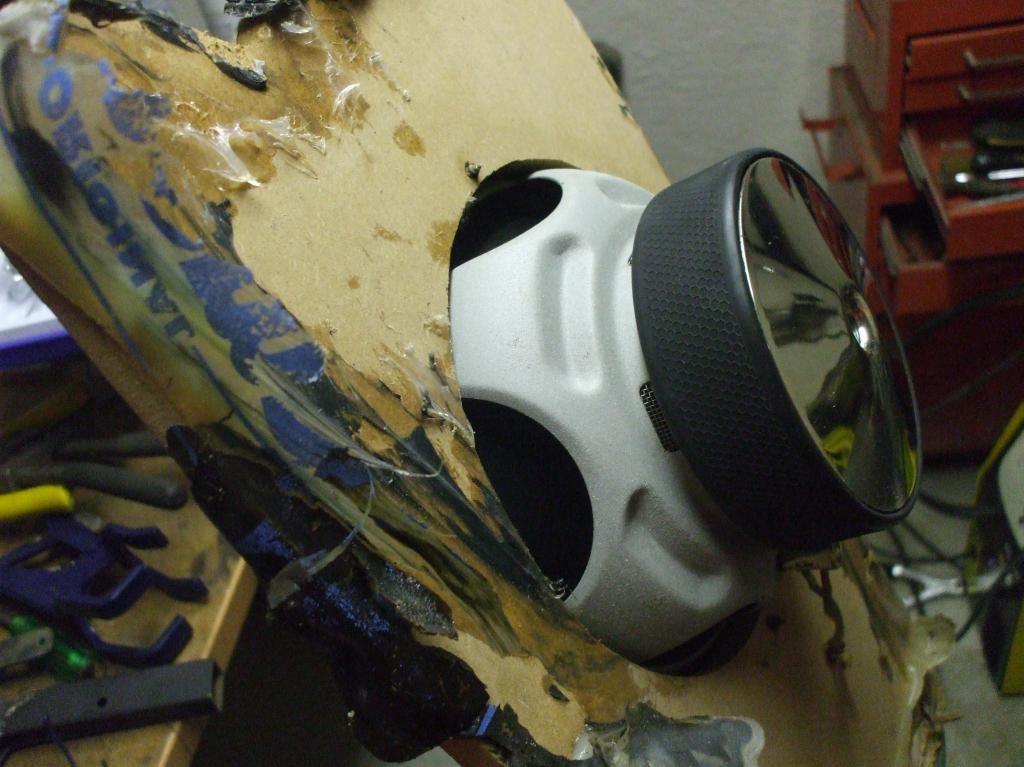
That should be easy enough I thought. I'll be able to get at from the inside as well so two sided access will make it an easy job. What I hadn't banked on was that a previous owner had used the well for a sub-woofer installation complete with 18mm mdf casing all bonded in place with fibreglass and silcone sealant. After several hours I managed to extract this:

110414005.jpg


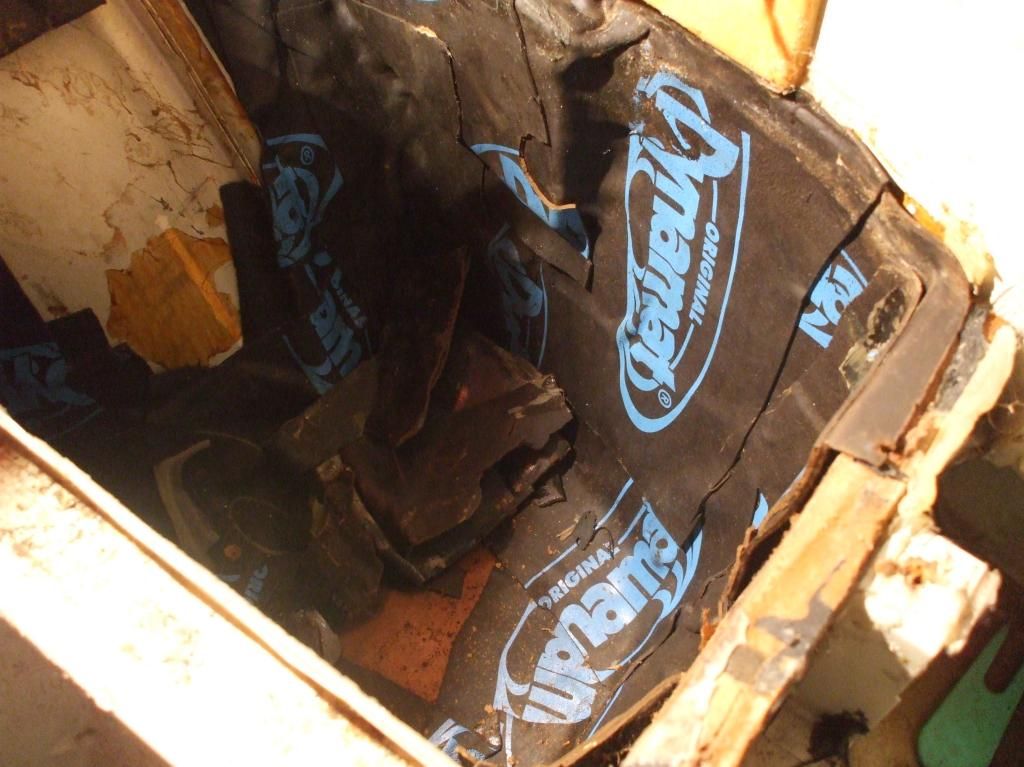
and reveal this:

110414001.jpg


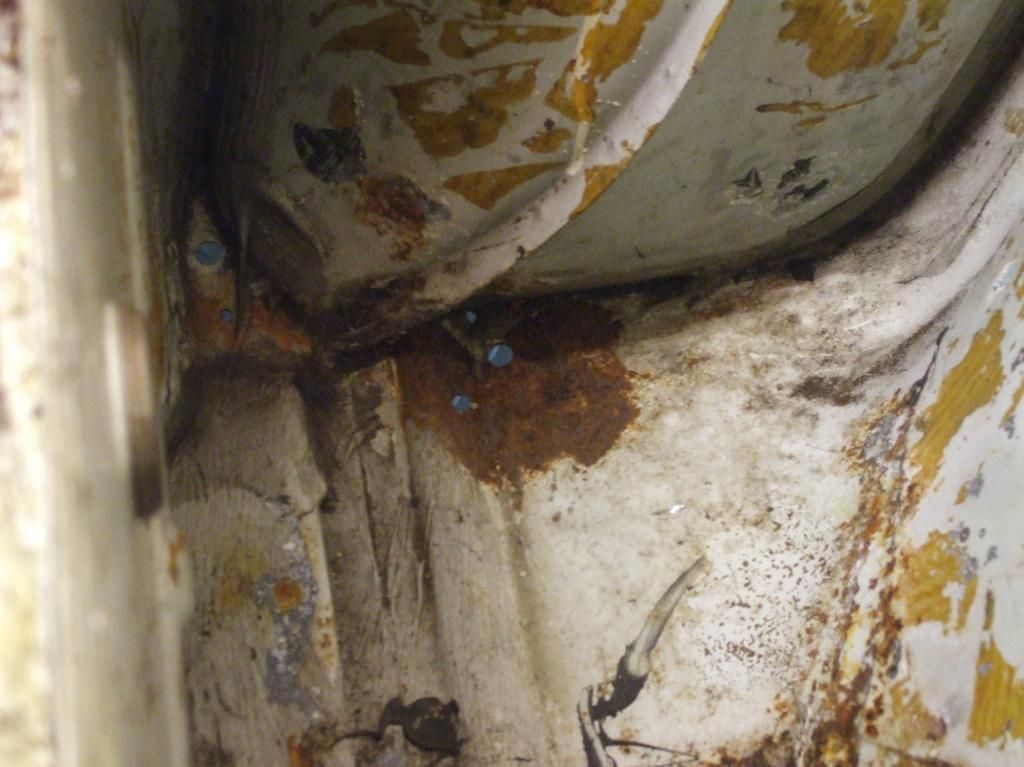
Some time later..................:

110414004.jpg


The repair panel turned out to be a bit of a pig to fabricate and it took me dozens of trial fits before I was finally happy enough to weld it in:

110414003.jpg


So now I can finally get the paintbrush out and put some rust protection all the way along the drivers side floor from front to back. Then I'm going to have a bit of a break for the Easter holidays and resume the battle on the passenger side in a couple of weeks time. I'm hoping that the passenger side should be a bit quicker as I can apply alot of the "figuring out" that I did on the drivers side without having to go through it all again. All good fun!
 
Bit of a hiatus on my project in the last weeks as we were back in the UK over the Easter holidays seeing friends and family and finalising the purchase of a new house back home. Then we ran into Swedish bank holidays and random Swedish school holidays so the kids were in and out of school for 2 weeks. All caused lots of disruption to my spannering time!

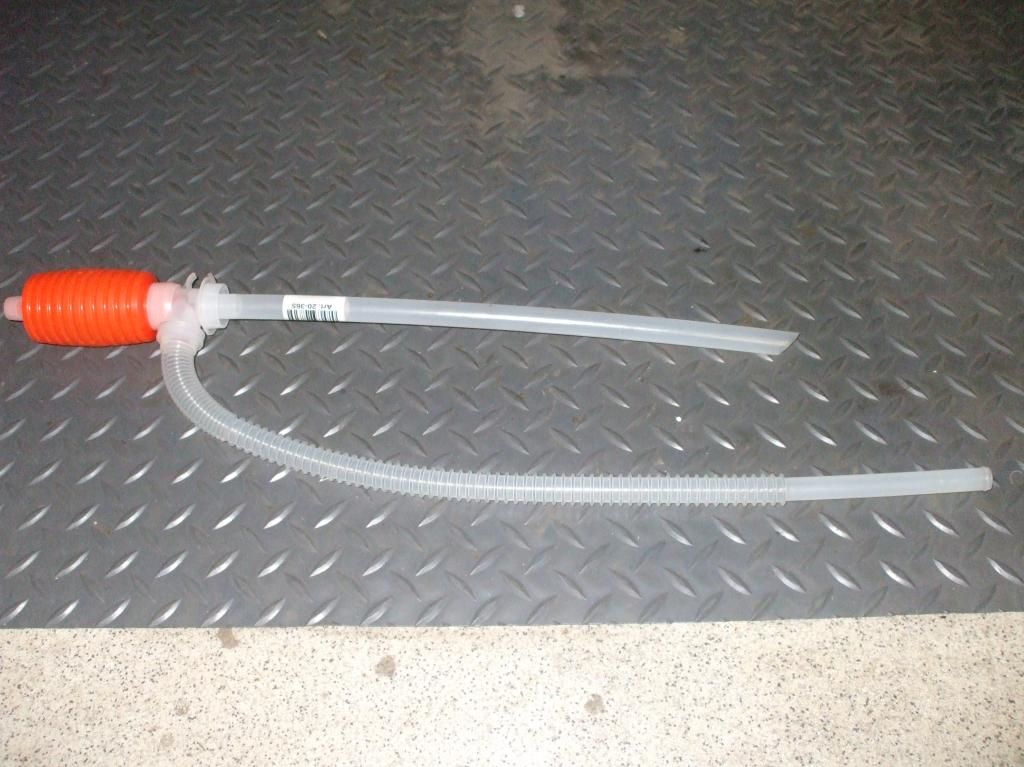
I wanted a bit of a break from the grinding, metal bashing and welding anyway so when I did make it into the garage, I thought I would tackle a few simple spannering jobs. Changed the gearbox oil which was a piece of cake with one of these:

Handpump.jpg


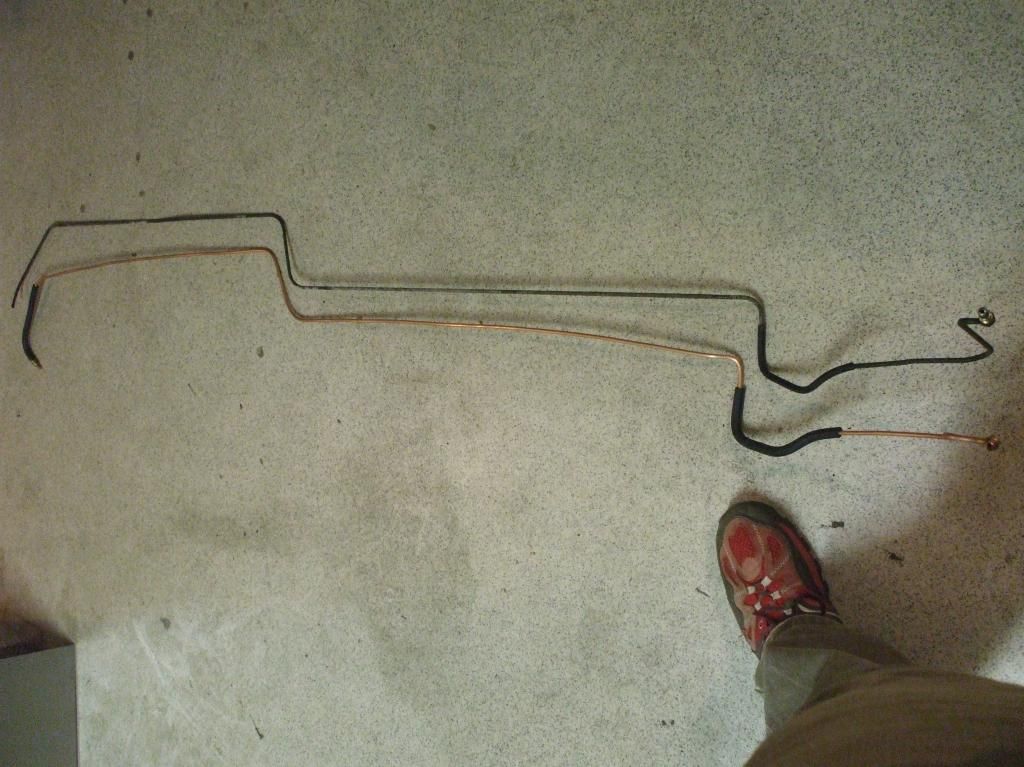
And then I made up new some new brake lines:

090514009.jpg


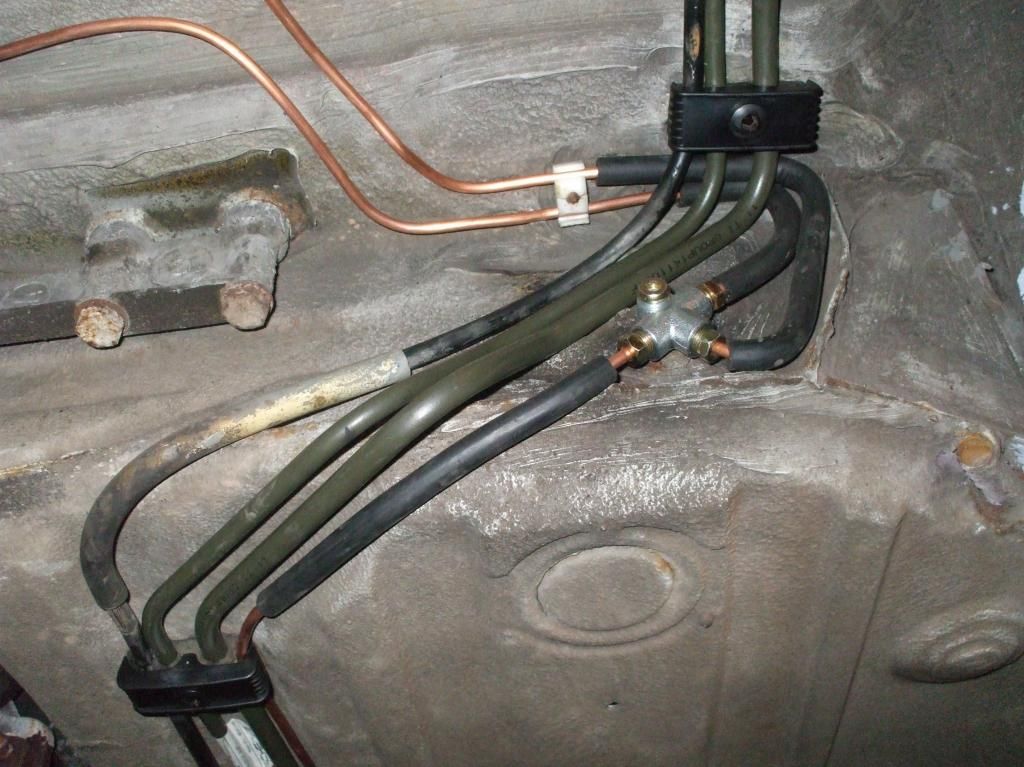
And fitted them along with the new fuel lines:

090514a002.jpg


I also took the rear splitters and bumpers off and spent several hours cleaning and then T-Cutting them so they look really nice again now.

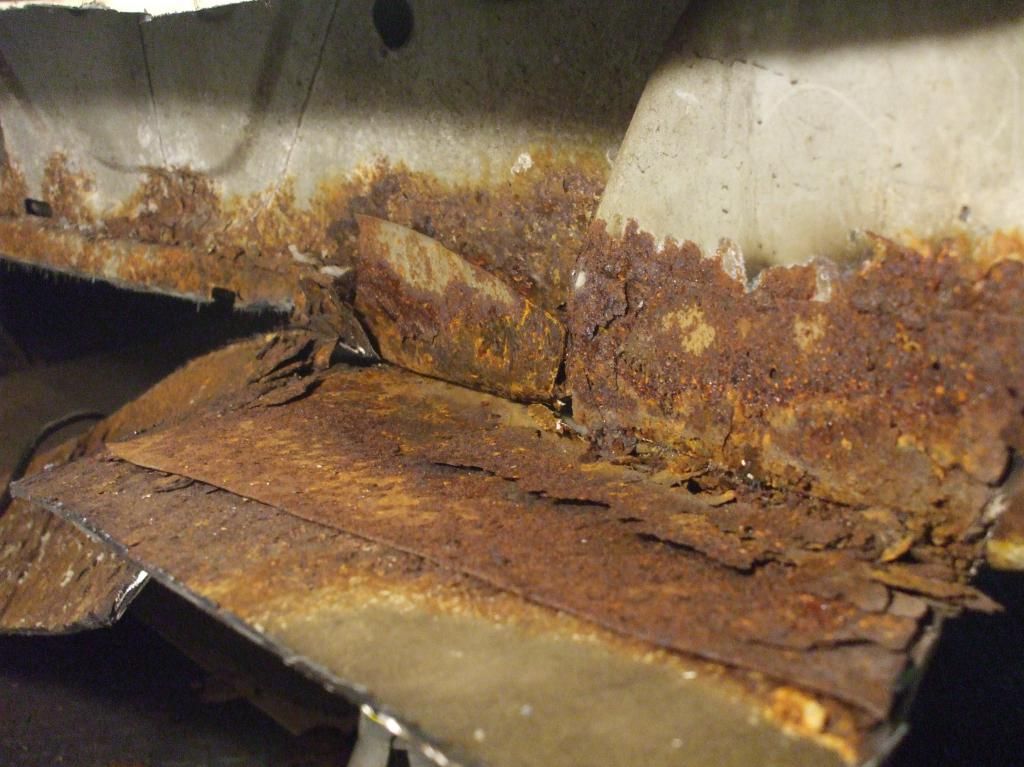
I then decided it was time to start tackling the N/S sill. You know when you get that funny feeling that someone has been here before you.......

090514012.jpg


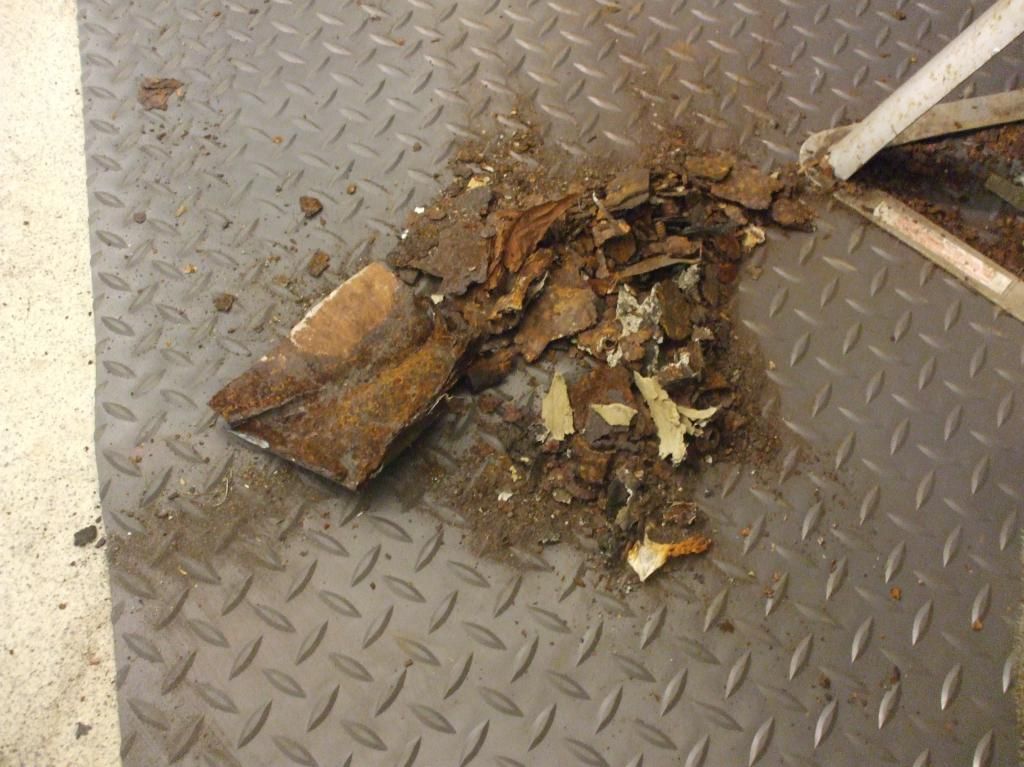
Five minutes later.......

090514002.jpg


I kept all the cardboard templates that I made up when I did the O/S of the car so those are a handy starting point for a mirror image set of repair panels that I will need to make up. I'm not going to bore everyone with step by step photos of the N/S as it is pretty much exactly the same as the side I have already documented. So I'll be back again when the N/S is finished and I have something new to report!
 
Nice job on the fuel lines! You could make some cash selling those. Aren't the Porsche ones really expensive? I bet I'll have to replace mine soon. Fancy making a second set? :)
 
This looks oh so familiar...
I hope my repairs dont look like that in a few years time.
Great work!
 
I think my car had previously been done to what is commonly known as "MOT standard" !

Yours and now mine second time around are being done far better than that. [;)]

 
So I've done as much welding as I can on the near side without removing the door (too close to the garage wall.... Doh!) so I've been focussing on getting everything together ready to put the back axle back up so that I can turn the car around.

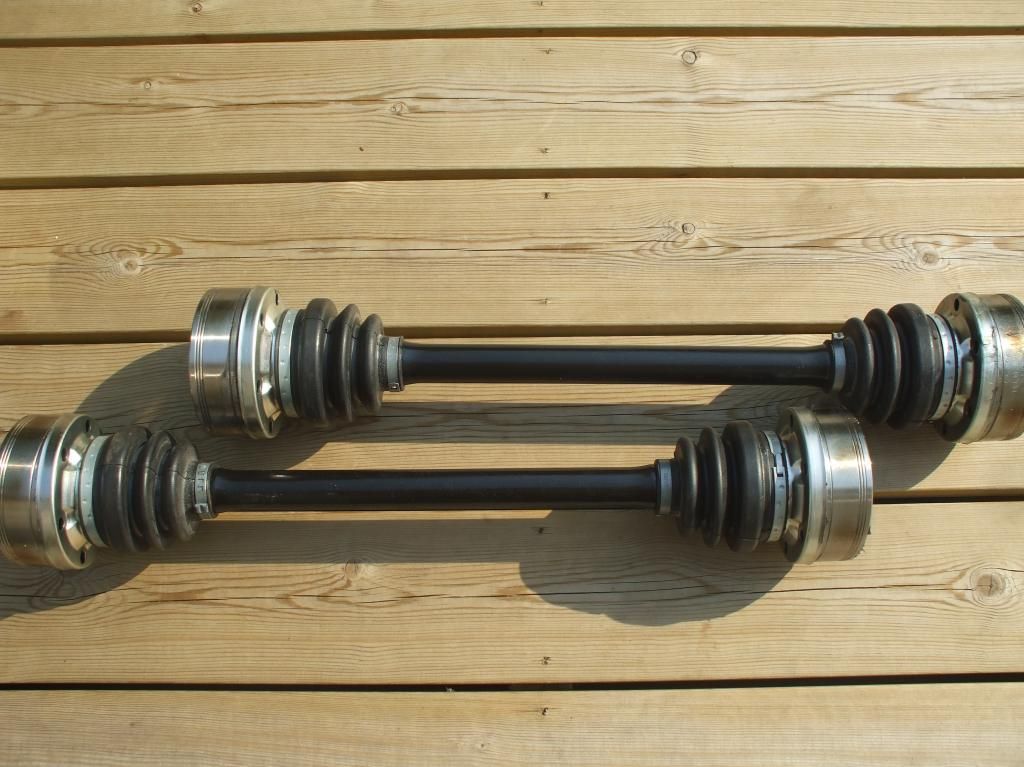
Driveshafts stripped, repainted and fitted with new CV joints (the greasiest job in the World!)

Driveshafts.jpg


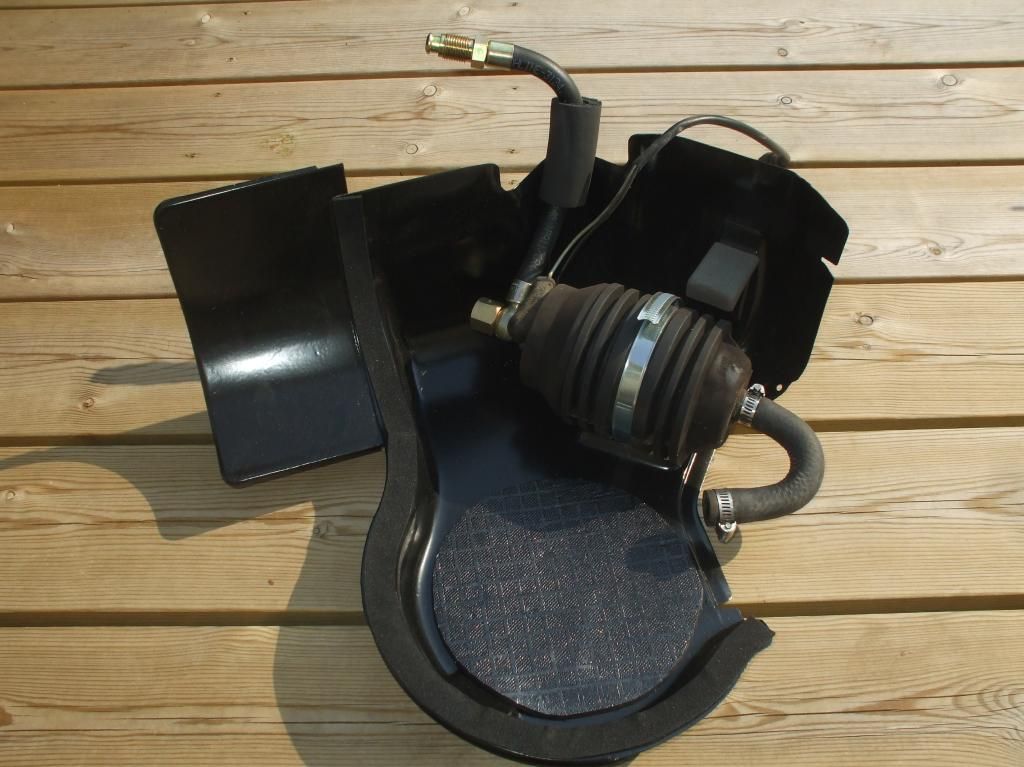
Tank guard shot blasted and powder coated and fuel pump re-assembled with new gubbins:

Tankguard.jpg


I had the gearbox cross member stripped and powder coated black at the same time. Just waiting for my new gear linkage to turn up from the States and then I can start putting the back end back together.
 
Quick update for all you rusty sill fetishists:

Had a busy couple of weeks with various things and it took me longer than anticipated to get the rear beam back up into place and assemble up all the various bits and bobs to put the back end back together. My Only944 shifter kit took an age to arrive from the US but was pretty easy to fit when it arrived. Re-conditioned driveshafts and new brake lines went on easily enough too. Putting new stuff together is always a joy in a restoration!

Anyway, that's all done and yesterday I fired it up for the first time in nearly 6 months. Took a while to get fuel through the system because it had been completely drained down when I changed the fuel lines but after a minute or so cranking it burst into life. Very noisy with no exhaust from the cat back but I still got underneath and checked all the fuel line connections were good. With that done, I dropped it down off the axle stands and drove it out of the garage. No brakes meant I was relying on the handbrake to get me down my steep hill so I could turn it around and put it back in the garage front first so I can work on the passenger side sill.

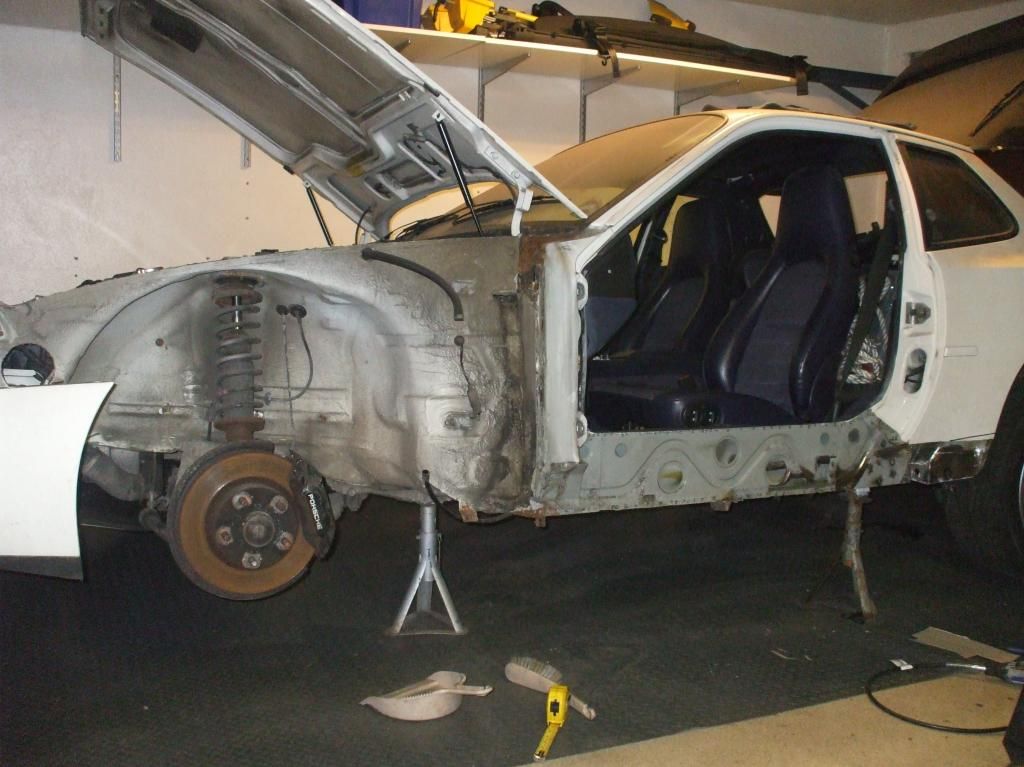
Here's how it looks right now with the passenger side door, front wing and rusty sill all off:

290614001.jpg


Kids are away at their Grandparents next week so I'm hoping to get lots done. Plan is to have the passenger side sill fully finished by next weekend. I'm then over in the UK for a couple of days and I'm picking up a booty box of parts I've bought including engine mounts, rear dampers, exhaust heat shield and loads of other little bits and bobs. Need to update my parts spending spreadsheet - must be getting close to £4k now......
 
Phwoar nothing like seeing a rusty sill being swept up by a dustpan and brush. That's my rusty sill fetish talking...
Fantastic work. I see more of the brown stuff on the A-piller at the bottom of the windscreen... there is a blister there on my car that I need to attend to at some point (on the other side). Great to see a proper restoration. 4k in parts sounds about right. Cheap to buy... not cheap to get one up to a decent standard.


There seems to be a constant drizzle of rust, grit and swarf falling from the car and I don't much enjoy lying down in it so the floor gets swept regularly in my garage!

That rusty patch at the top of the A pillar is exactly the same as it was on the drivers side. With the front wings being heavily undersealed from the underside, I think Porsche inadvertantly created a nice little cavity for water entering at the top corner of the wing to settle into. When I come to re-install the front wings I'm going to investigate creating a drain path for that area.
 

Posts made and opinions expressed are those of the individual forum members

Use of the Forum is subject to the Terms and Conditions

Disclaimer

The opinions expressed on this site are not necessarily those of the Club, who shall have no liability in respect of them or the accuracy of the content. The Club assumes no responsibility for any effects arising from errors or omissions.

Porsche Club Great Britain gives no warranties, guarantees or assurances and makes no representations or recommendations regarding any goods or services advertised on this site. It is the responsibility of visitors to satisfy themselves that goods and/or services supplied by any advertiser are bona fide and in no instance can the Porsche Club Great Britain be held responsible.

When responding to advertisements please ensure that you satisfy yourself of any applicable call charges on numbers not prefixed by usual "landline" STD Codes. Information can be obtained from the operator or the white pages. Before giving out ANY information regarding cars, or any other items for sale, please satisfy yourself that any potential purchaser is bona fide.

Directors of the Board of Porsche Club GB, Club Office Staff, Register Secretaries and Regional Organisers are often requested by Club members to provide information on matters connected with their cars and other matters referred to in the Club Rules. Such information, advice and assistance provided by such persons is given in good faith and is based on the personal experience and knowledge of the individual concerned.

Neither Porsche Club GB, nor any of the aforementioned, shall be under any liability in respect of any such information, advice or assistance given to members. Members are advised to consult qualified specialists for information, advice and assistance on matters connected with their cars at all times.

Back
Top